TIP 001 #
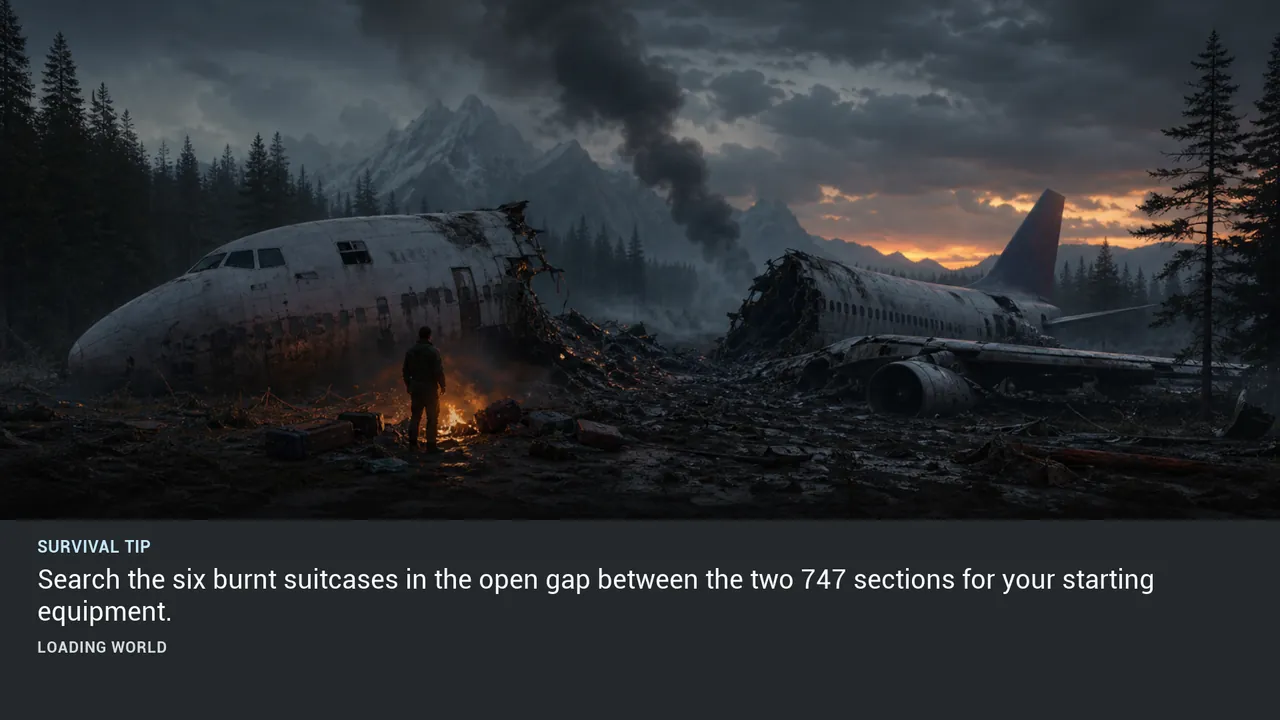
Search the six burnt suitcases in the open gap between the two 747 sections for your starting equipment.
View illustration at full size →Minus Zero / Field guide
Search the loading-screen hints from Minus Zero. Start at the plane wreck, learn the systems, and find the details that might keep your next run alive.
These are tips from the current development build. Controls and numerical balance may change before release. Artwork shows loading-screen illustrations, not gameplay screenshots.
Showing all 141 tips
No matching tips. Try another search or category.
FIELD GUIDE / 01
10 verified loading-screen tips
TIP 001 #
Search the six burnt suitcases in the open gap between the two 747 sections for your starting equipment.
View illustration at full size →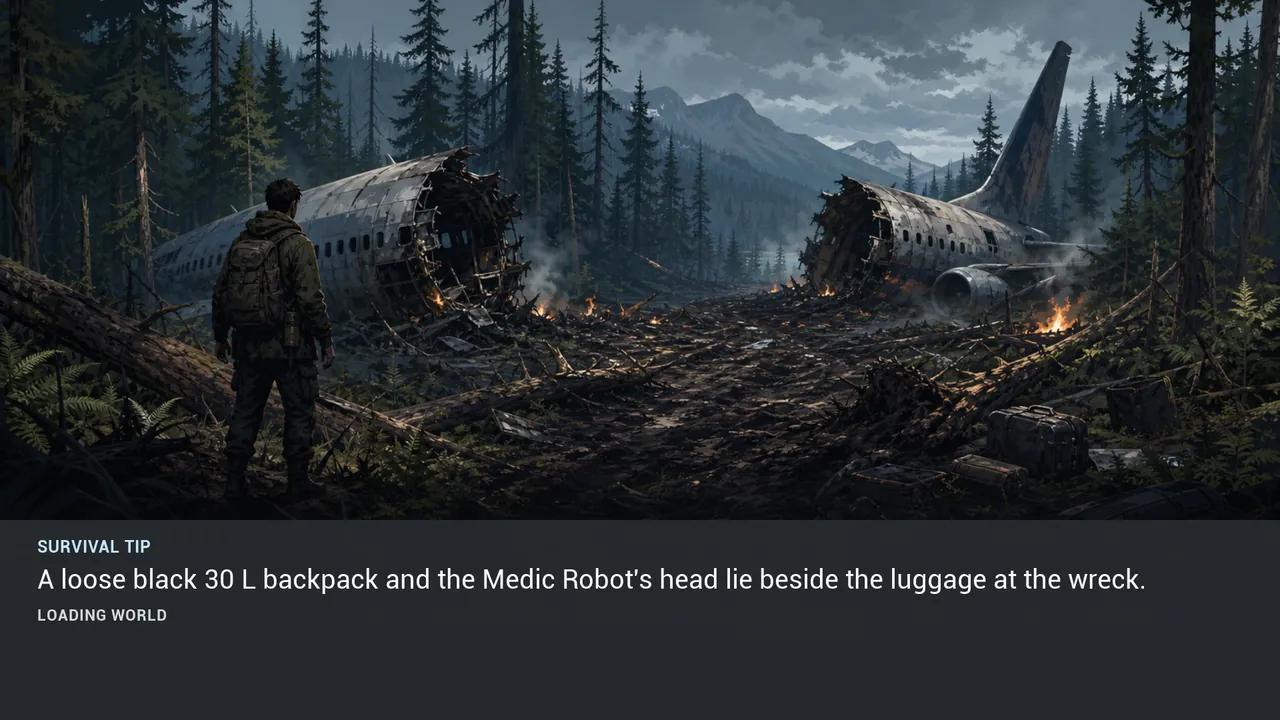
TIP 002 #
A loose black 30 L backpack and the Medic Robot's head lie beside the luggage at the wreck.
View illustration at full size →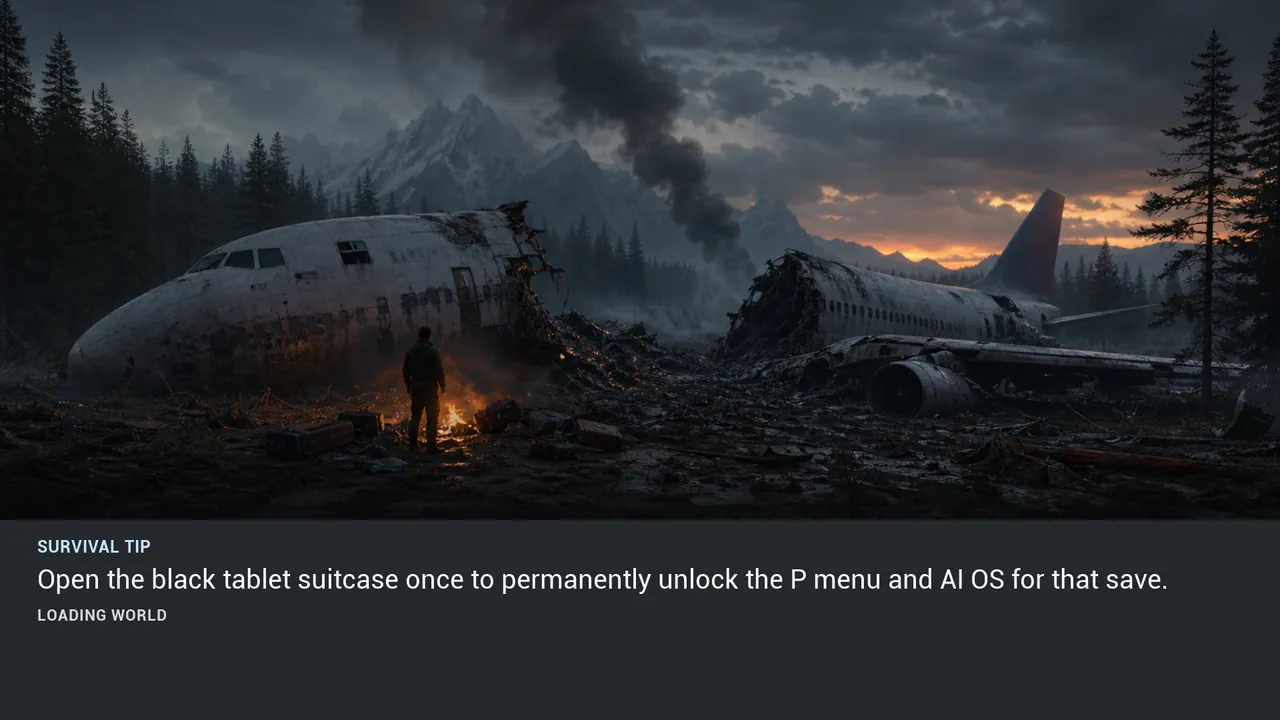
TIP 003 #
Open the black tablet suitcase once to permanently unlock the P menu and AI OS for that save.
View illustration at full size →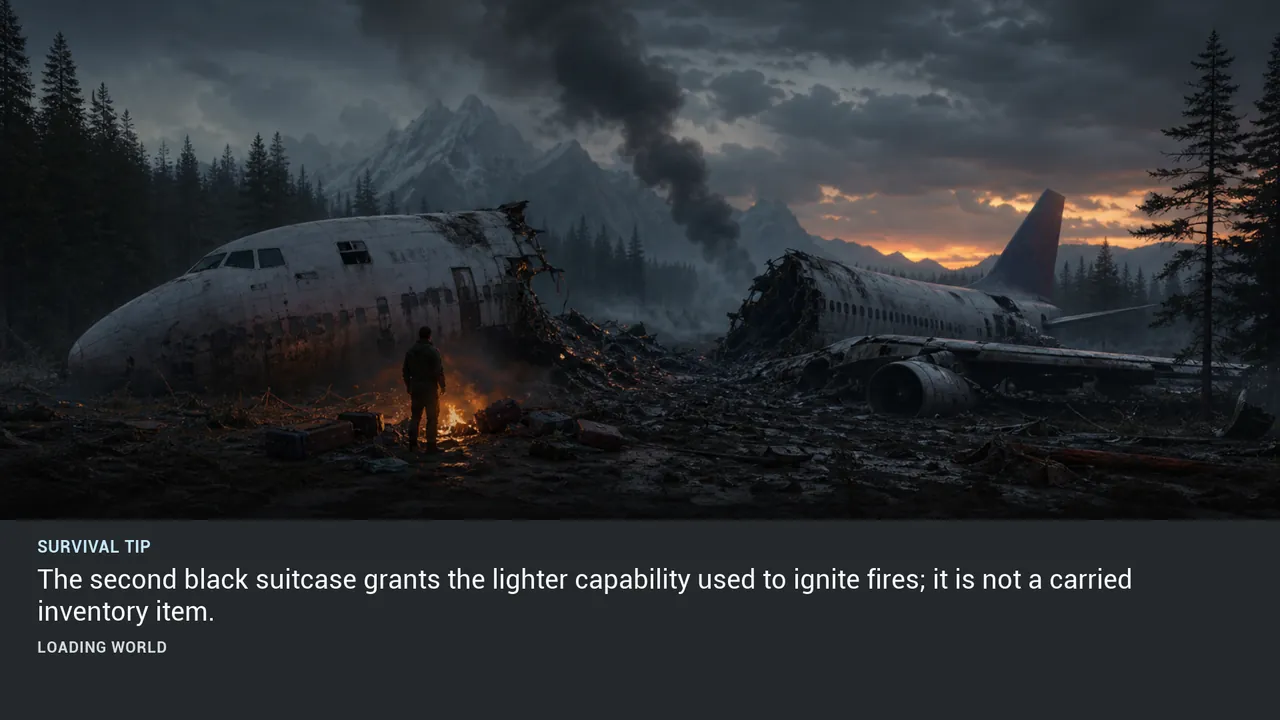
TIP 004 #
The second black suitcase grants the lighter capability used to ignite fires; it is not a carried inventory item.
View illustration at full size →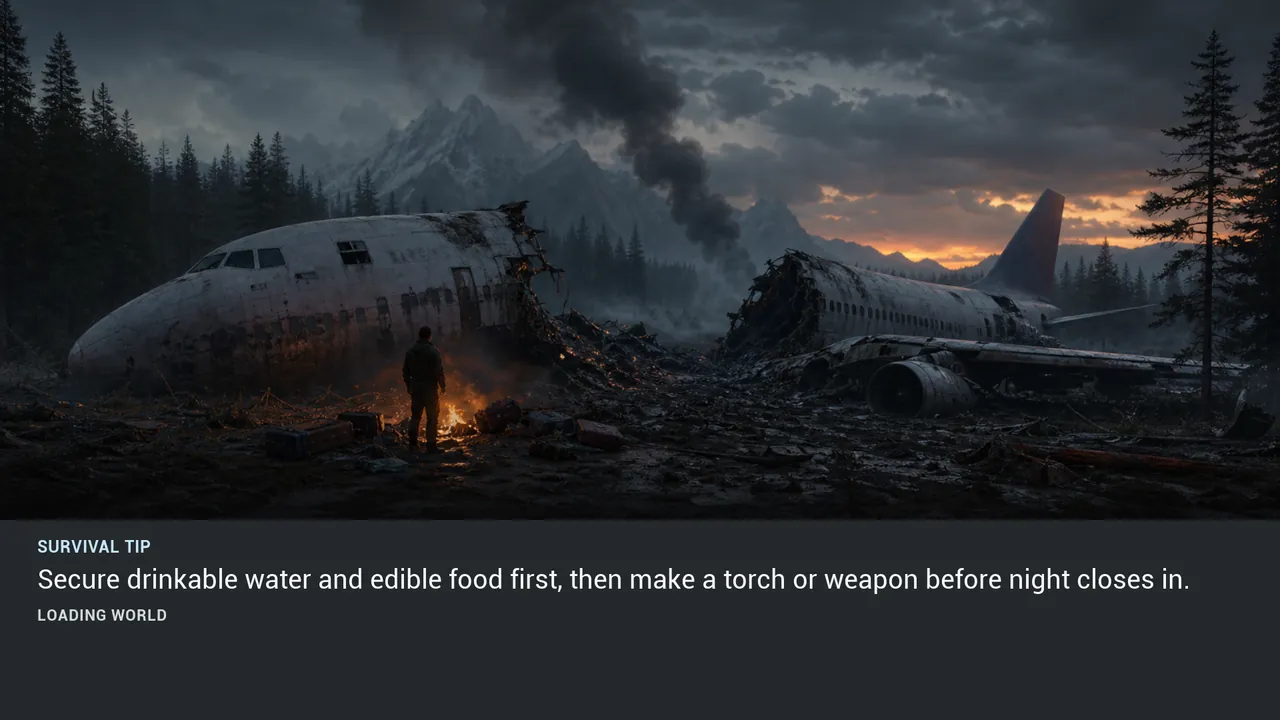
TIP 005 #
Secure drinkable water and edible food first, then make a torch or weapon before night closes in.
View illustration at full size →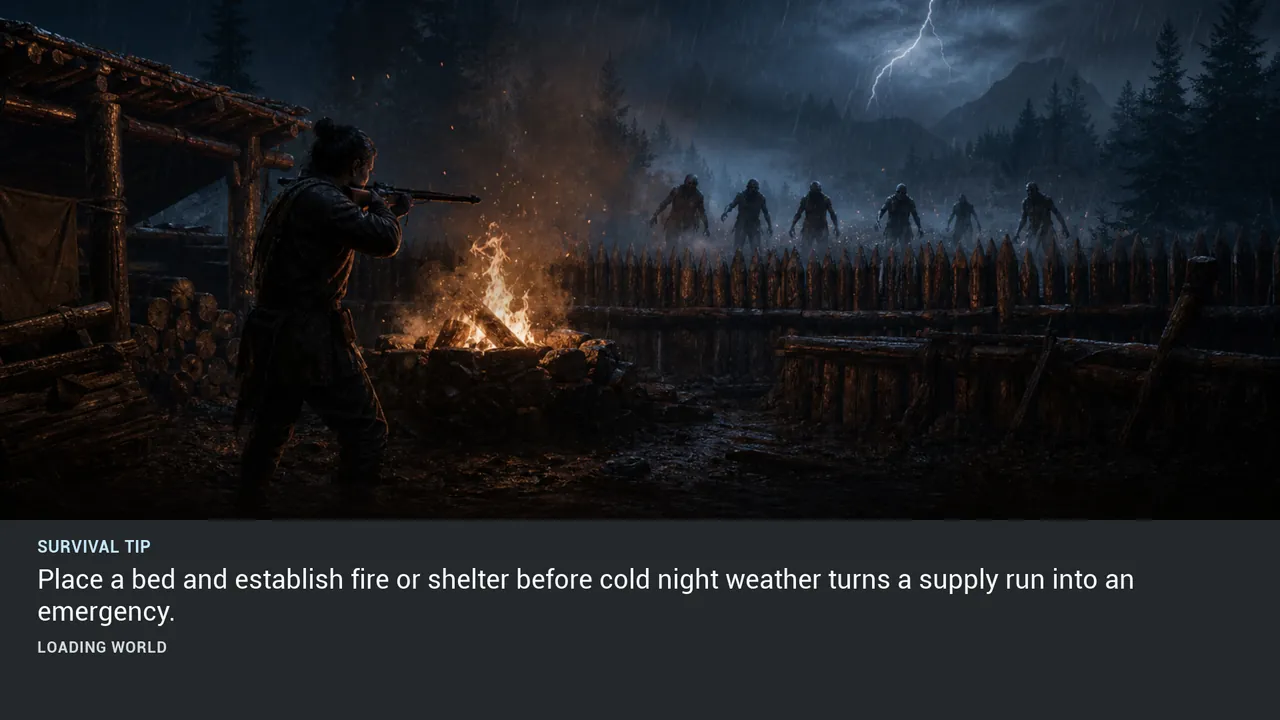
TIP 006 #
Place a bed and establish fire or shelter before cold night weather turns a supply run into an emergency.
View illustration at full size →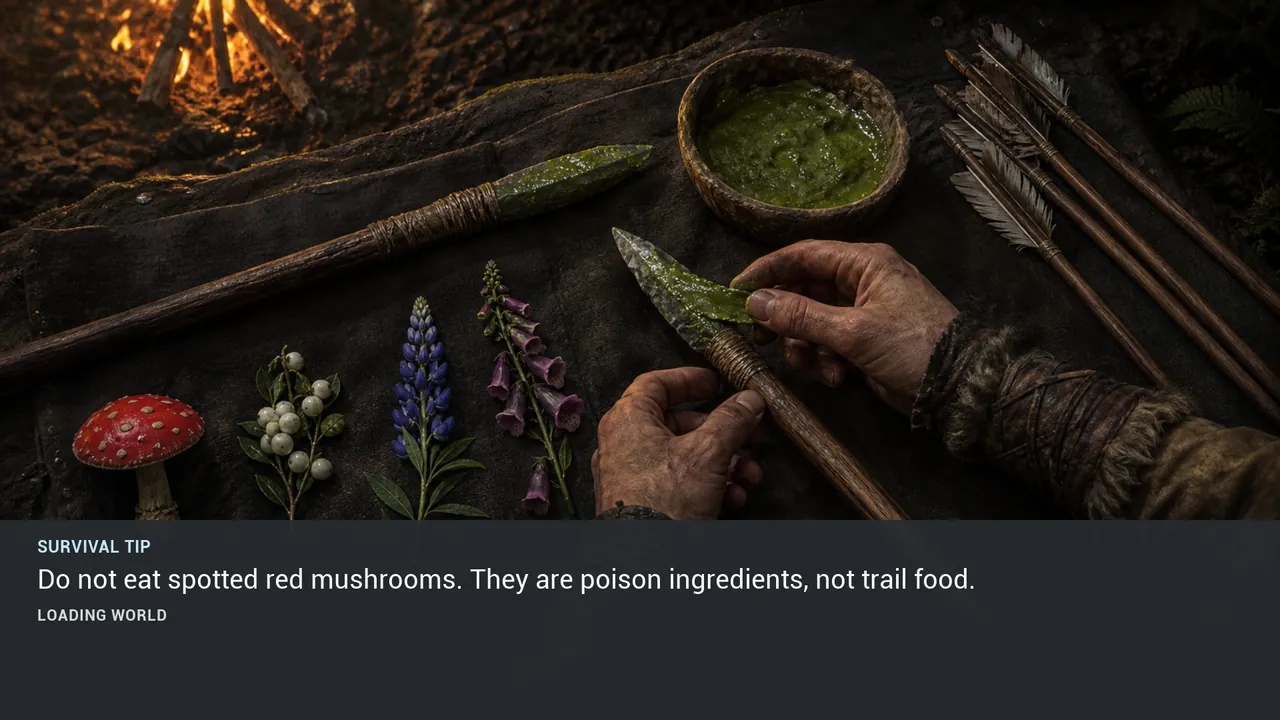
TIP 007 #
Do not eat spotted red mushrooms. They are poison ingredients, not trail food.
View illustration at full size →
TIP 008 #
The distant coast, mountain silhouette, crater lake and smoke column are reliable navigation landmarks.
View illustration at full size →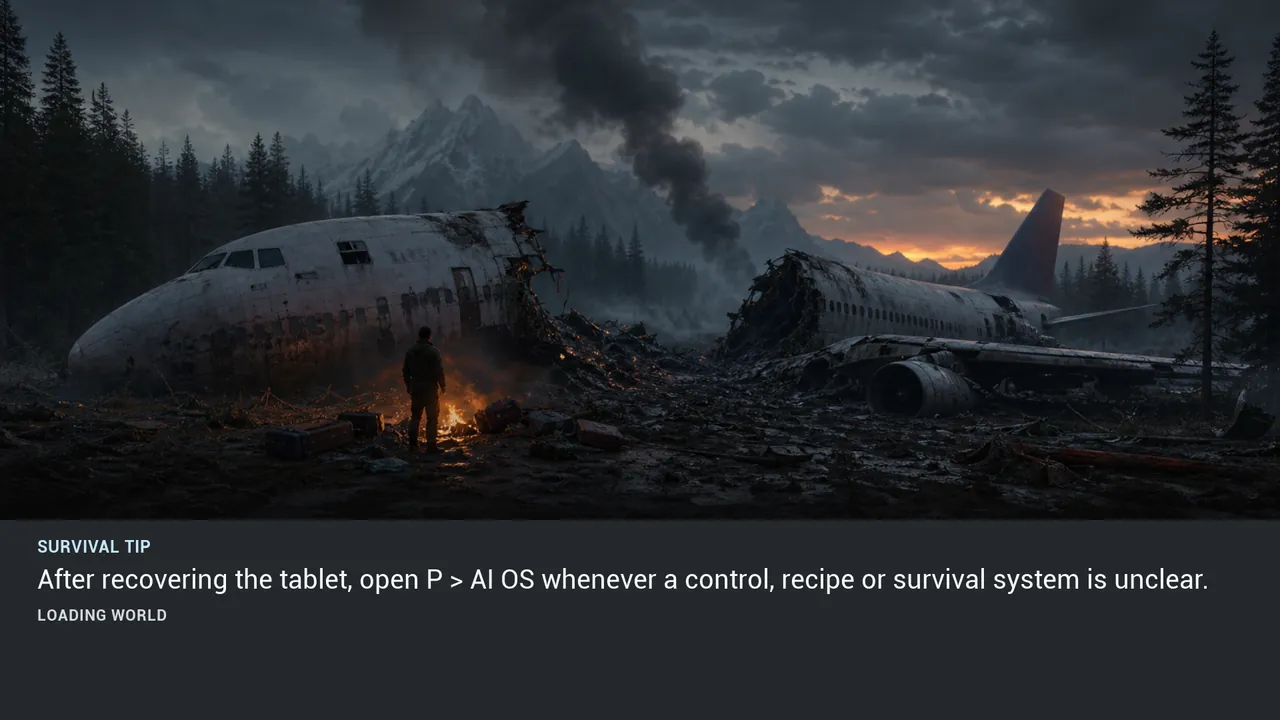
TIP 009 #
After recovering the tablet, open P > AI OS whenever a control, recipe or survival system is unclear.
View illustration at full size →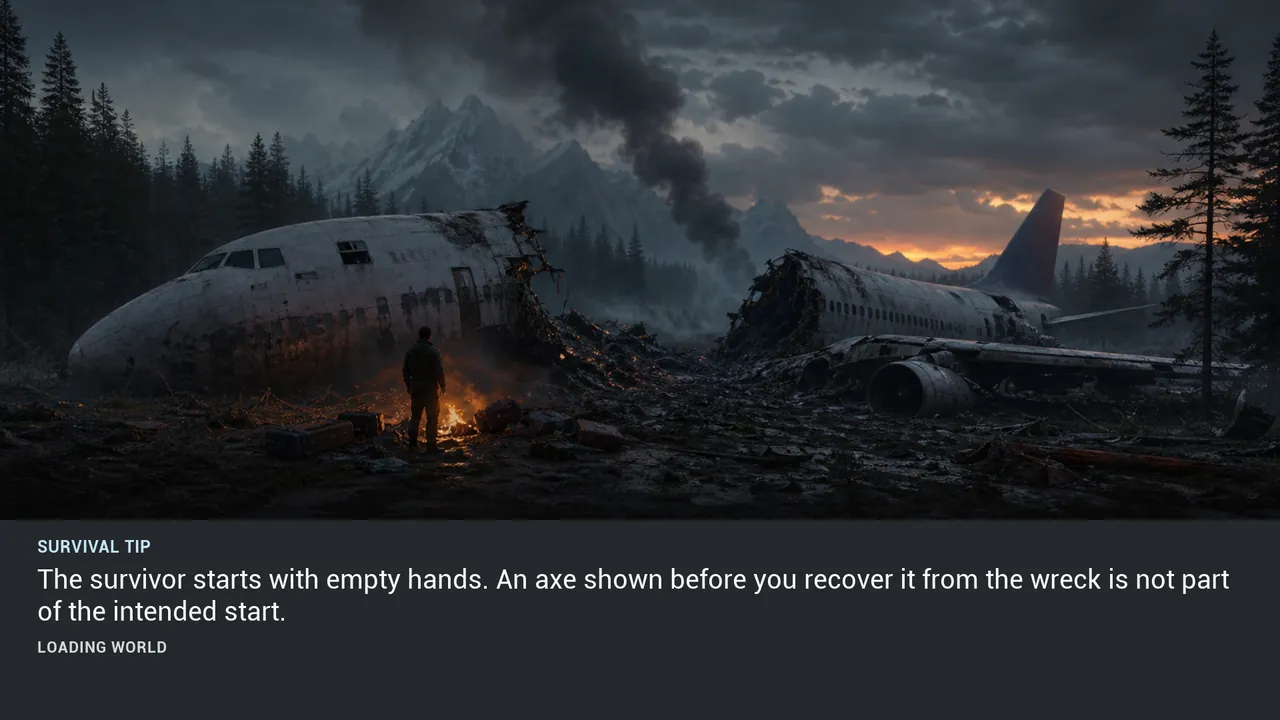
TIP 010 #
The survivor starts with empty hands. An axe shown before you recover it from the wreck is not part of the intended start.
View illustration at full size →FIELD GUIDE / 02
15 verified loading-screen tips
TIP 011 #
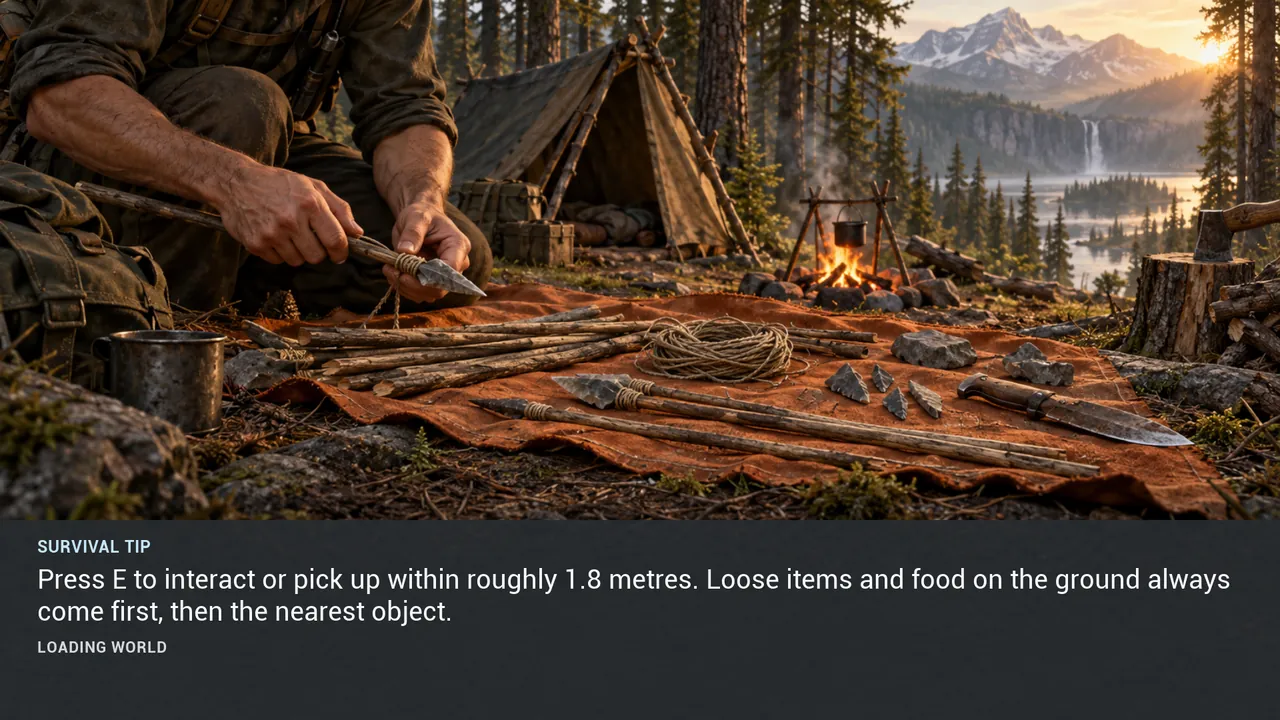
Press E to interact or pick up within roughly 1.8 metres. Loose items and food on the ground always come first, then the nearest object.
View illustration at full size →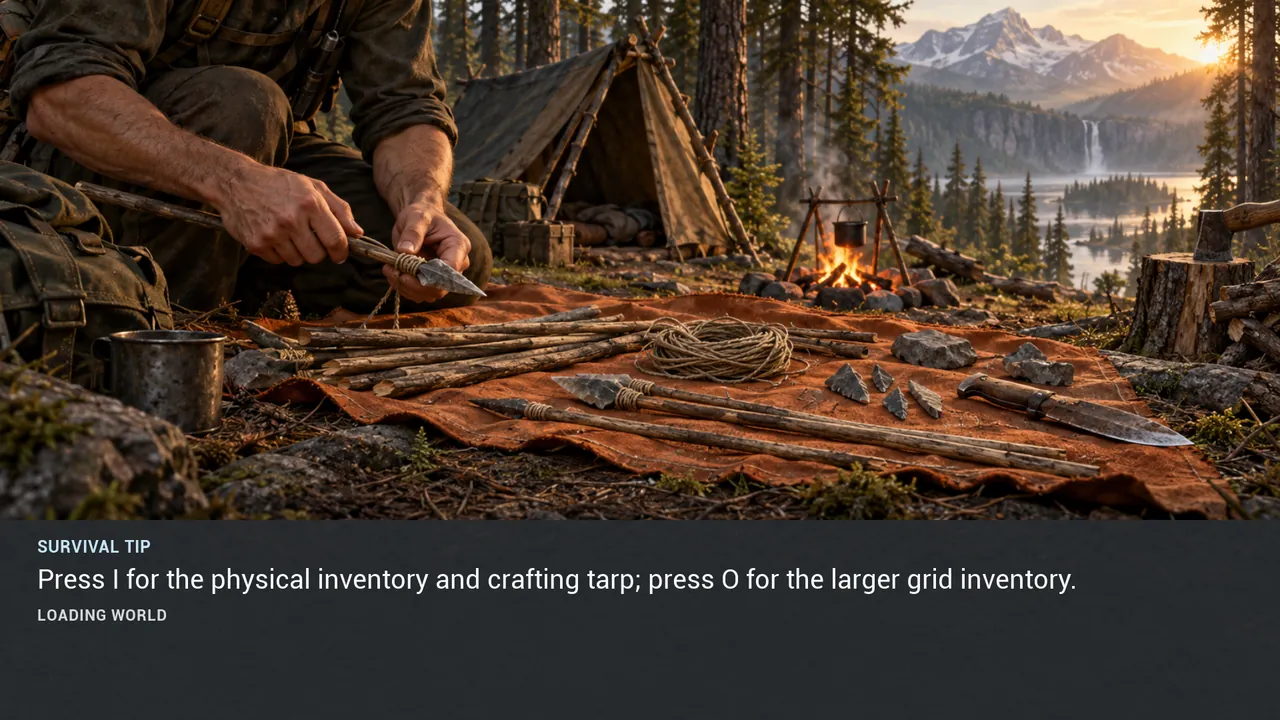
TIP 012 #
Press I for the physical inventory and crafting tarp; press O for the larger grid inventory.
View illustration at full size →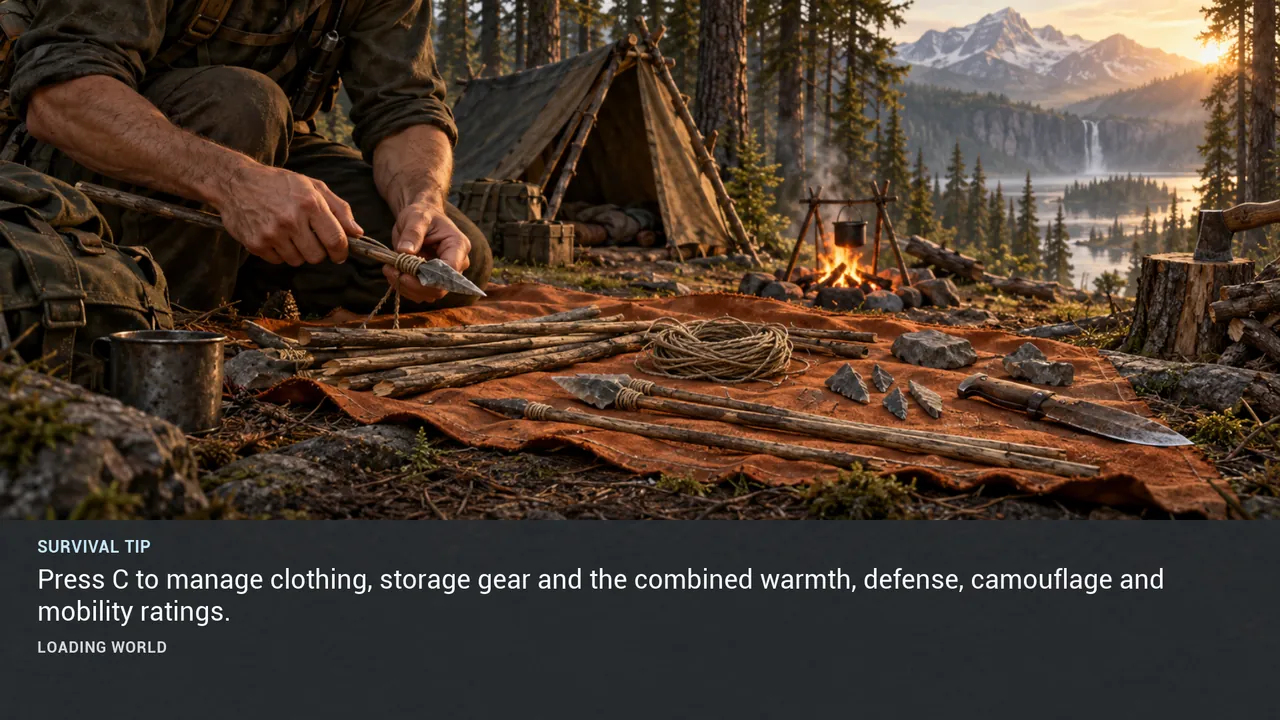
TIP 013 #
Press C to manage clothing, storage gear and the combined warmth, defense, camouflage and mobility ratings.
View illustration at full size →
TIP 014 #
Press B to open blueprints. The mouse wheel changes placement distance and click or Enter confirms placement.
View illustration at full size →
TIP 015 #
During placement, Left and Right spin, Up and Down flip, Home and End roll, and PgUp or PgDn change height.
View illustration at full size →
TIP 016 #
Press B or Esc to cancel blueprint placement. Esc closes the current panel before it opens pause settings.
View illustration at full size →
TIP 017 #
Number keys 1-5 select quick slots; the mouse wheel can move between them without opening inventory.
View illustration at full size →
TIP 018 #
Quick slot 1 uses LMB and quick slot 2 uses RMB for their equipped hand actions.
View illustration at full size →
TIP 019 #
Drag items into quick slots. Only food automatically reloads from another carried food stack when depleted.
View illustration at full size →
TIP 020 #
Identical loose items stack on the tarp. Organize keeps them close while Shuffle leaves crafting ingredients alone.
View illustration at full size →
TIP 021 #
Equipped clothing, backpacks, belts and other worn storage stay out of the loose I-inventory display.
View illustration at full size →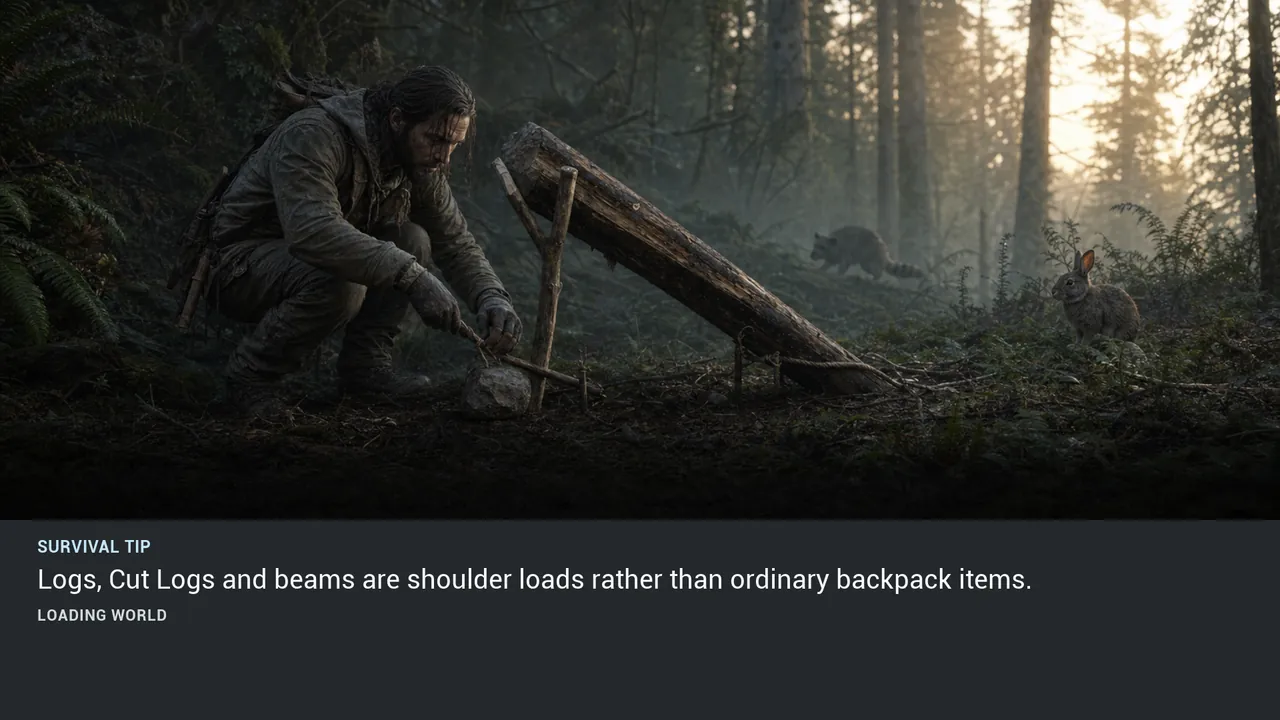
TIP 022 #
Logs, Cut Logs and beams are shoulder loads rather than ordinary backpack items.
View illustration at full size →
TIP 023 #
Press G to drop shoulder loads; hold G close to an owned structure to dismantle and recover it.
View illustration at full size →
TIP 024 #
DROP puts an item into the world. Trash permanently deletes it only after the confirmation prompt.
View illustration at full size →
TIP 025 #
Menus suppress weapon input, so LMB and RMB can operate storage, traps and workstations without attacking.
View illustration at full size →FIELD GUIDE / 03
15 verified loading-screen tips
TIP 026 #
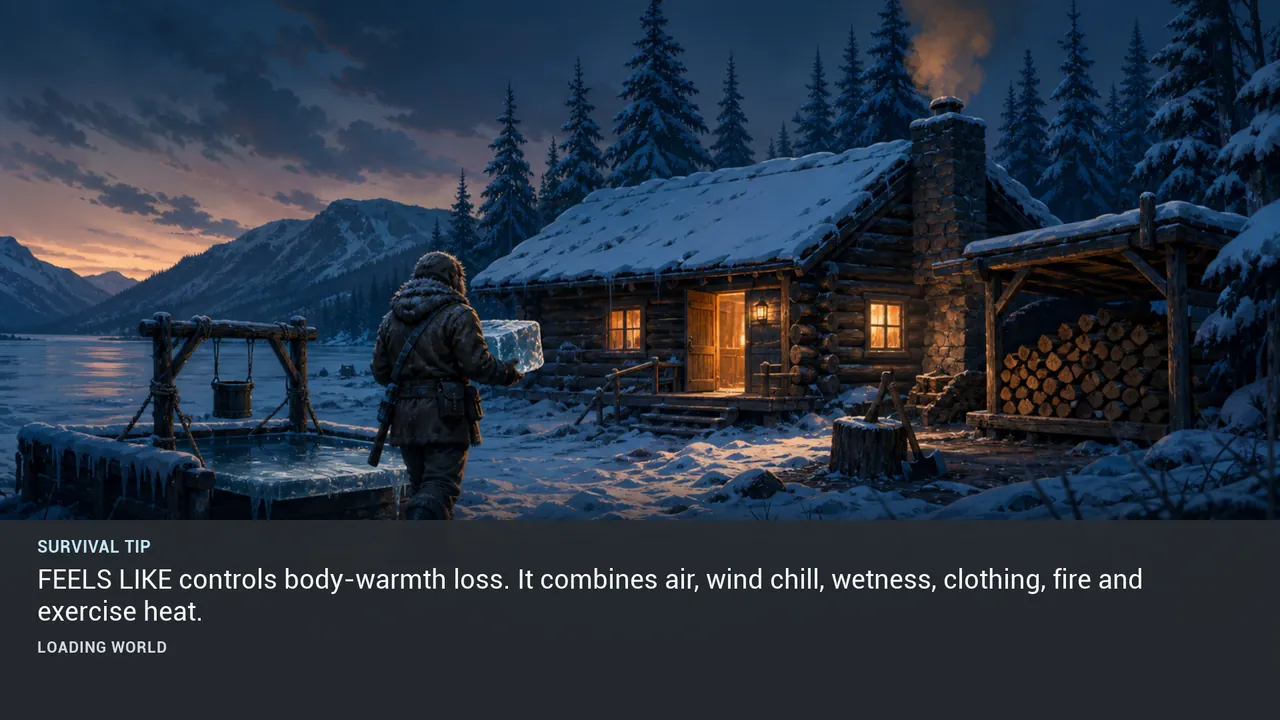
FEELS LIKE controls body-warmth loss. It combines air, wind chill, wetness, clothing, fire and exercise heat.
View illustration at full size →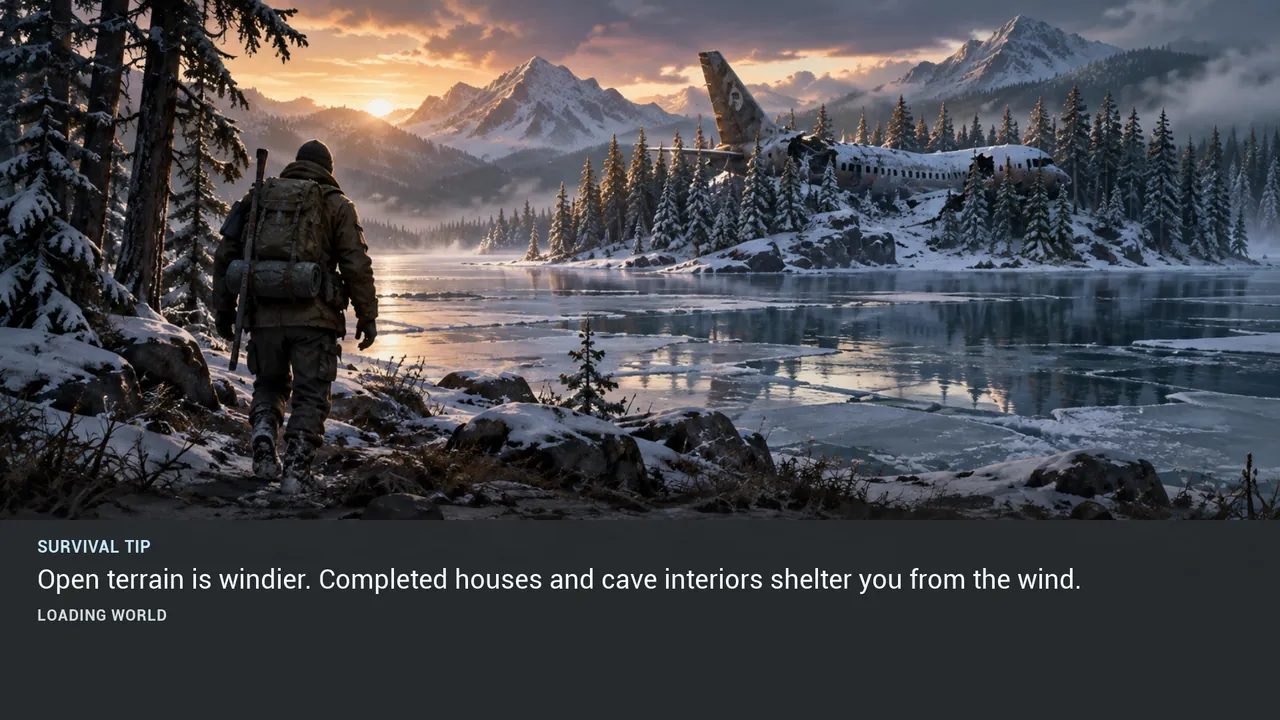
TIP 027 #
Open terrain is windier. Completed houses and cave interiors shelter you from the wind.
View illustration at full size →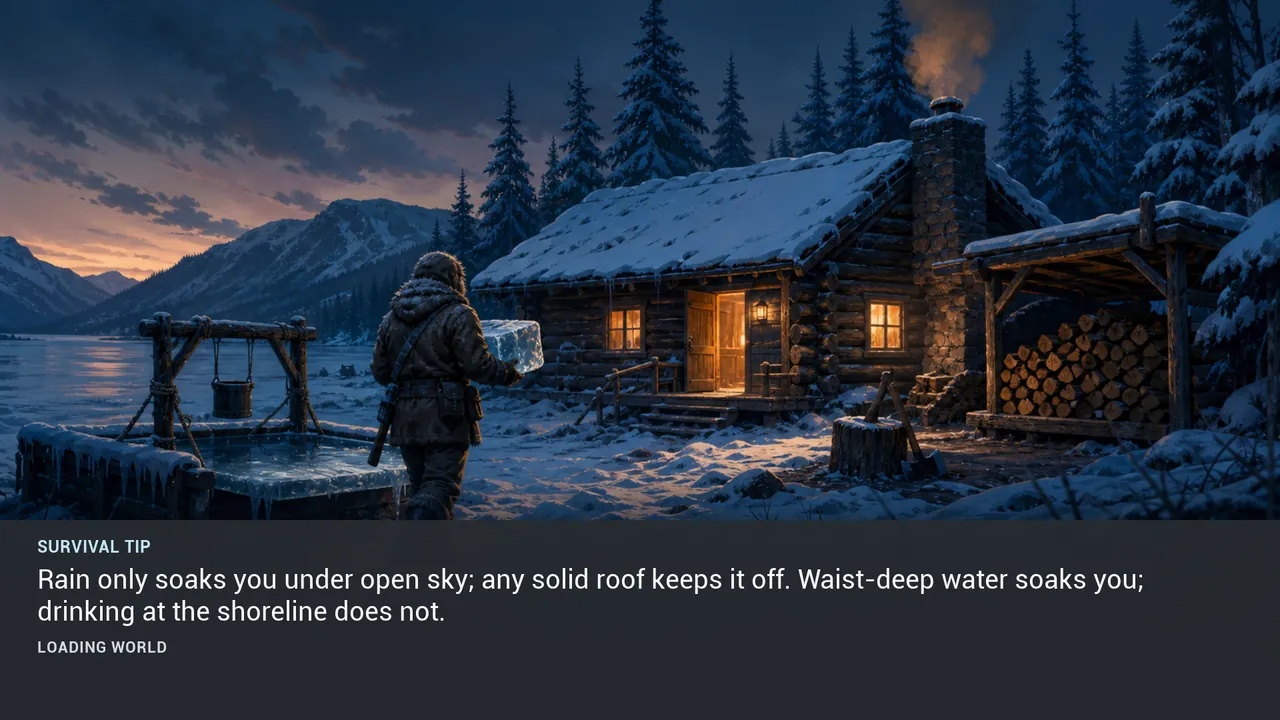
TIP 028 #
Rain only soaks you under open sky; any solid roof keeps it off. Waist-deep water soaks you; drinking at the shoreline does not.
View illustration at full size →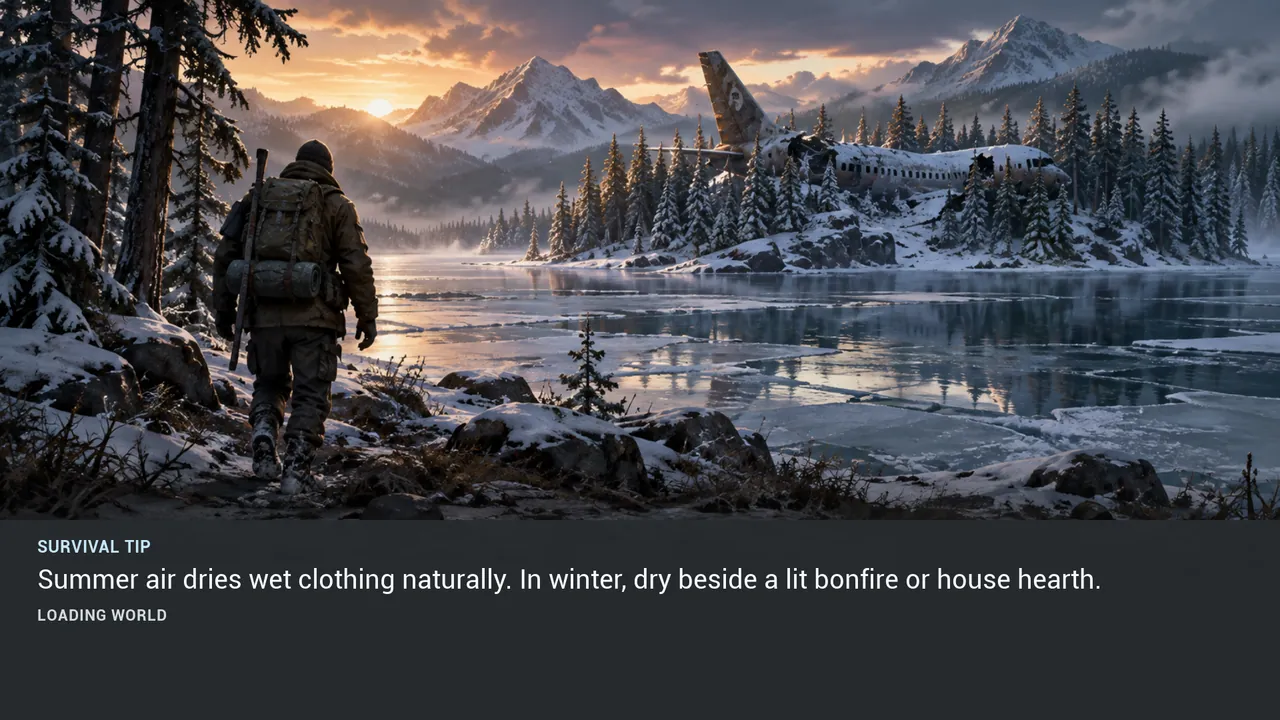
TIP 029 #
Summer air dries wet clothing naturally. In winter, dry beside a lit bonfire or house hearth.
View illustration at full size →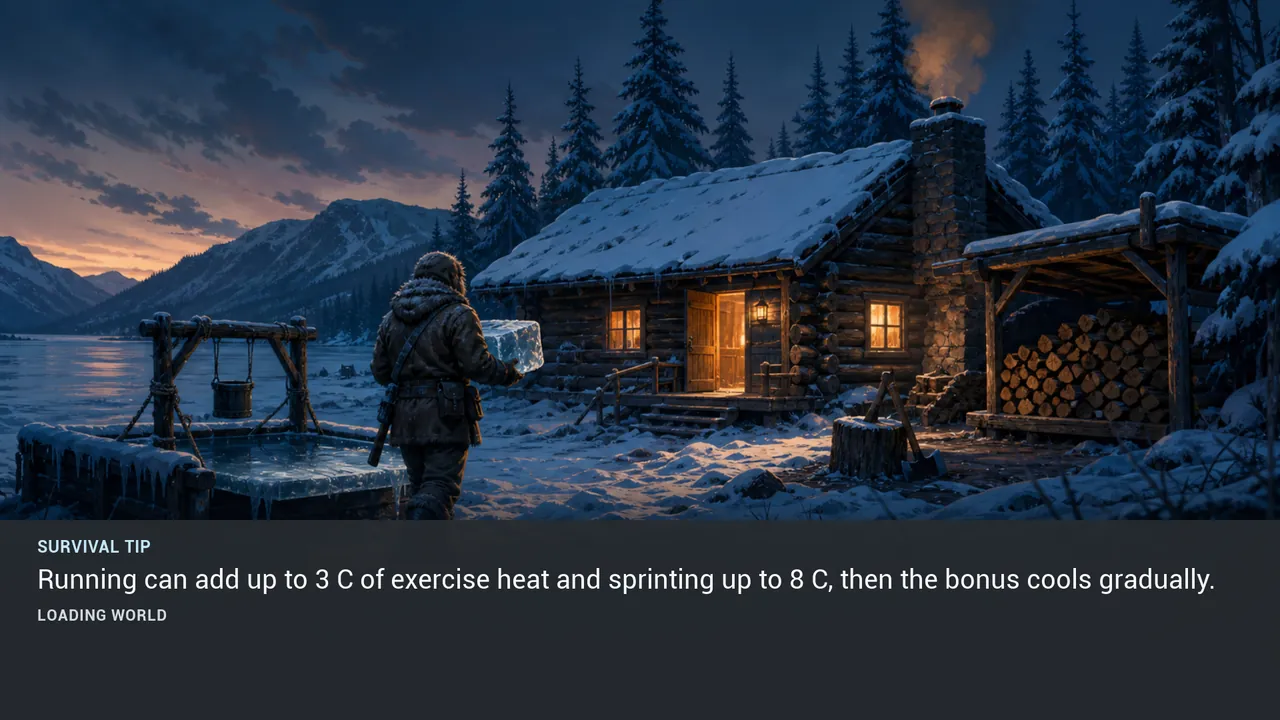
TIP 030 #
Running can add up to 3 C of exercise heat and sprinting up to 8 C, then the bonus cools gradually.
View illustration at full size →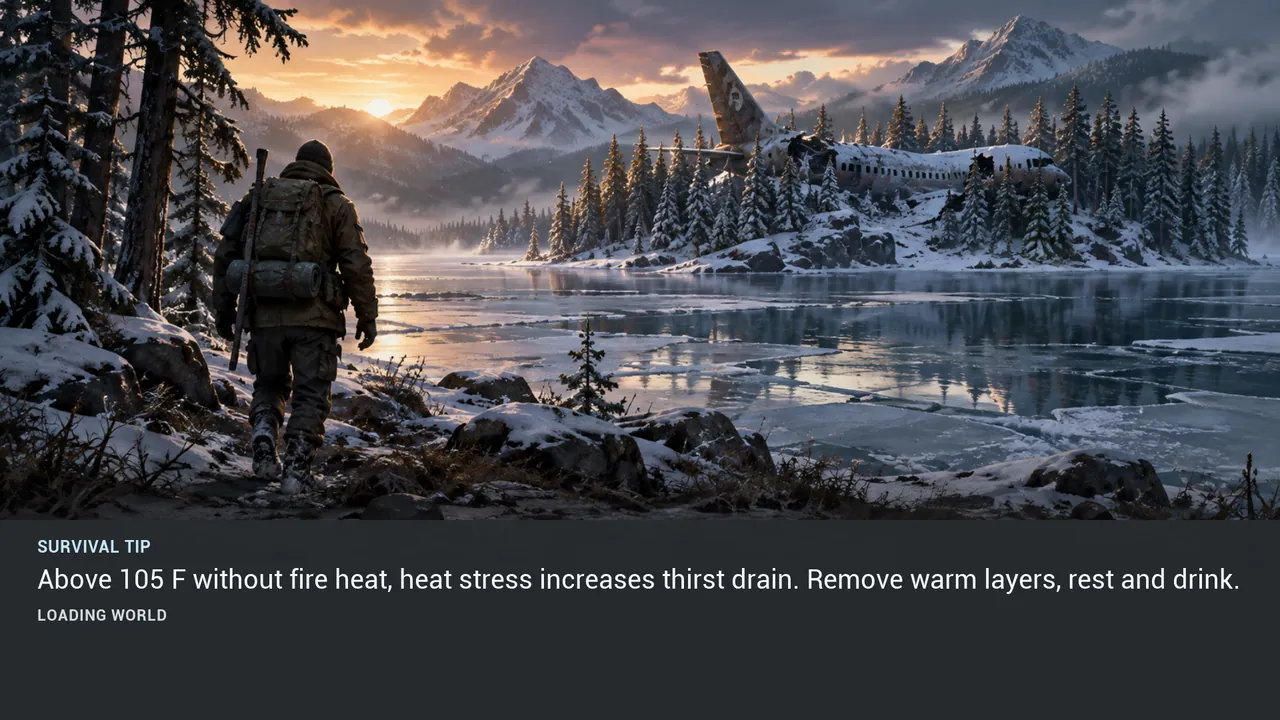
TIP 031 #
Above 105 F without fire heat, heat stress increases thirst drain. Remove warm layers, rest and drink.
View illustration at full size →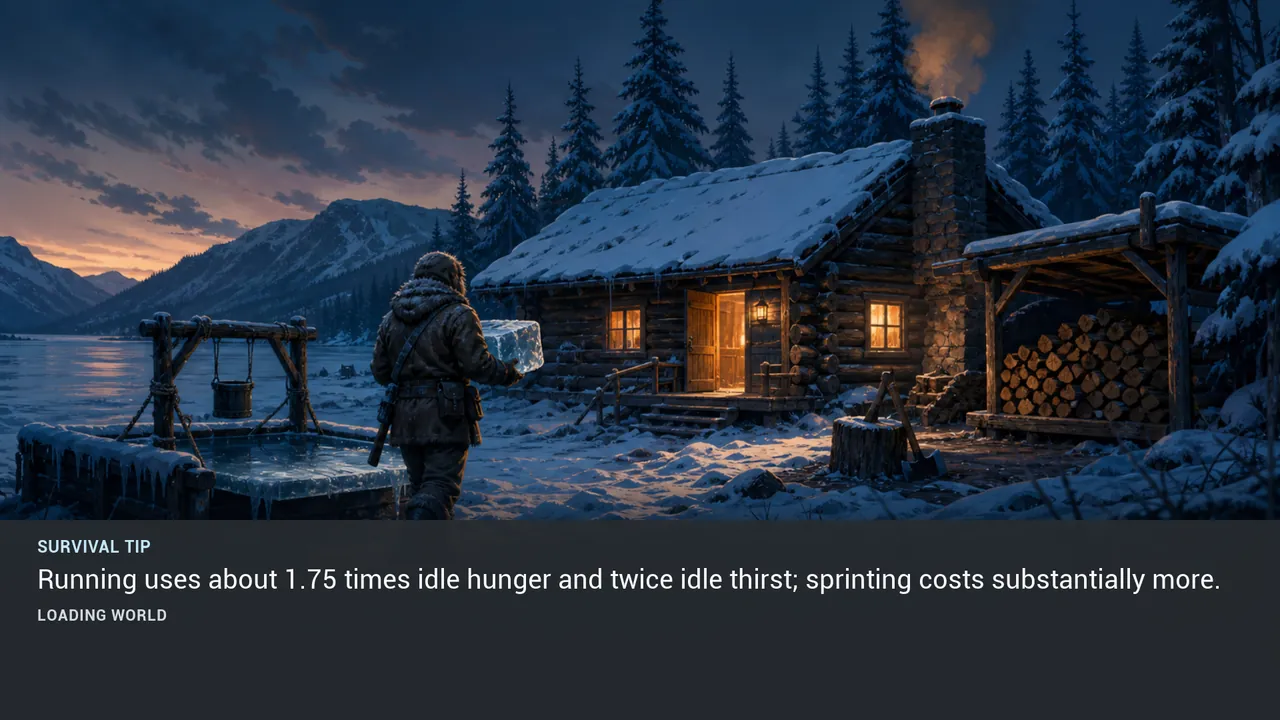
TIP 032 #
Running uses about 1.75 times idle hunger and twice idle thirst; sprinting costs substantially more.
View illustration at full size →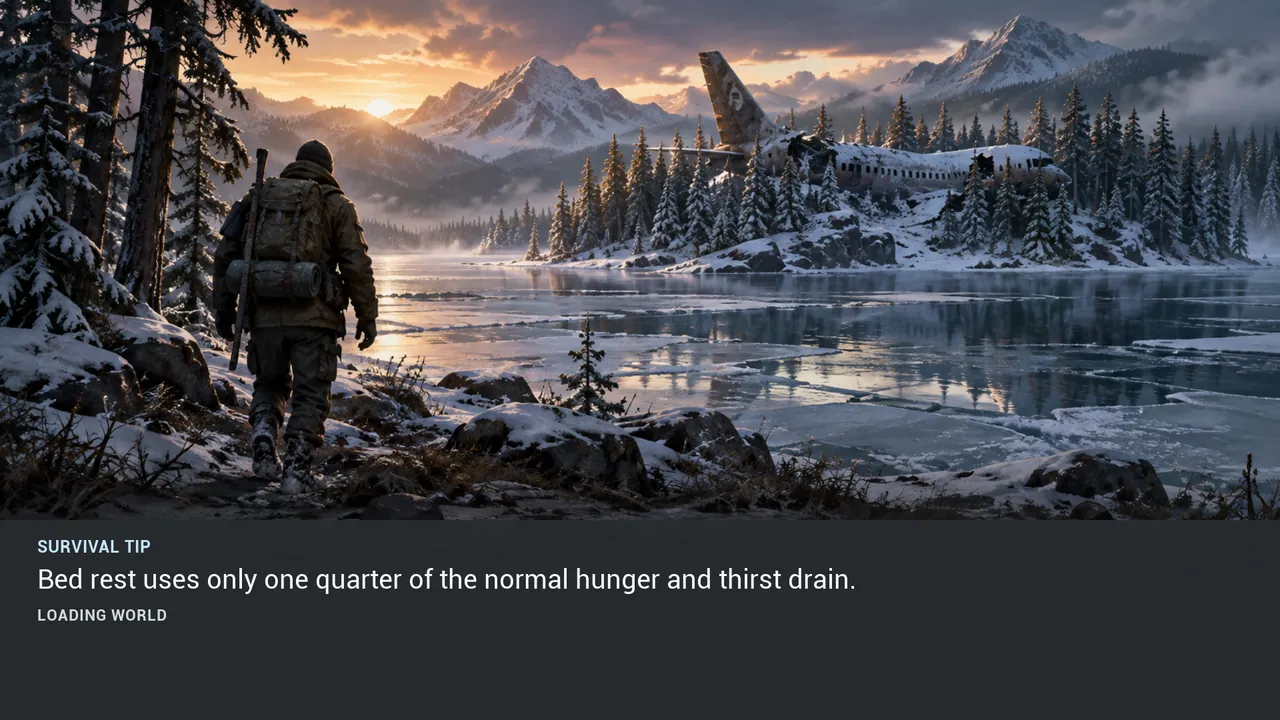
TIP 033 #
Bed rest uses only one quarter of the normal hunger and thirst drain.
View illustration at full size →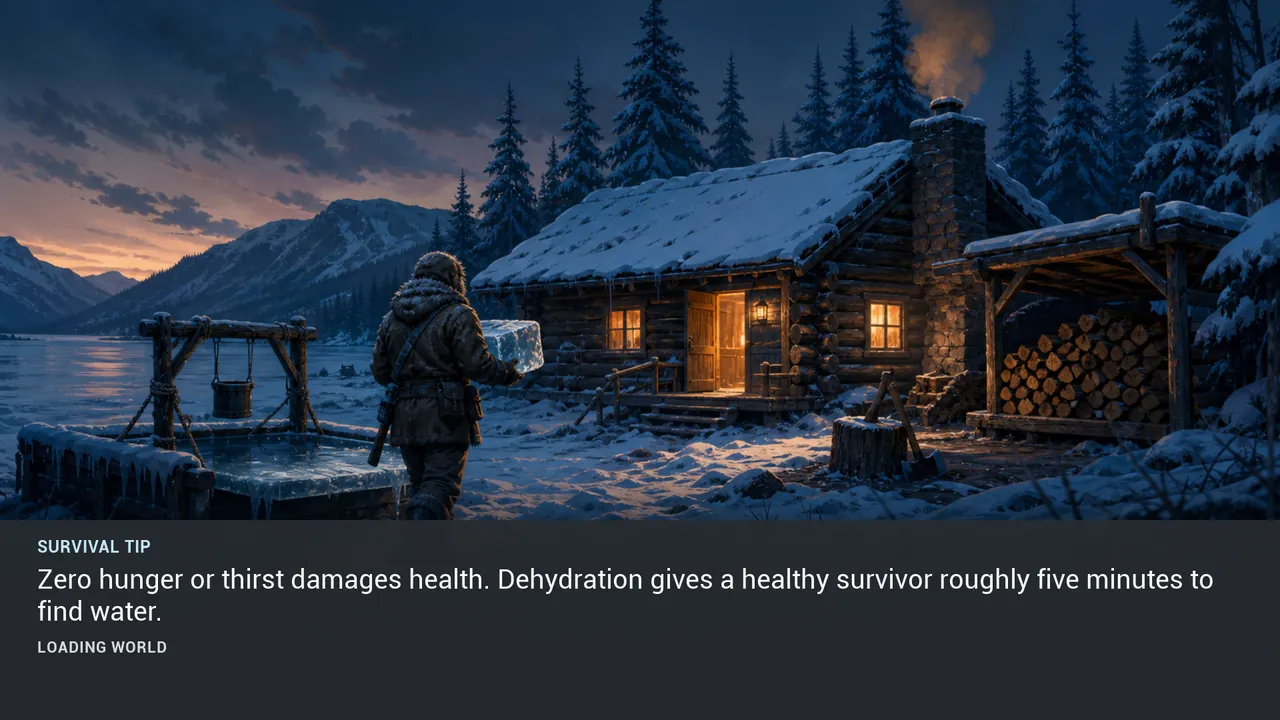
TIP 034 #
Zero hunger or thirst damages health. Dehydration gives a healthy survivor roughly five minutes to find water.
View illustration at full size →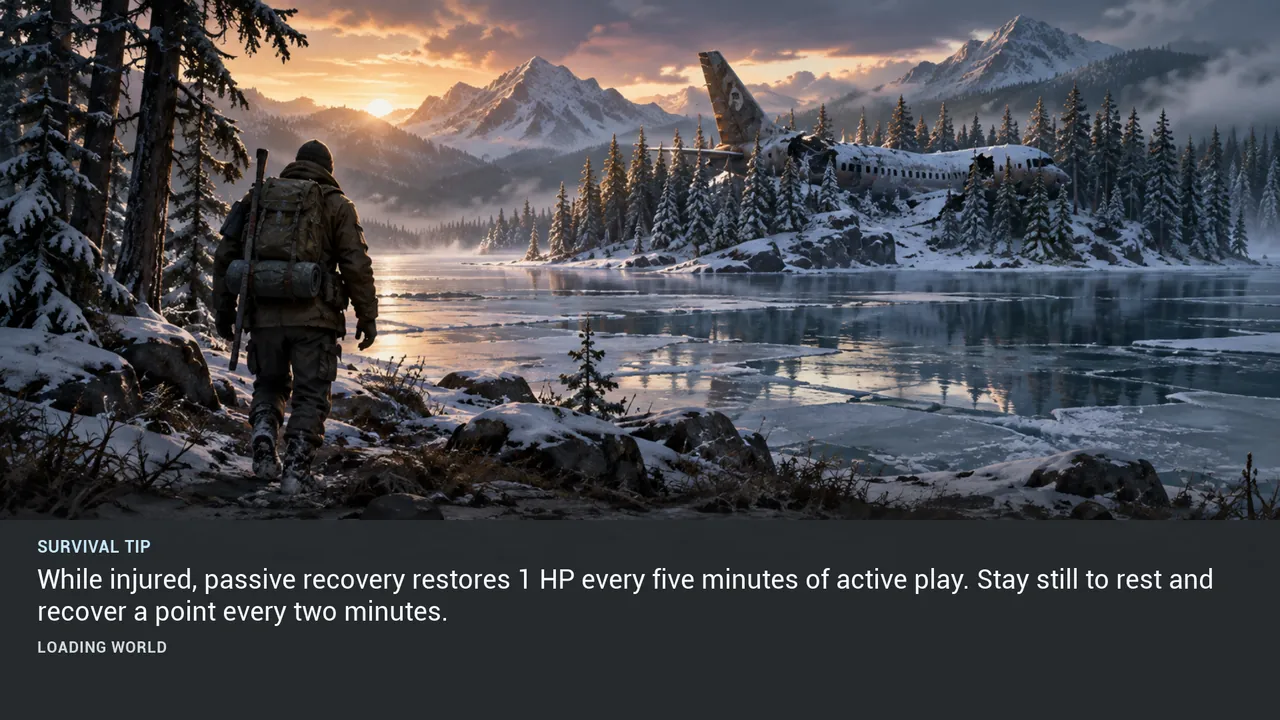
TIP 035 #
While injured, passive recovery restores 1 HP every five minutes of active play. Stay still to rest and recover a point every two minutes.
View illustration at full size →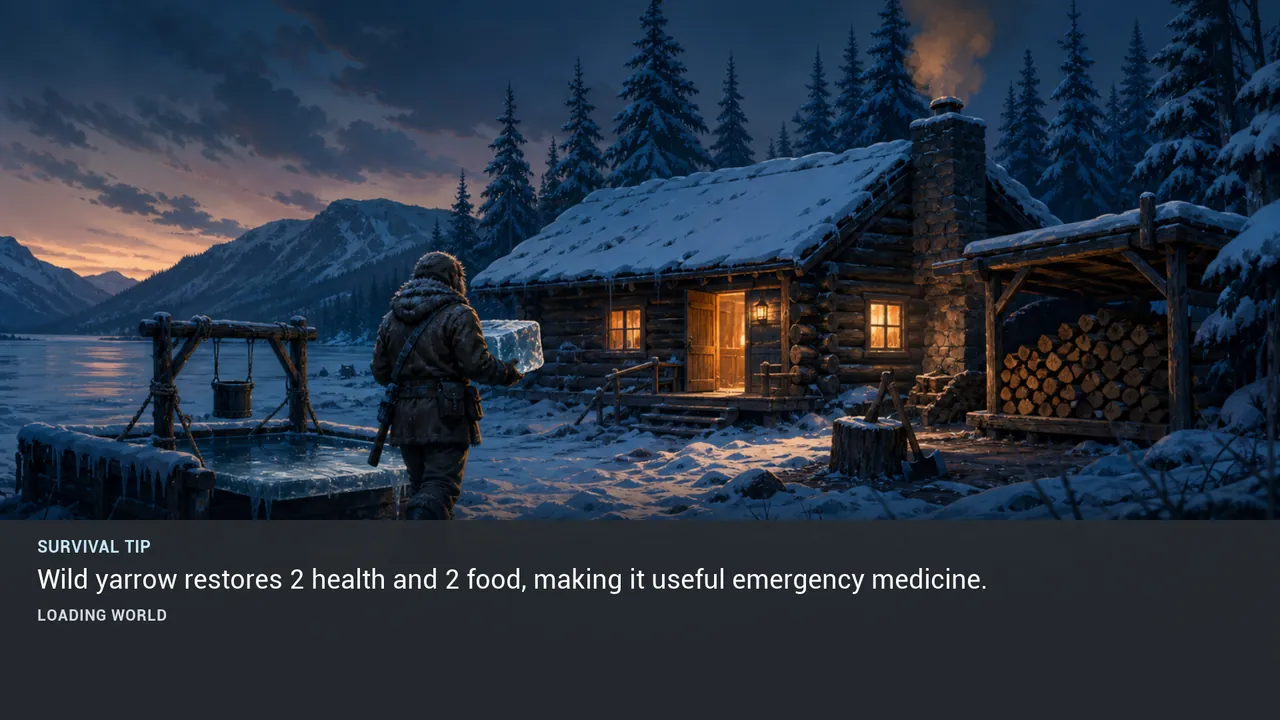
TIP 036 #
Wild yarrow restores 2 health and 2 food, making it useful emergency medicine.
View illustration at full size →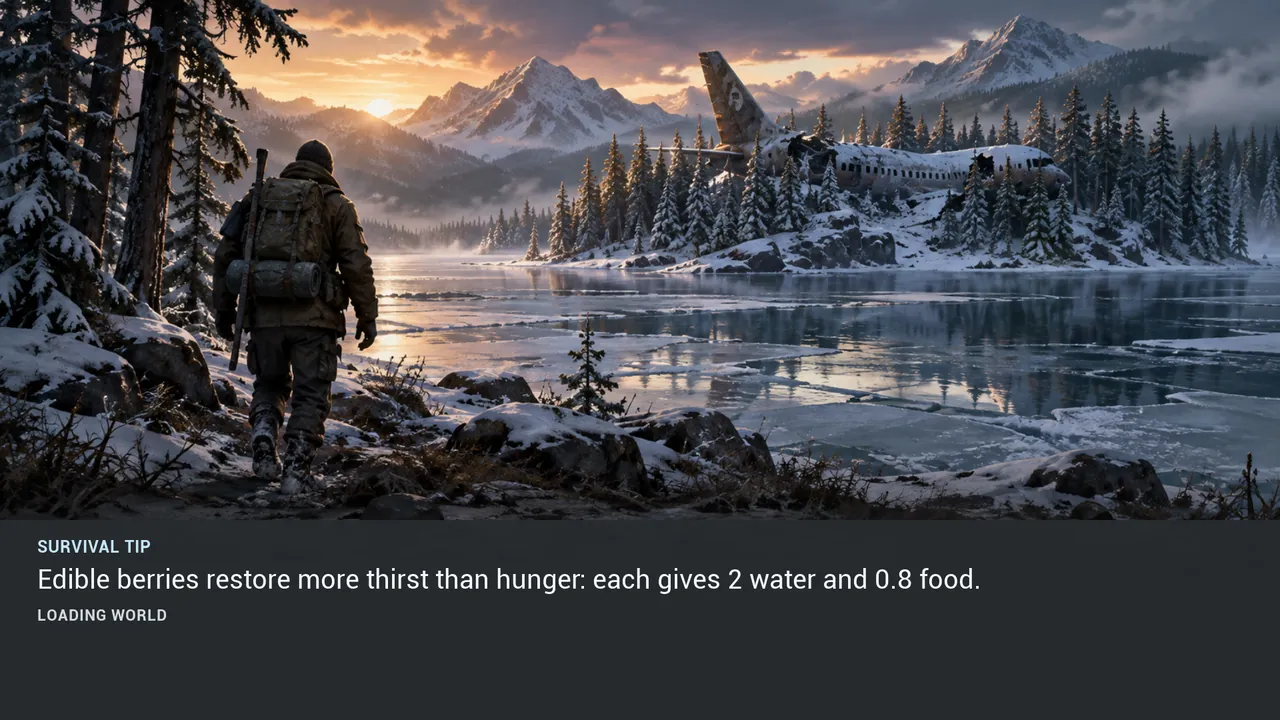
TIP 037 #
Edible berries restore more thirst than hunger: each gives 2 water and 0.8 food.
View illustration at full size →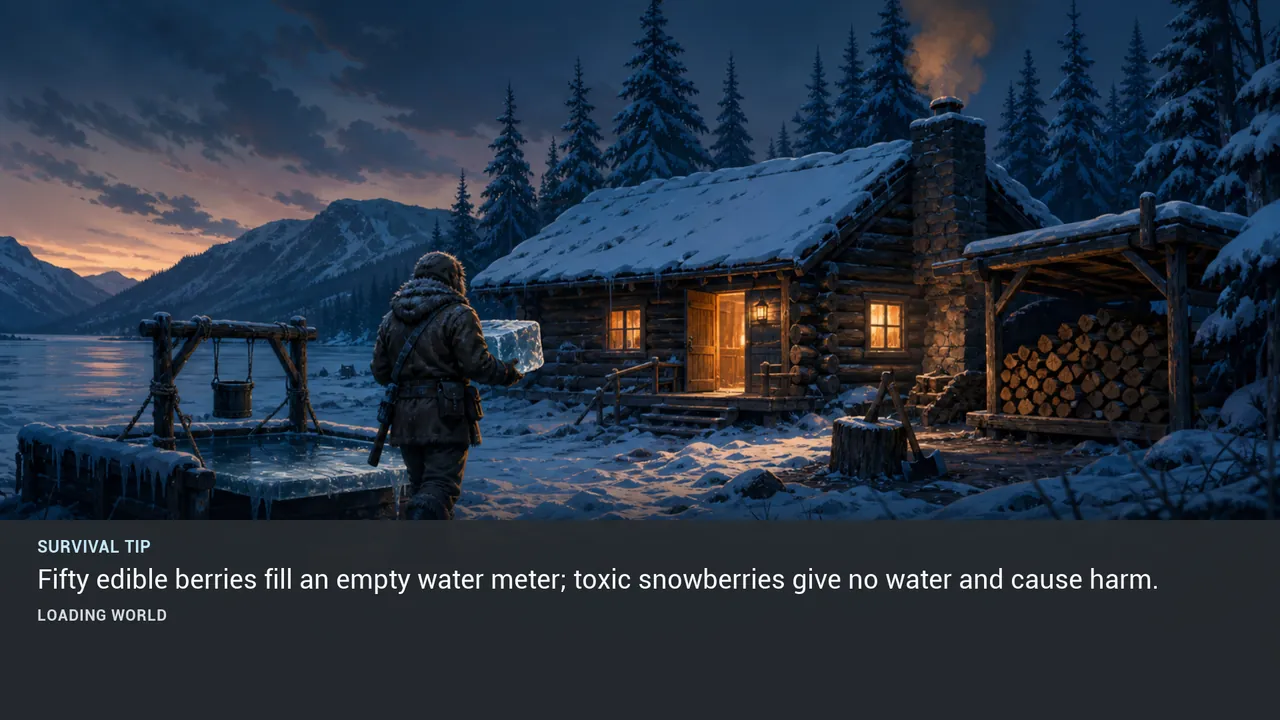
TIP 038 #
Fifty edible berries fill an empty water meter; toxic snowberries give no water and cause harm.
View illustration at full size →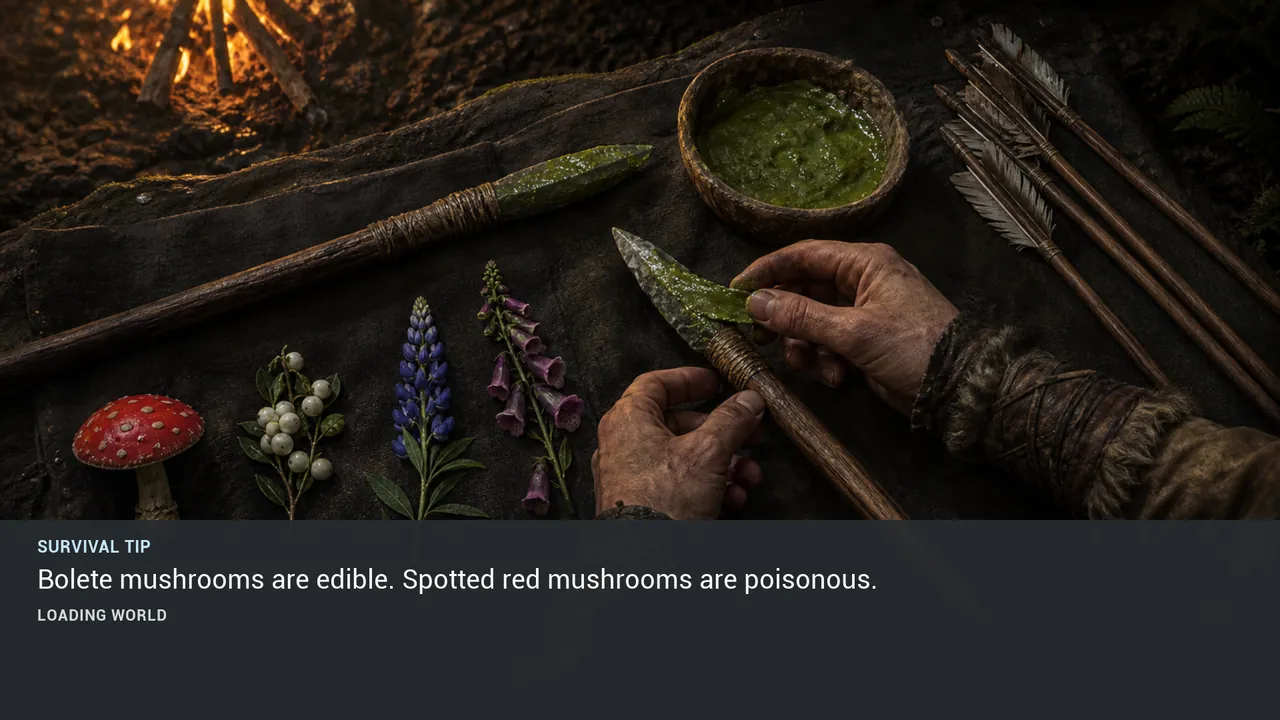
TIP 039 #
Bolete mushrooms are edible. Spotted red mushrooms are poisonous.
View illustration at full size →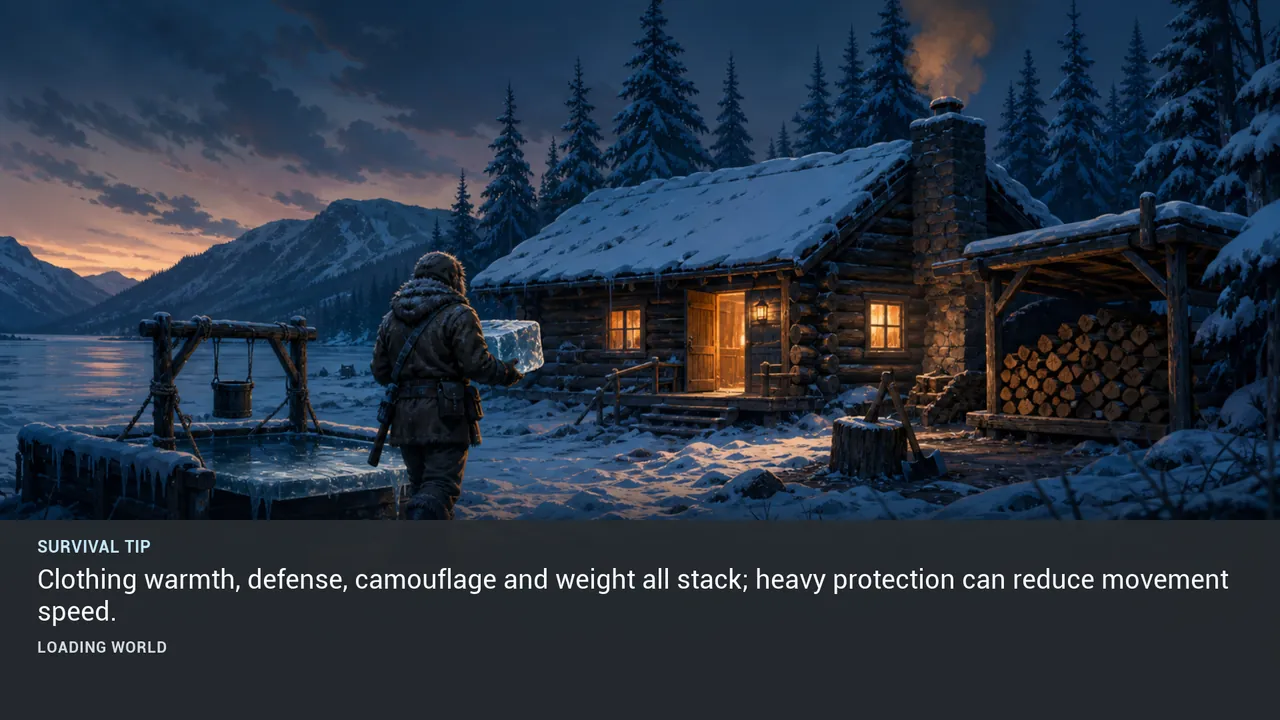
TIP 040 #
Clothing warmth, defense, camouflage and weight all stack; heavy protection can reduce movement speed.
View illustration at full size →FIELD GUIDE / 04
19 verified loading-screen tips
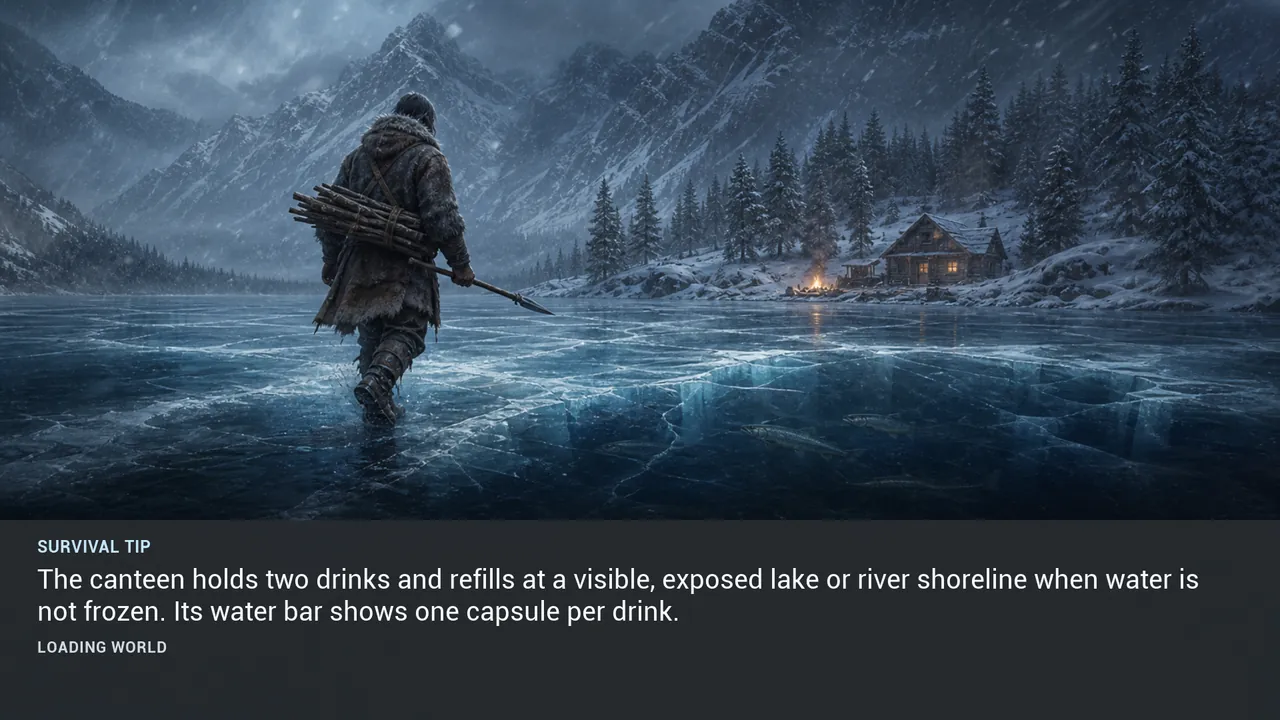
TIP 041 #
The canteen holds two drinks and refills at a visible, exposed lake or river shoreline when water is not frozen. Its water bar shows one capsule per drink.
View illustration at full size →
TIP 042 #
Terrain or structures above a hidden water plane block drinking; move to the visible land-water edge.
View illustration at full size →
TIP 043 #
A Birch Bark Cup holds one small drink. Equip it, press E at exposed water to fill, then RMB to drink.
View illustration at full size →
TIP 044 #
Outdoor Water Collectors catch rain. A collector built inside a completed house never fills from weather.
View illustration at full size →
TIP 045 #
A full outdoor collector freezes in winter and keeps its full appearance until its ice is taken.
View illustration at full size →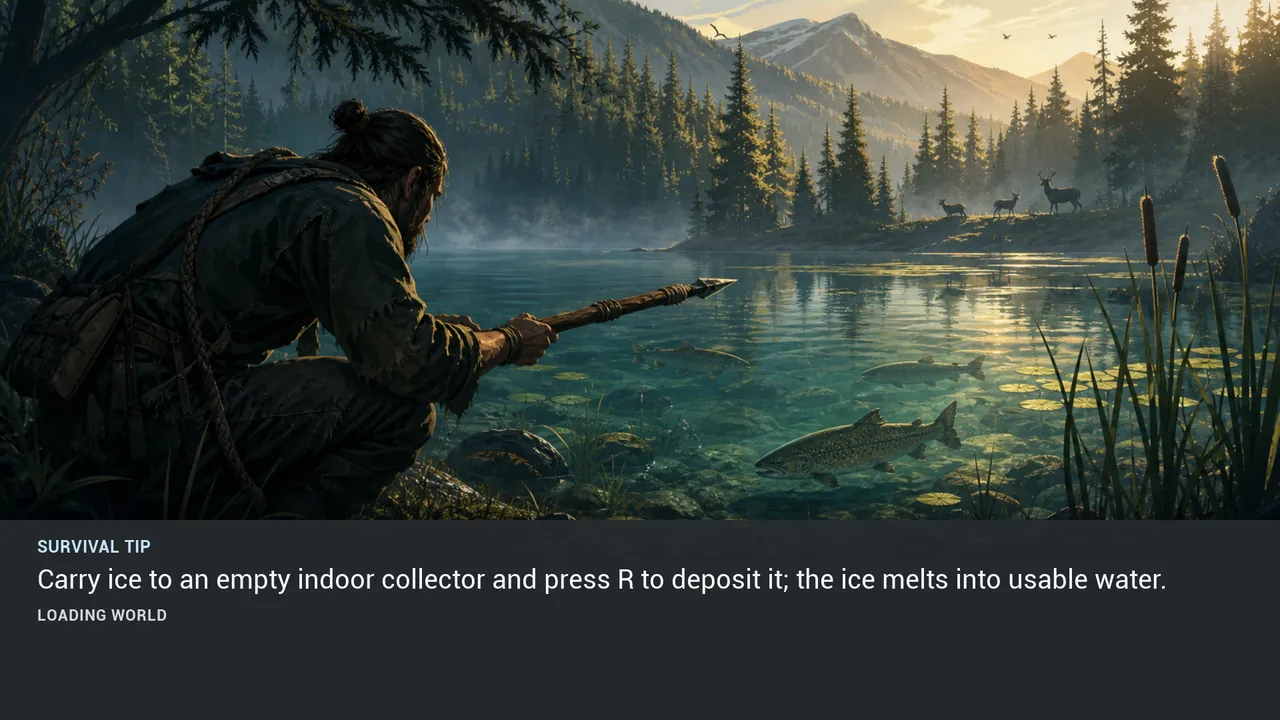
TIP 046 #
Carry ice to an empty indoor collector and press R to deposit it; the ice melts into usable water.
View illustration at full size →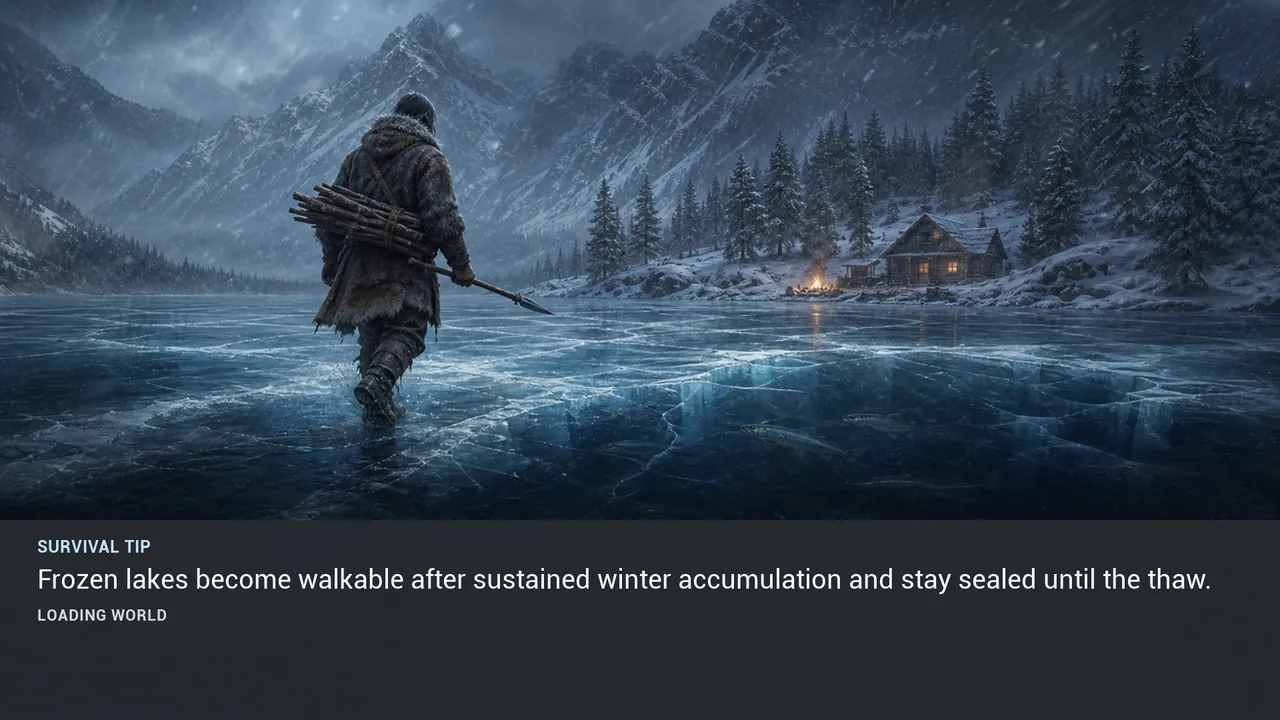
TIP 047 #
Frozen lakes become walkable after sustained winter accumulation and stay sealed until the thaw.
View illustration at full size →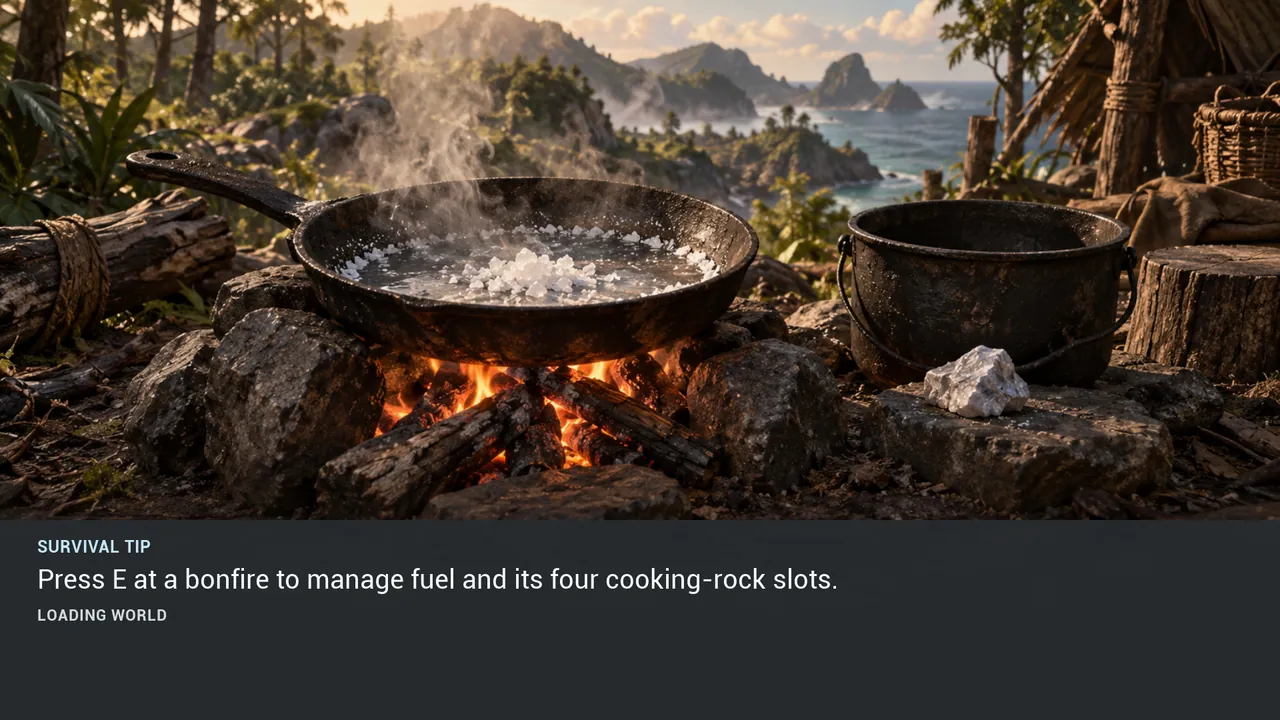
TIP 048 #
Press E at a bonfire to manage fuel and its four cooking-rock slots.
View illustration at full size →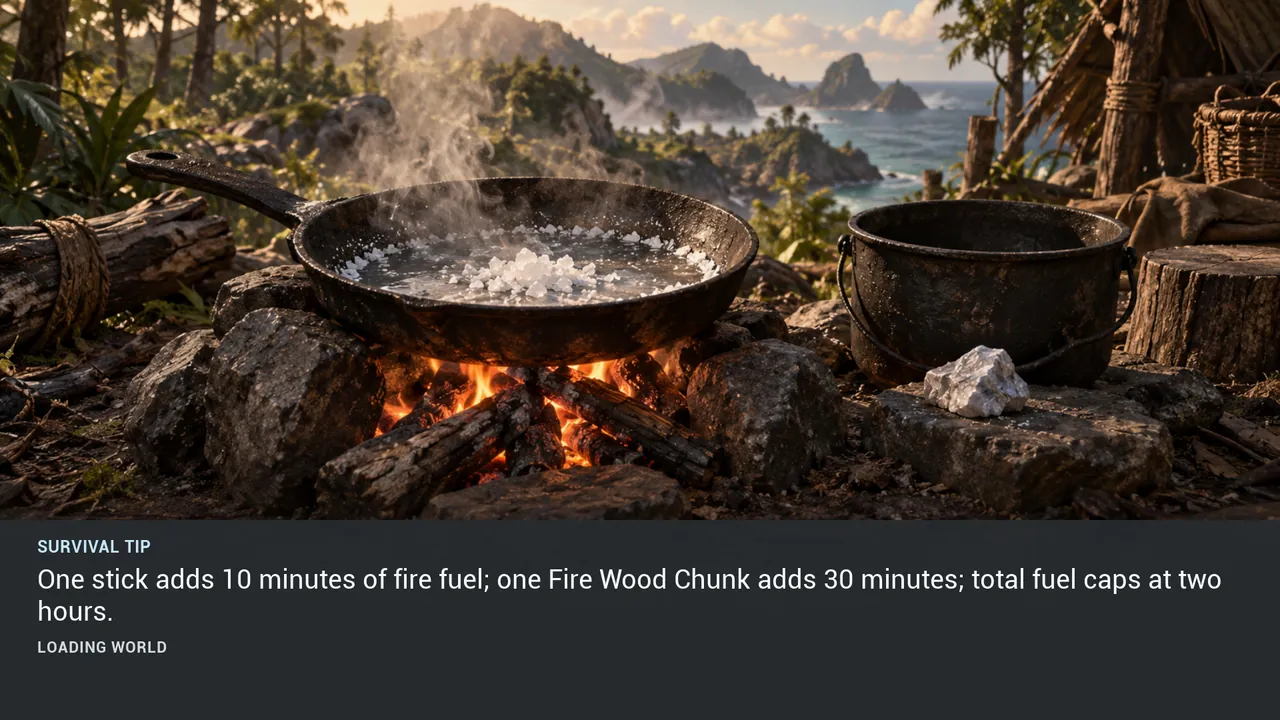
TIP 049 #
One stick adds 10 minutes of fire fuel; one Fire Wood Chunk adds 30 minutes; total fuel caps at two hours.
View illustration at full size →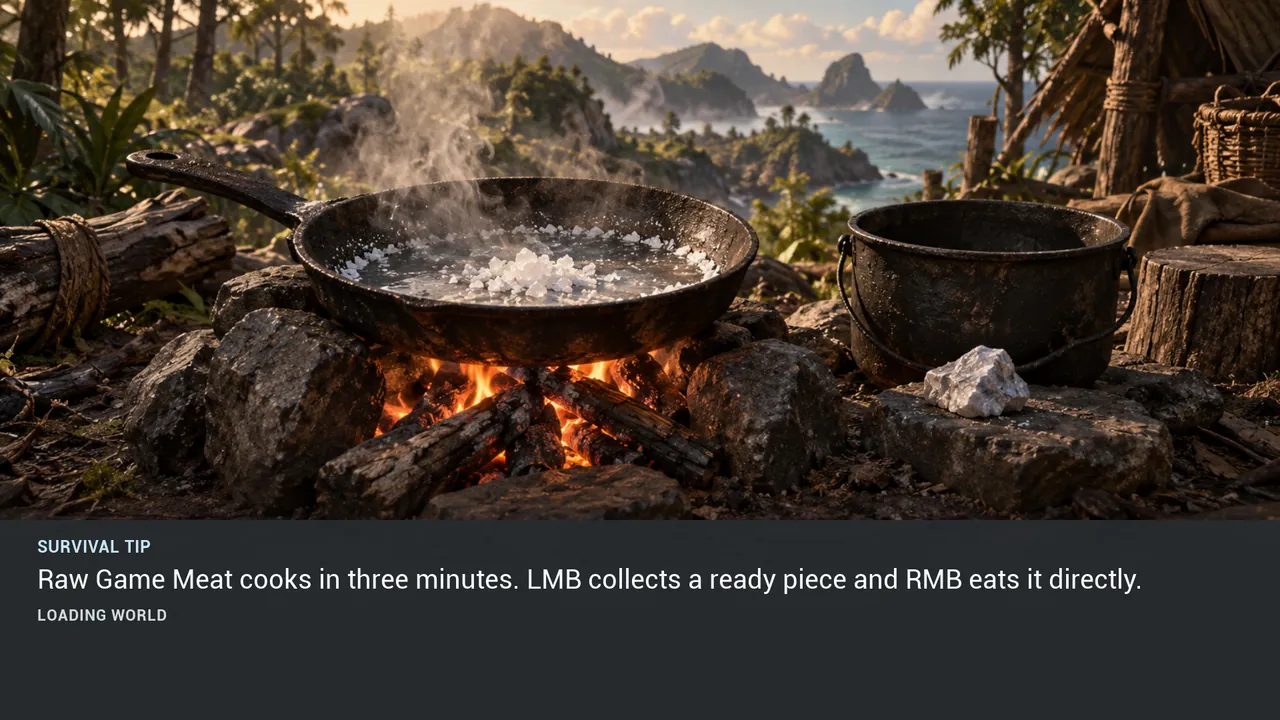
TIP 050 #
Raw Game Meat cooks in three minutes. LMB collects a ready piece and RMB eats it directly.
View illustration at full size →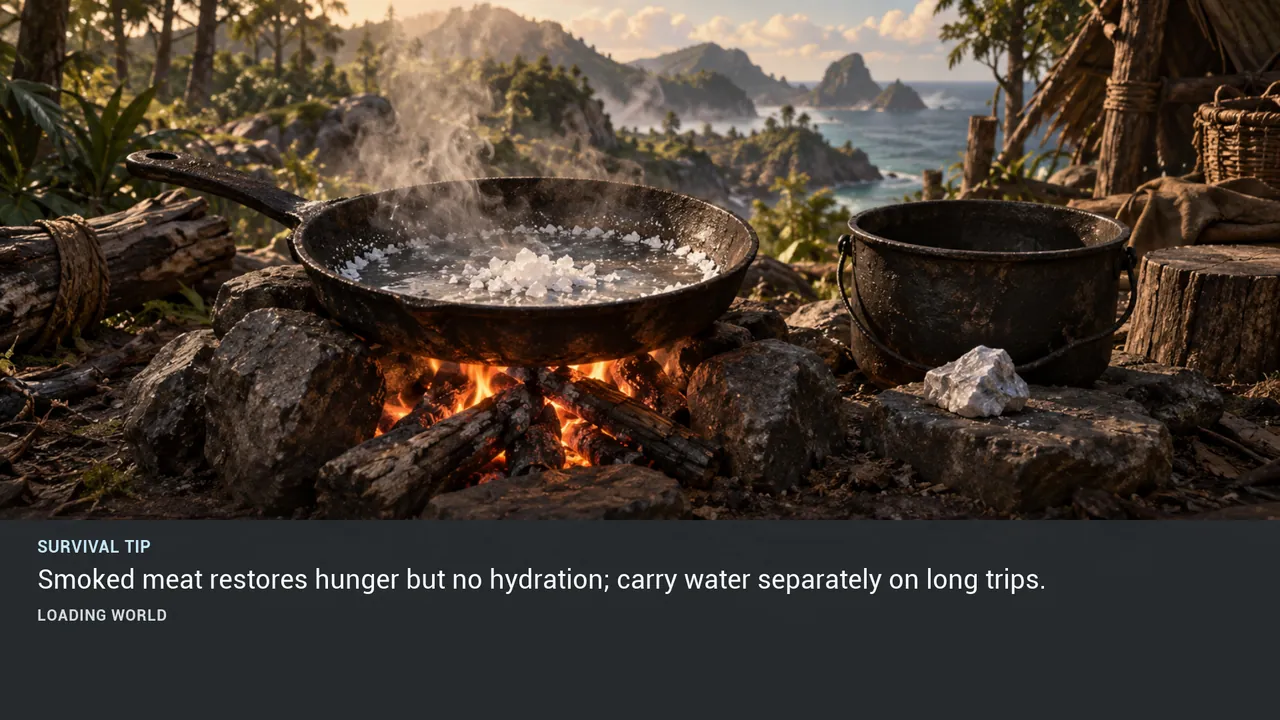
TIP 051 #
Smoked meat restores hunger but no hydration; carry water separately on long trips.
View illustration at full size →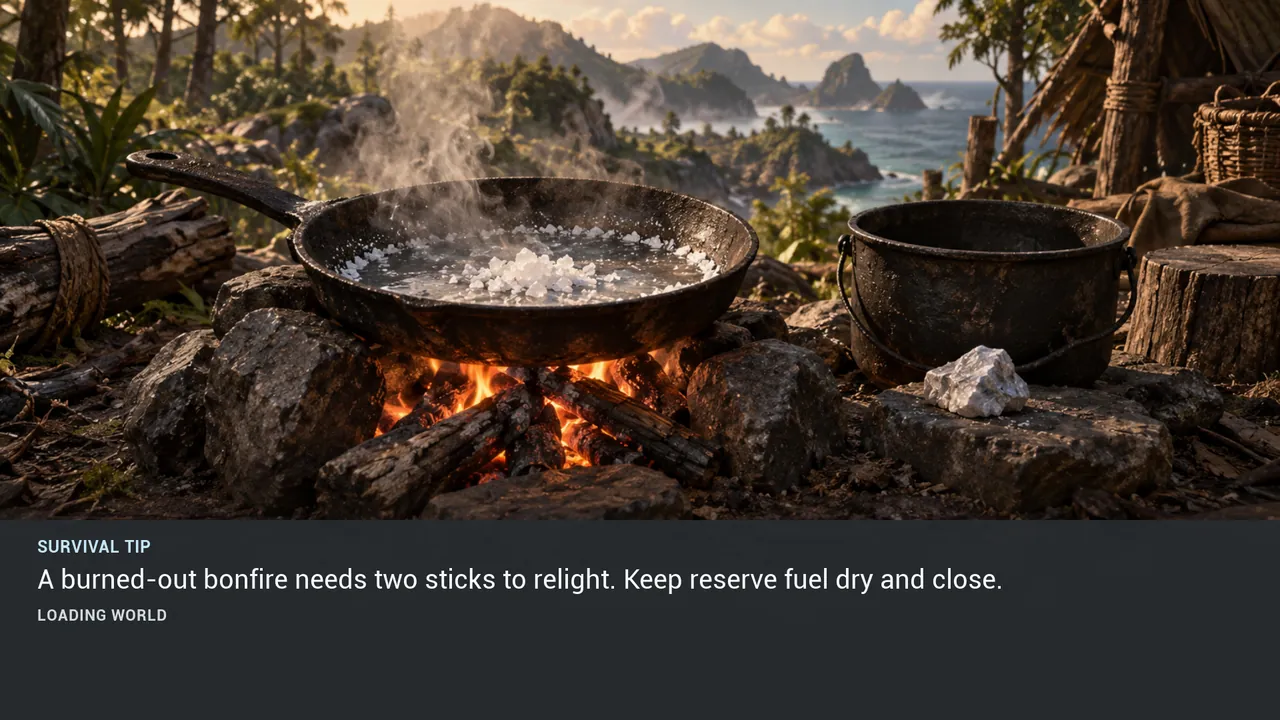
TIP 052 #
A burned-out bonfire needs two sticks to relight. Keep reserve fuel dry and close.
View illustration at full size →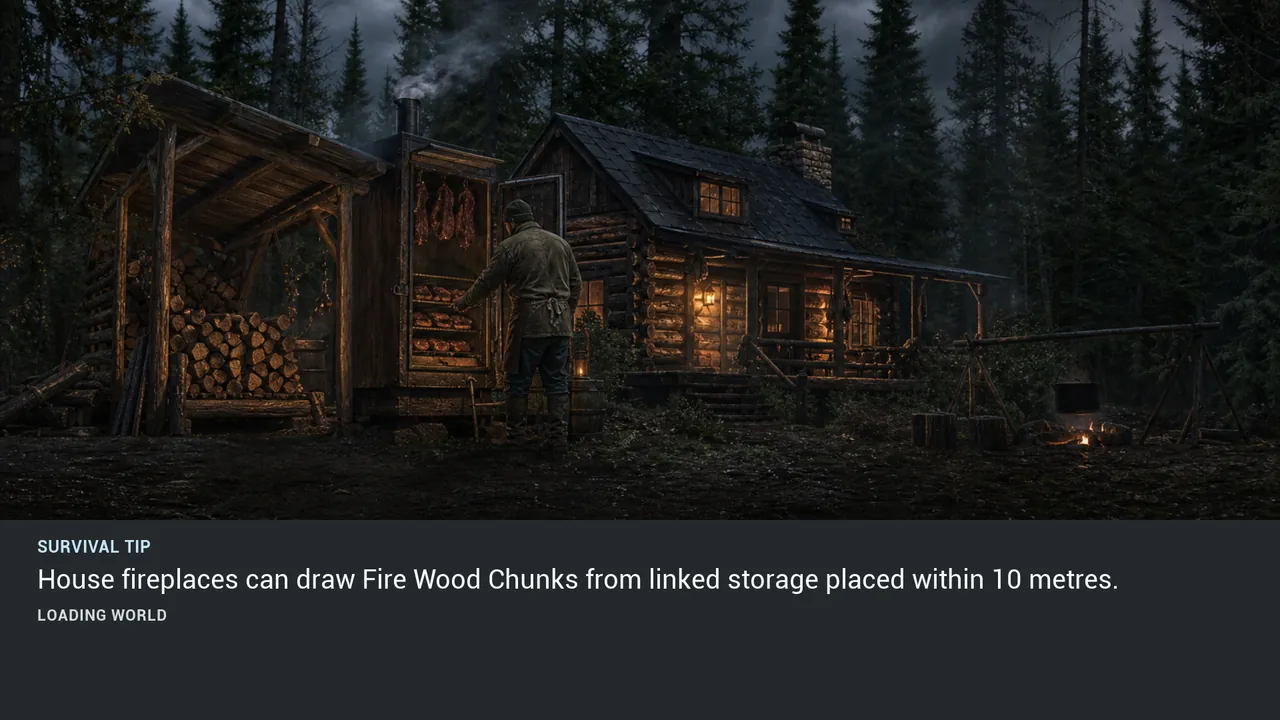
TIP 053 #
House fireplaces can draw Fire Wood Chunks from linked storage placed within 10 metres.
View illustration at full size →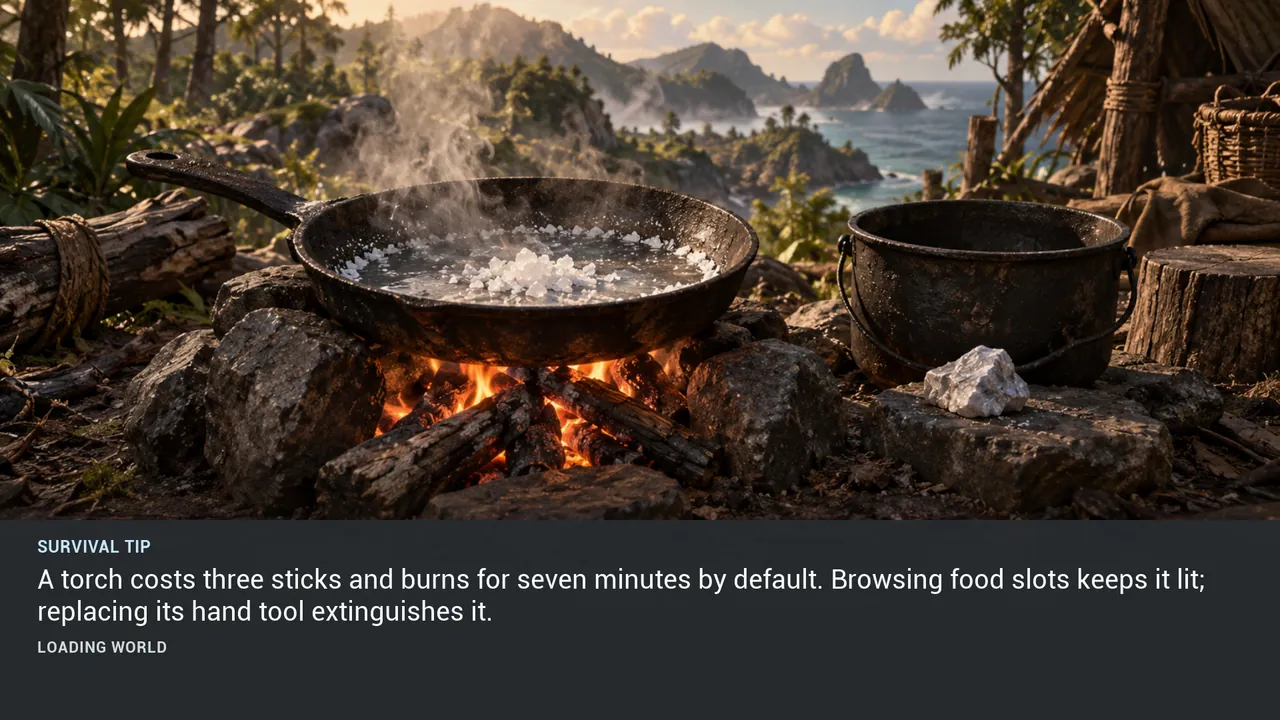
TIP 054 #
A torch costs three sticks and burns for seven minutes by default. Browsing food slots keeps it lit; replacing its hand tool extinguishes it.
View illustration at full size →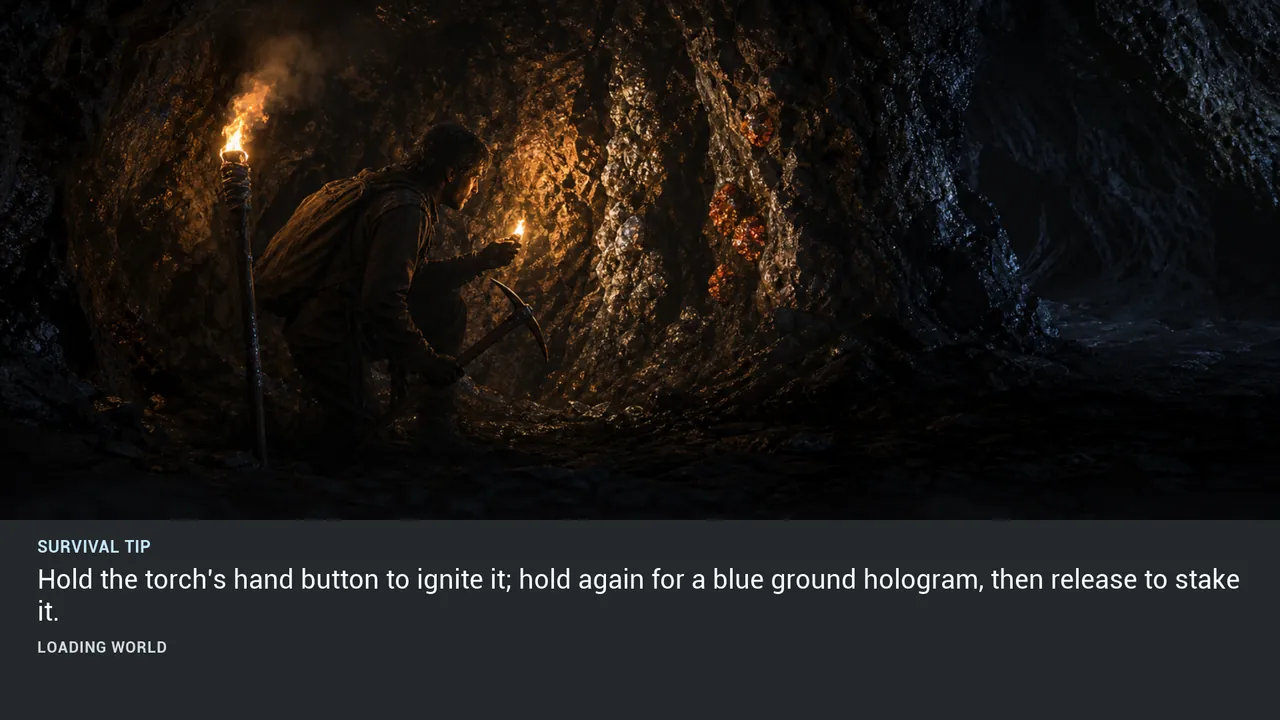
TIP 055 #
Hold the torch's hand button to ignite it; hold again for a blue ground hologram, then release to stake it.
View illustration at full size →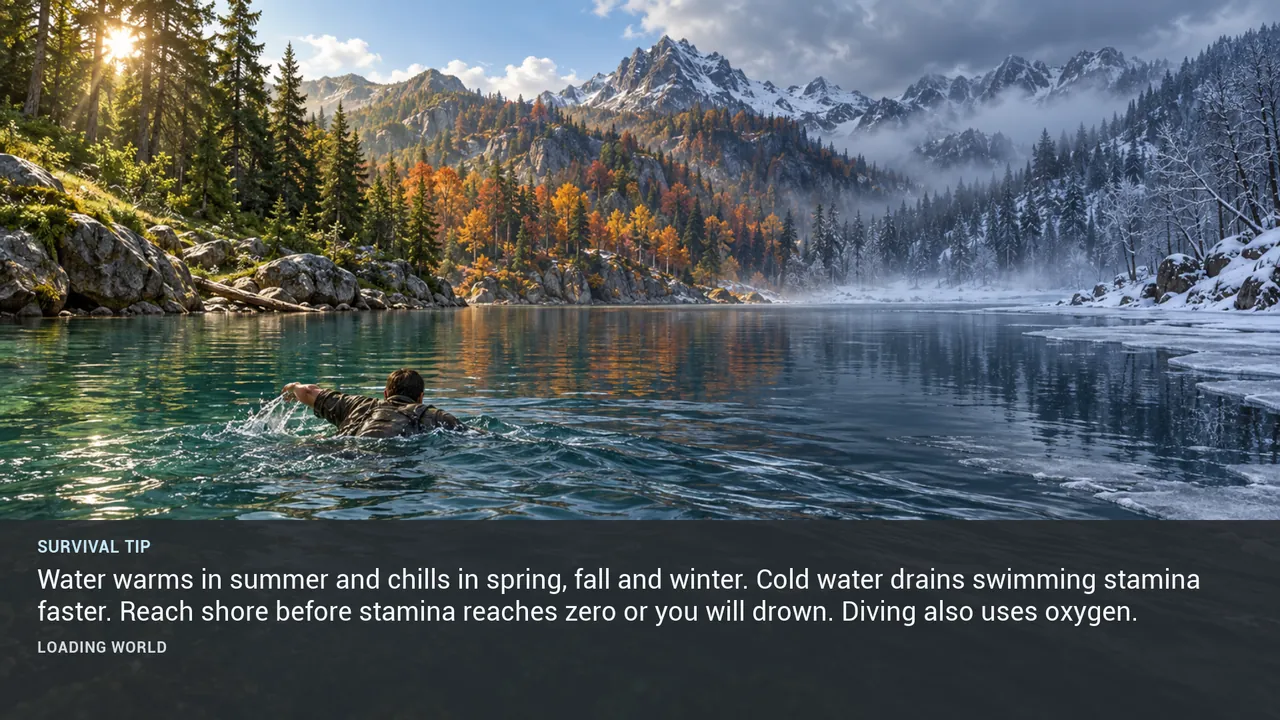
TIP 126 #
Water warms in summer and chills in spring, fall and winter. Cold water drains swimming stamina faster. Reach shore before stamina reaches zero or you will drown. Diving also uses oxygen.
View illustration at full size →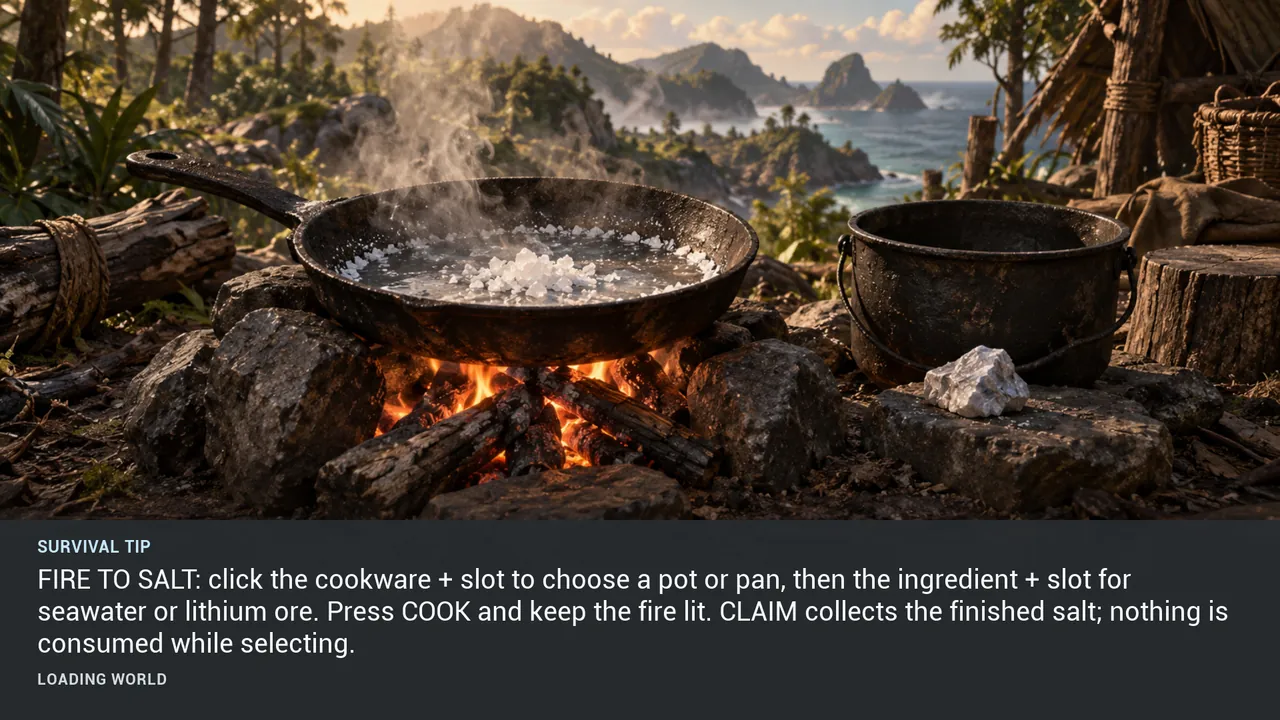
TIP 128 #
FIRE TO SALT: click the cookware + slot to choose a pot or pan, then the ingredient + slot for seawater or lithium ore. Press COOK and keep the fire lit. CLAIM collects the finished salt; nothing is consumed while selecting.
View illustration at full size →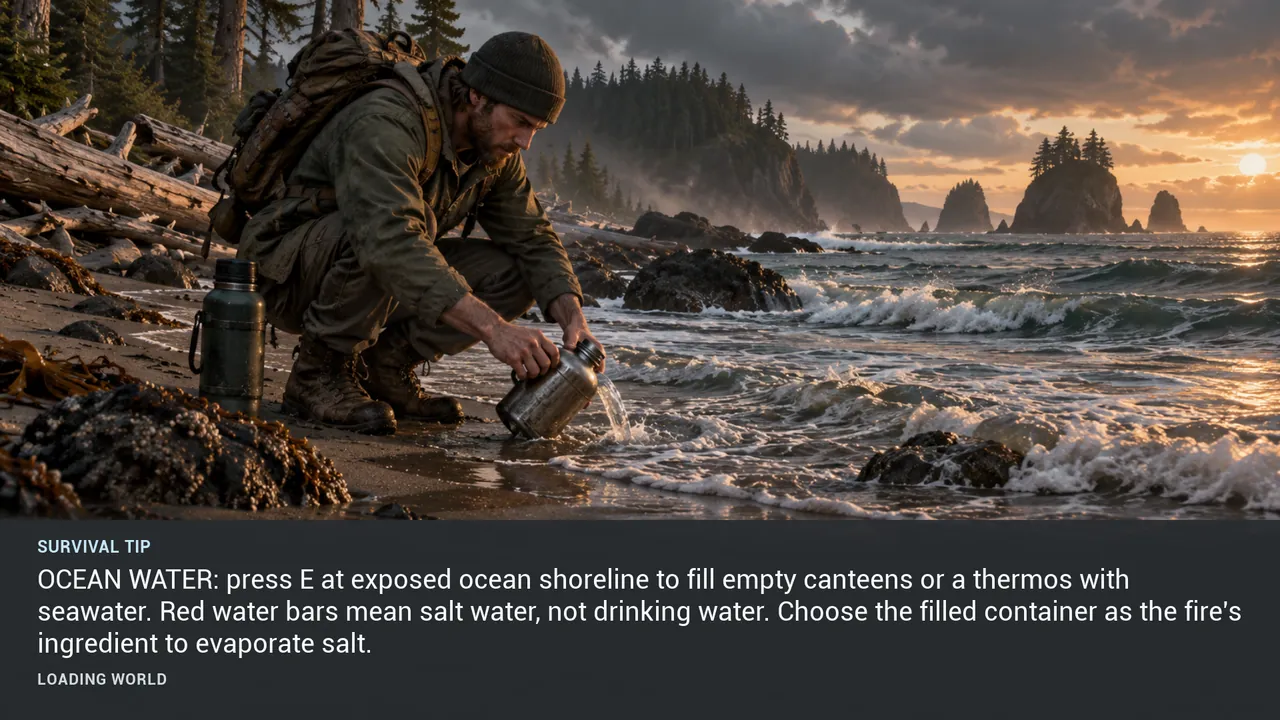
TIP 131 #
OCEAN WATER: press E at exposed ocean shoreline to fill empty canteens or a thermos with seawater. Red water bars mean salt water, not drinking water. Choose the filled container as the fire's ingredient to evaporate salt.
View illustration at full size →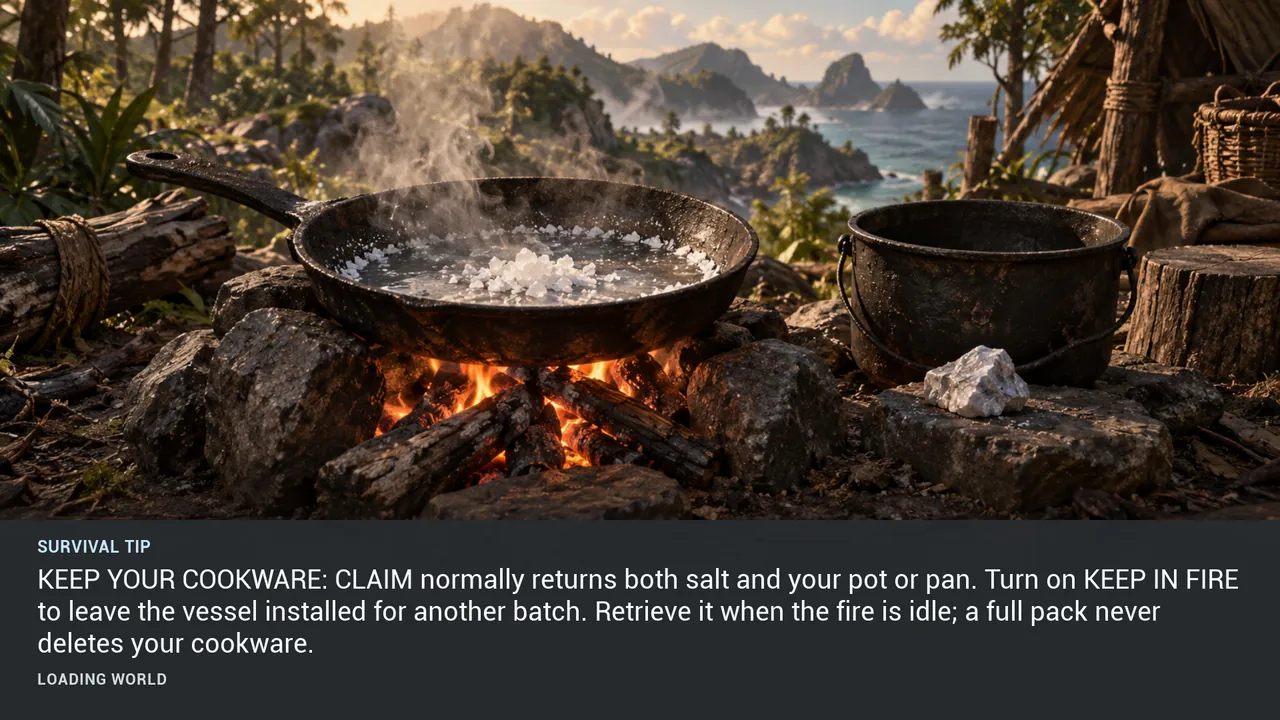
TIP 132 #
KEEP YOUR COOKWARE: CLAIM normally returns both salt and your pot or pan. Turn on KEEP IN FIRE to leave the vessel installed for another batch. Retrieve it when the fire is idle; a full pack never deletes your cookware.
View illustration at full size →FIELD GUIDE / 05
20 verified loading-screen tips
TIP 056 #
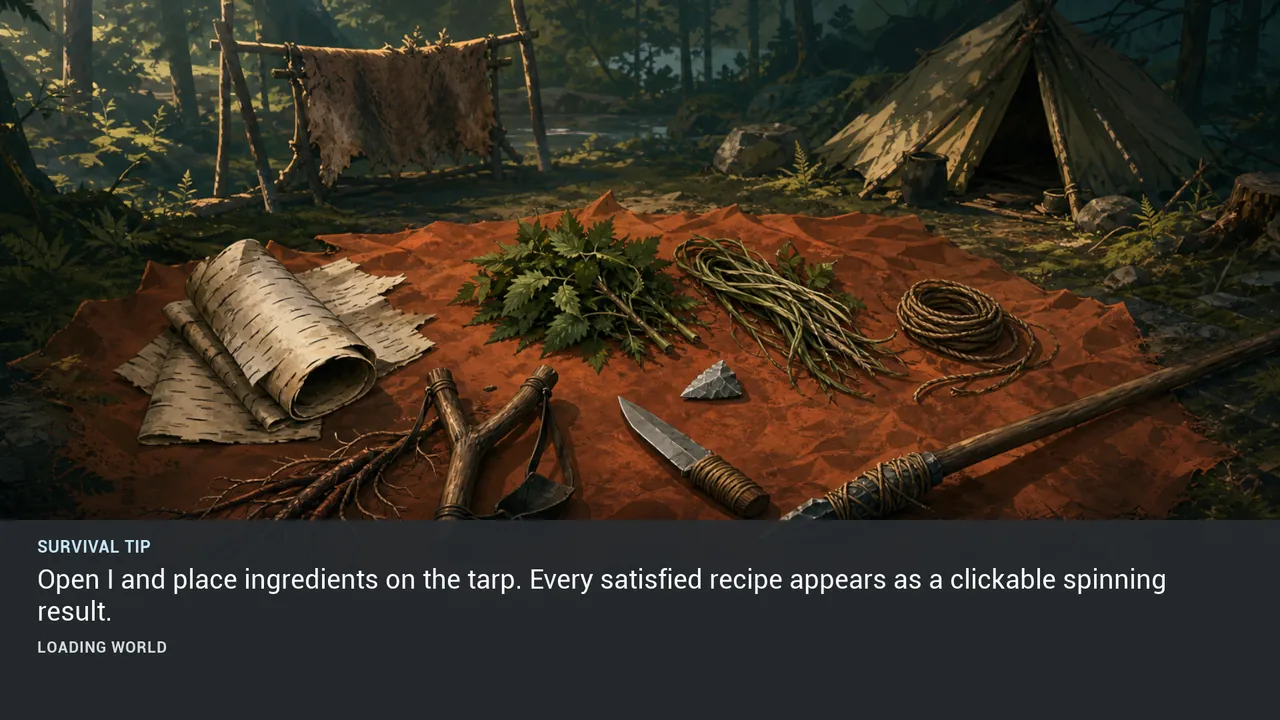
Open I and place ingredients on the tarp. Every satisfied recipe appears as a clickable spinning result.
View illustration at full size →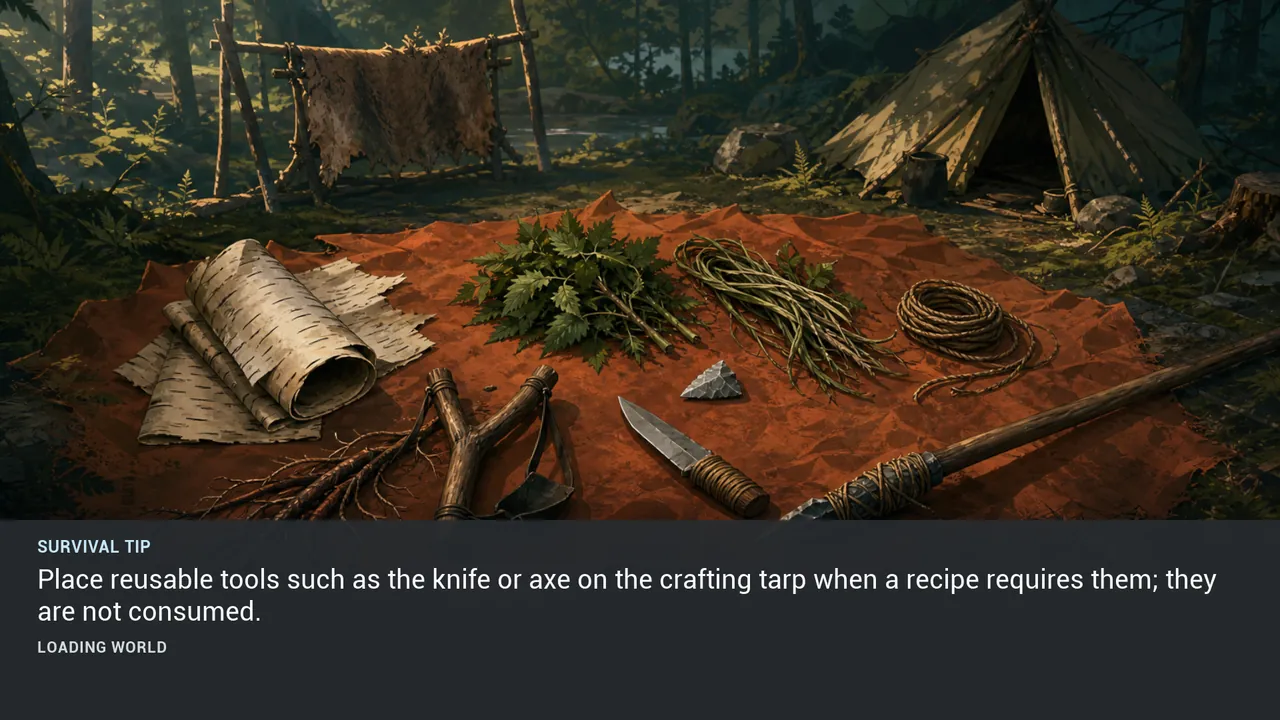
TIP 057 #
Place reusable tools such as the knife or axe on the crafting tarp when a recipe requires them; they are not consumed.
View illustration at full size →
TIP 058 #
Most animal harvests give WET pelts. Dry them before using them in clothing recipes.
View illustration at full size →
TIP 059 #
Rabbit pelts cannot go directly on the dryer: combine exactly four Rabbit Pelt WET into Rabbit Fur WET first.
View illustration at full size →
TIP 060 #
Dry Rabbit Fur WET on the Pelt Dryer to make Rabbit Fur DRY.
View illustration at full size →
TIP 061 #
Place one Rock and the reusable Axe on the tarp to choose five Stone Arrow Heads or five Slingshot Rocks.
View illustration at full size →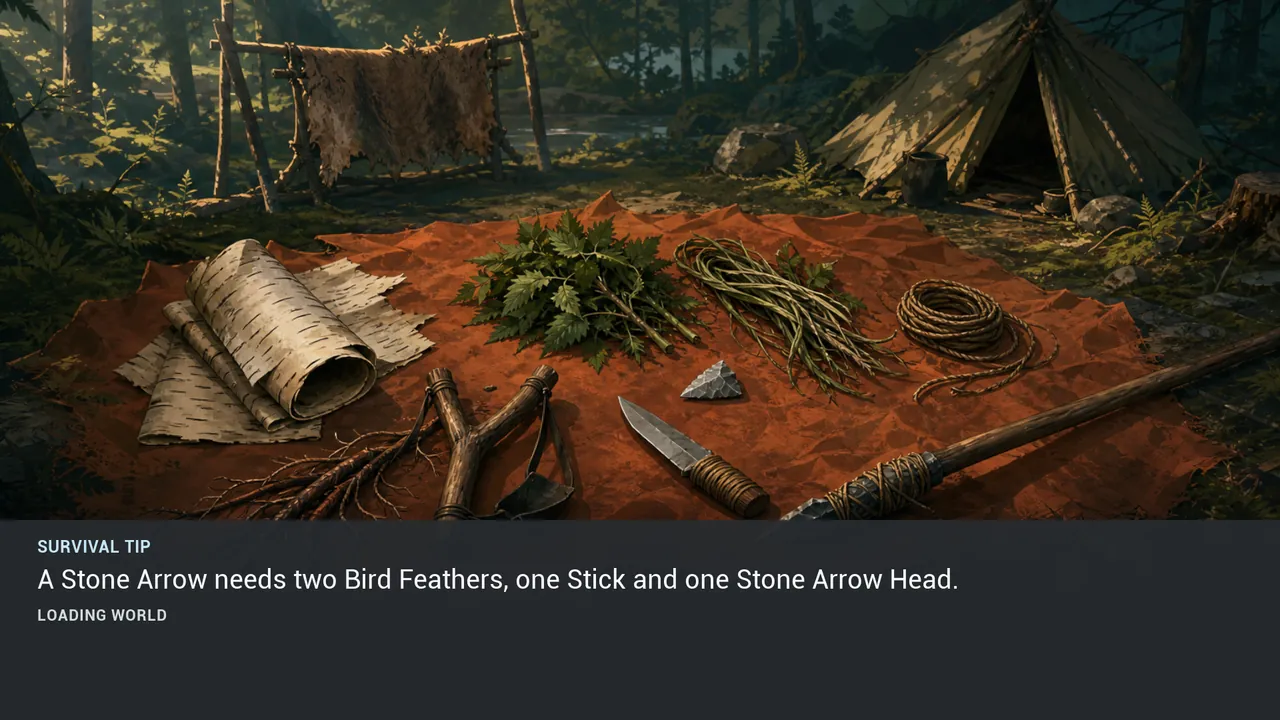
TIP 062 #
A Stone Arrow needs two Bird Feathers, one Stick and one Stone Arrow Head.
View illustration at full size →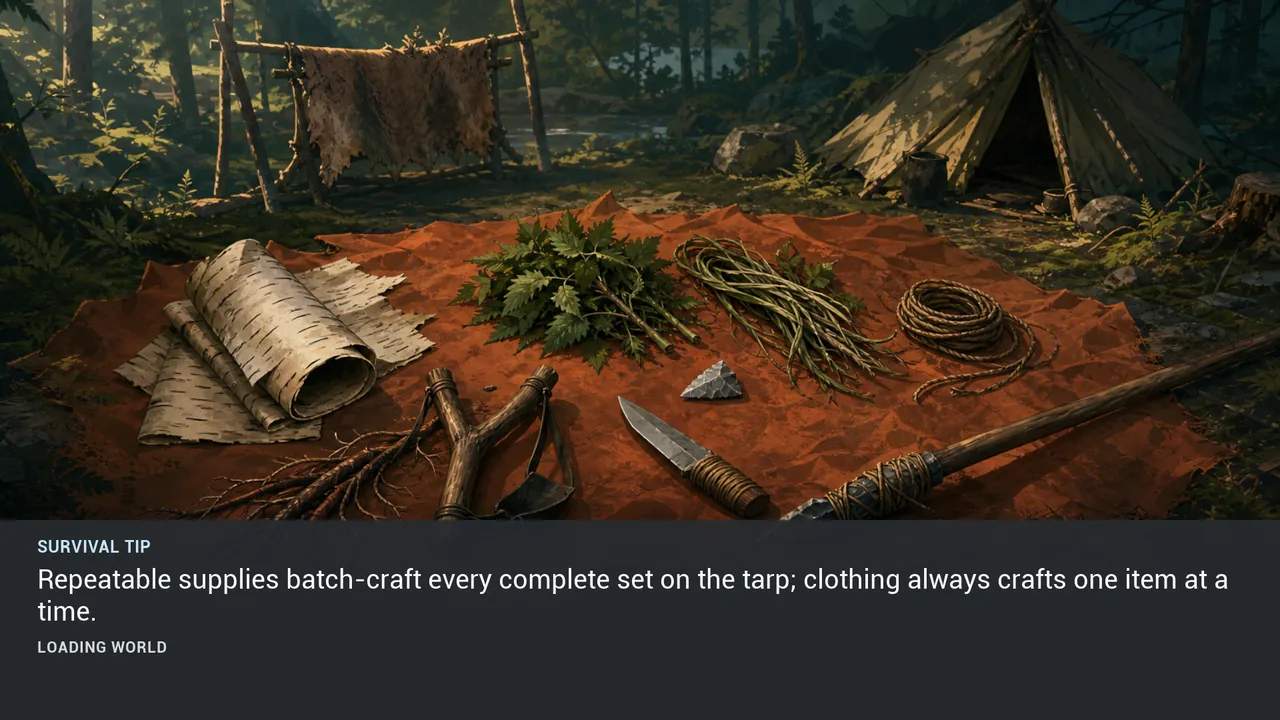
TIP 063 #
Repeatable supplies batch-craft every complete set on the tarp; clothing always crafts one item at a time.
View illustration at full size →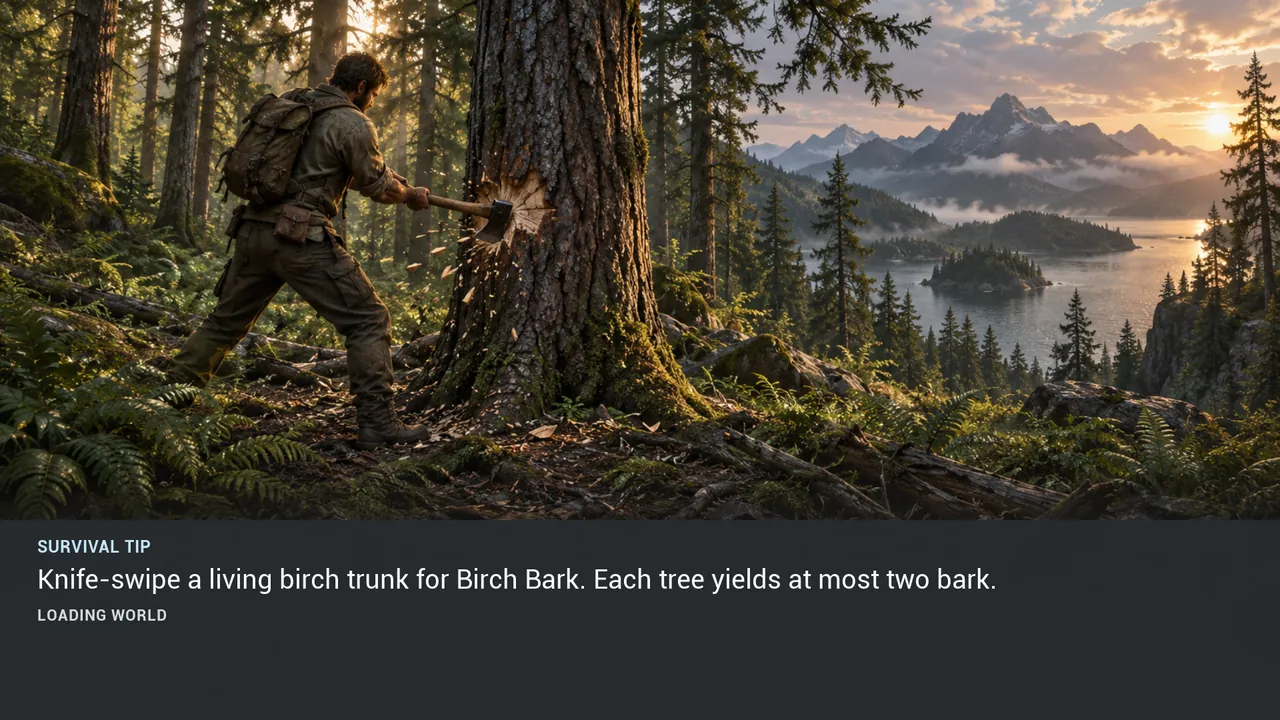
TIP 064 #
Knife-swipe a living birch trunk for Birch Bark. Each tree yields at most two bark.
View illustration at full size →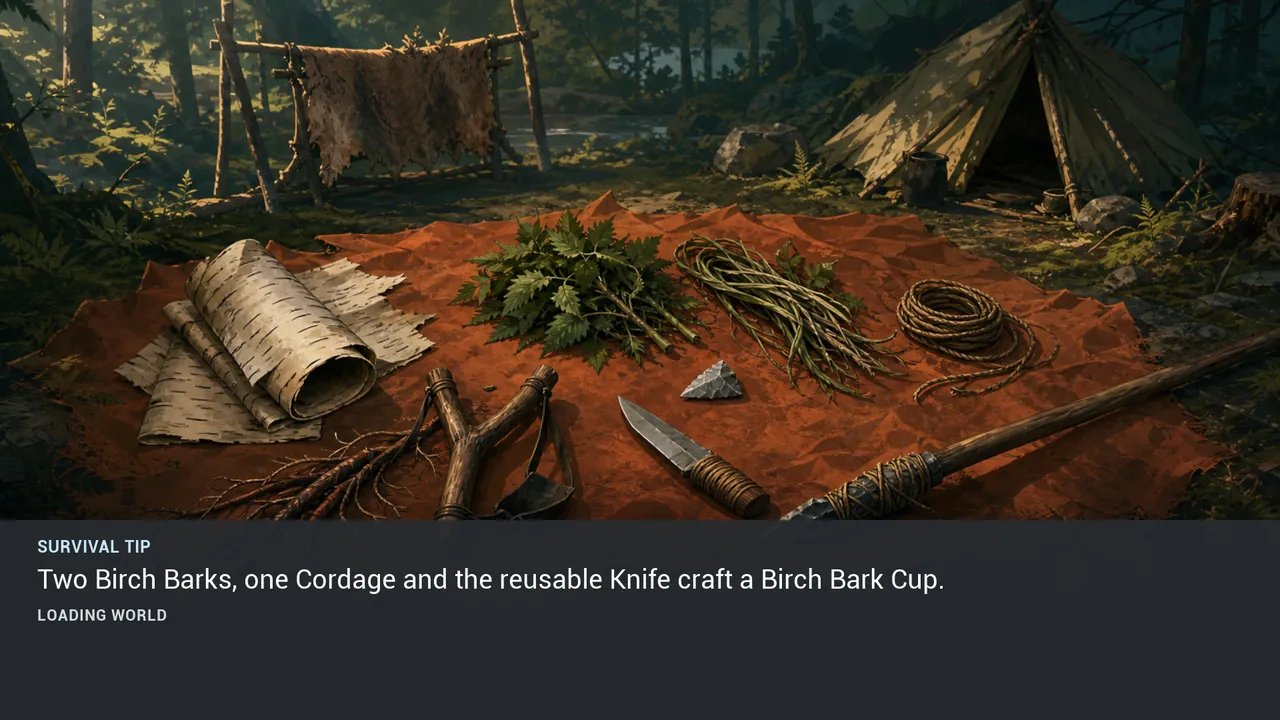
TIP 065 #
Two Birch Barks, one Cordage and the reusable Knife craft a Birch Bark Cup.
View illustration at full size →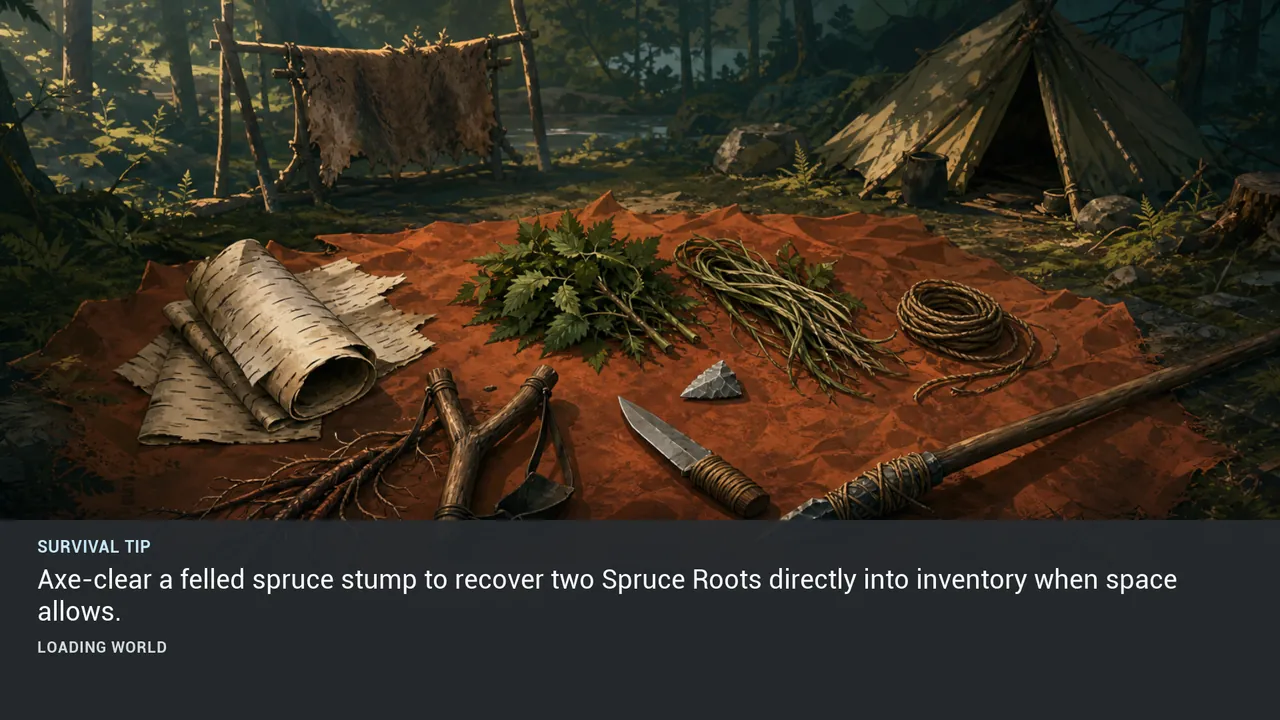
TIP 066 #
Axe-clear a felled spruce stump to recover two Spruce Roots directly into inventory when space allows.
View illustration at full size →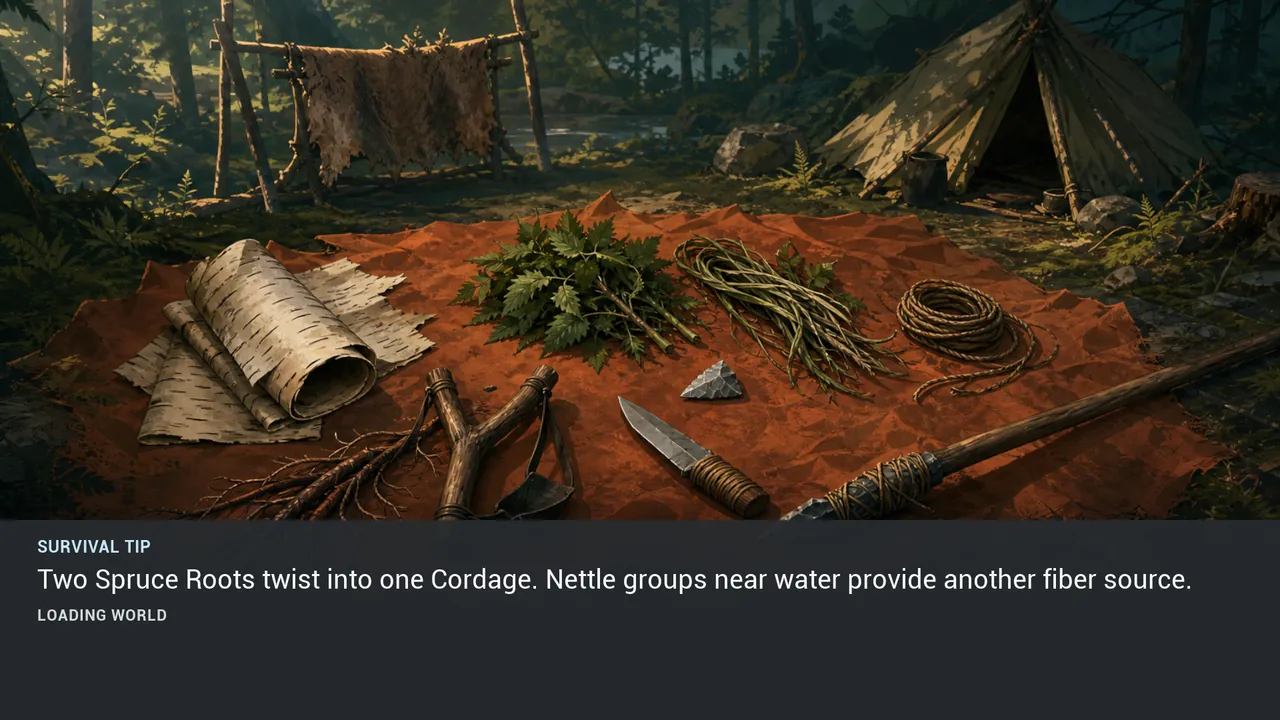
TIP 067 #
Two Spruce Roots twist into one Cordage. Nettle groups near water provide another fiber source.
View illustration at full size →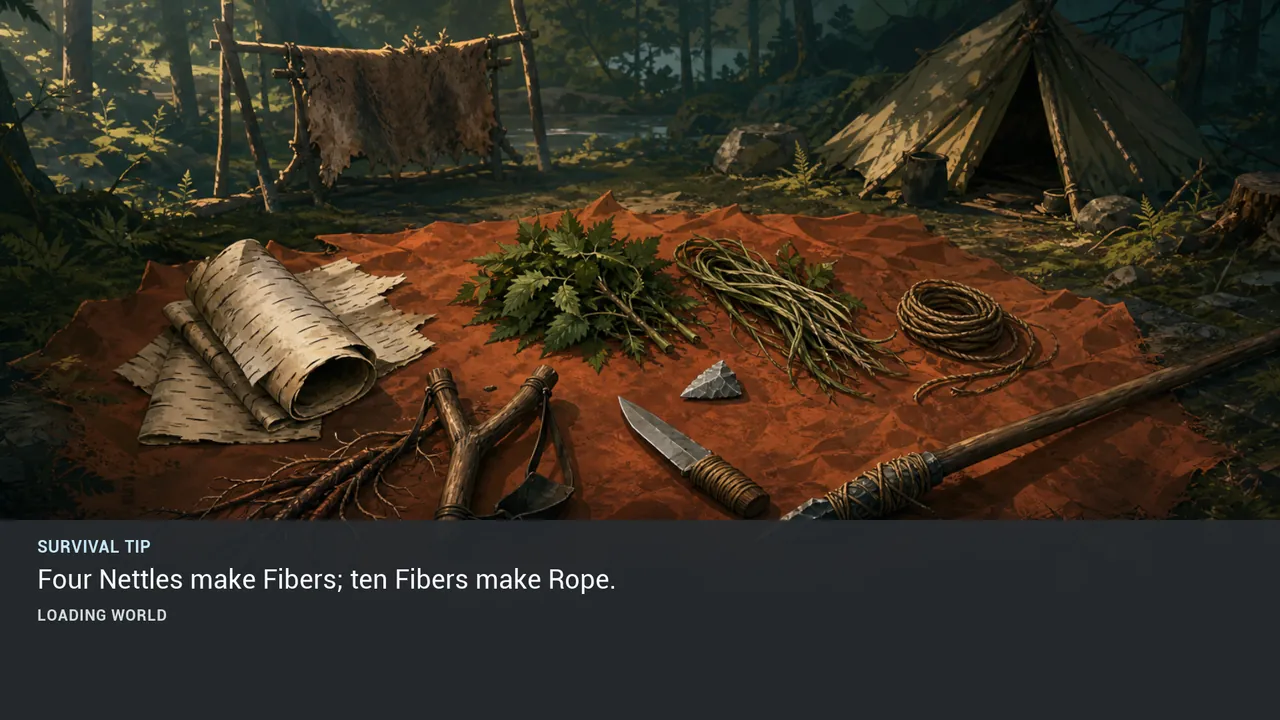
TIP 069 #
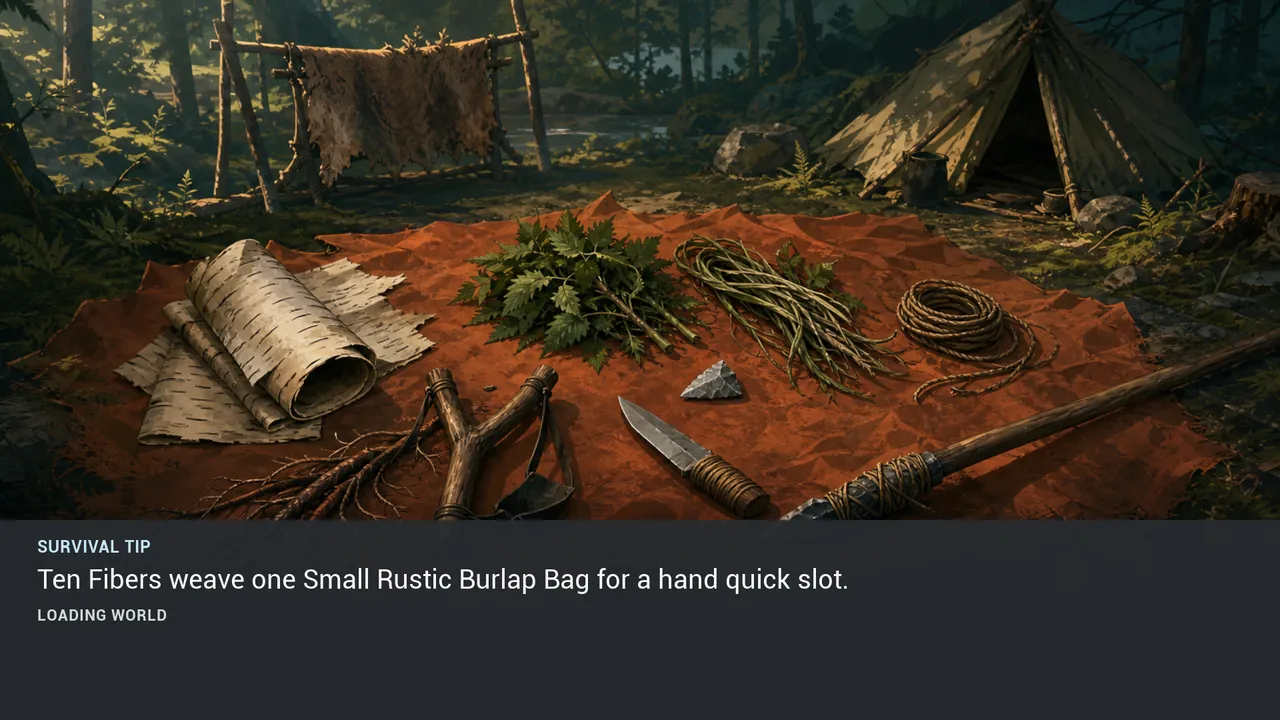
Ten Fibers weave one Small Rustic Burlap Bag for a hand quick slot.
View illustration at full size →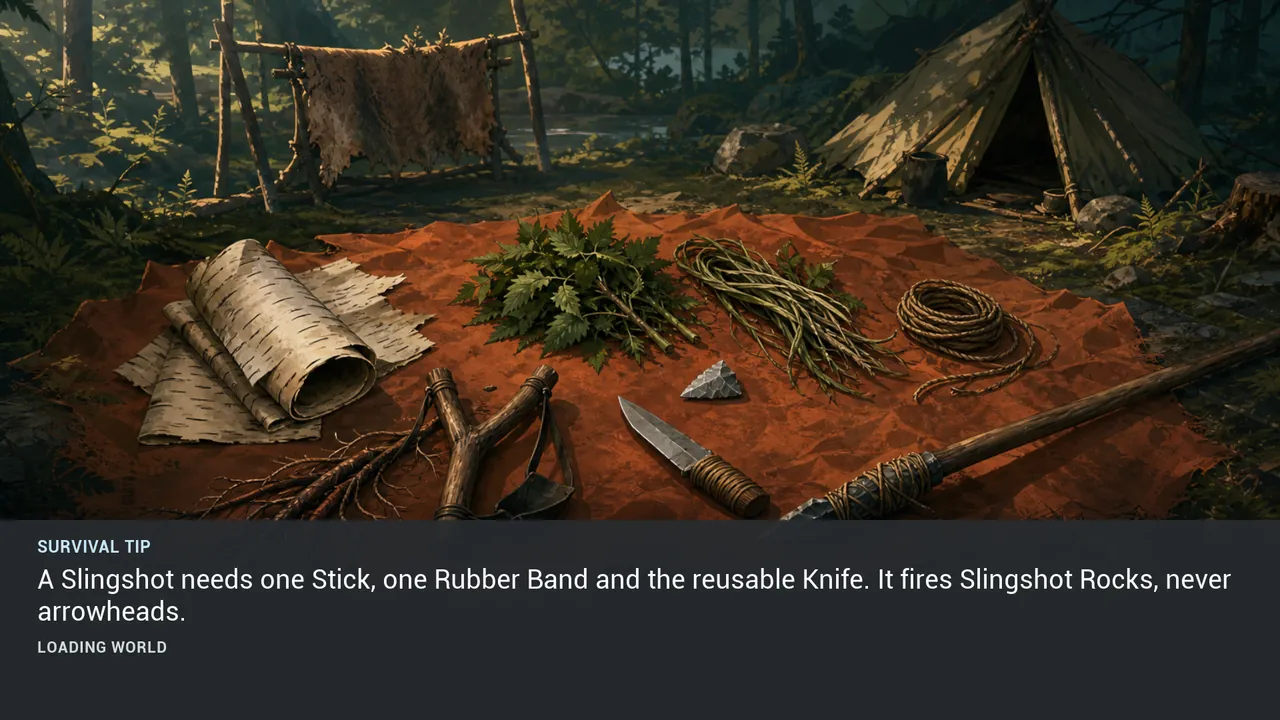
TIP 070 #
A Slingshot needs one Stick, one Rubber Band and the reusable Knife. It fires Slingshot Rocks, never arrowheads.
View illustration at full size →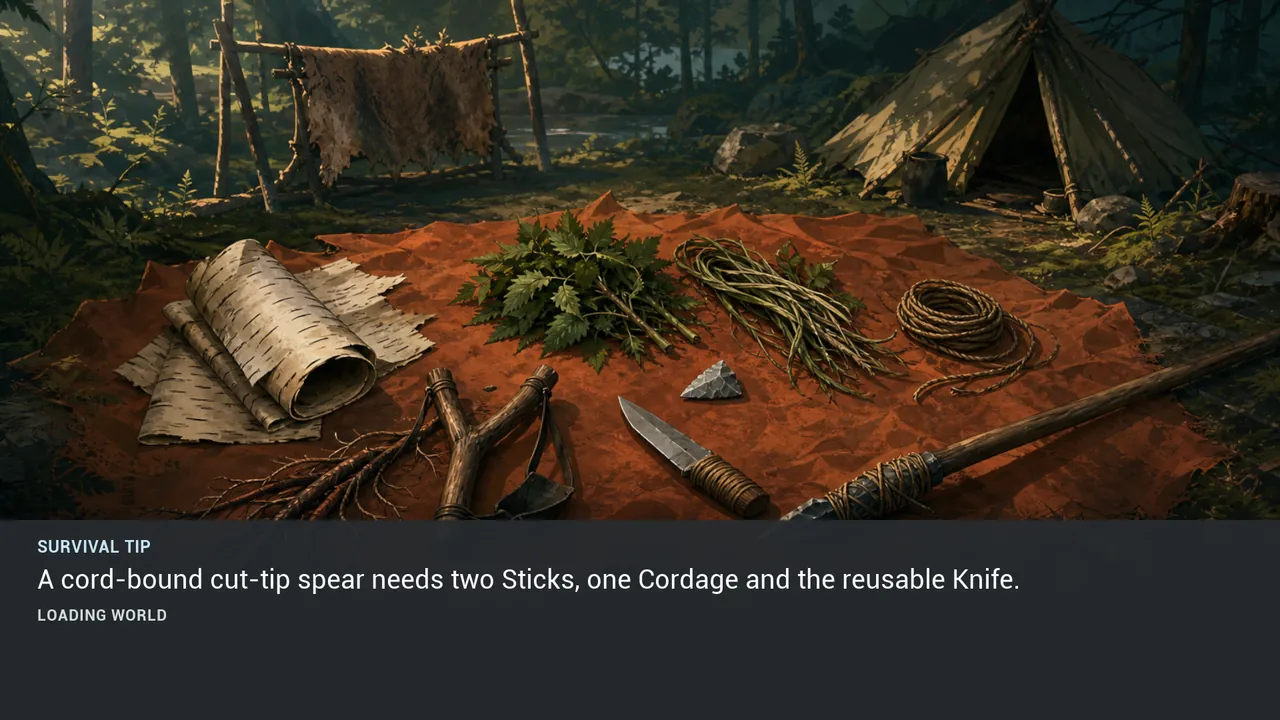
TIP 071 #
A cord-bound cut-tip spear needs two Sticks, one Cordage and the reusable Knife.
View illustration at full size →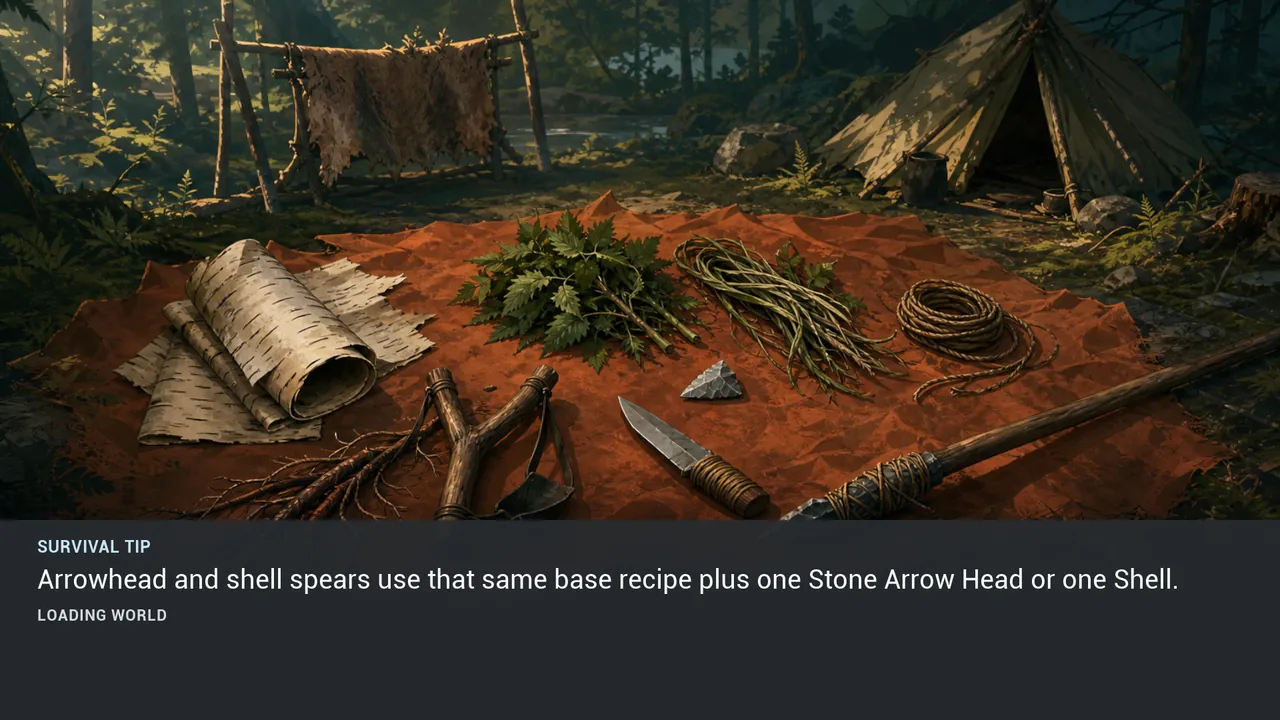
TIP 072 #
Arrowhead and shell spears use that same base recipe plus one Stone Arrow Head or one Shell.
View illustration at full size →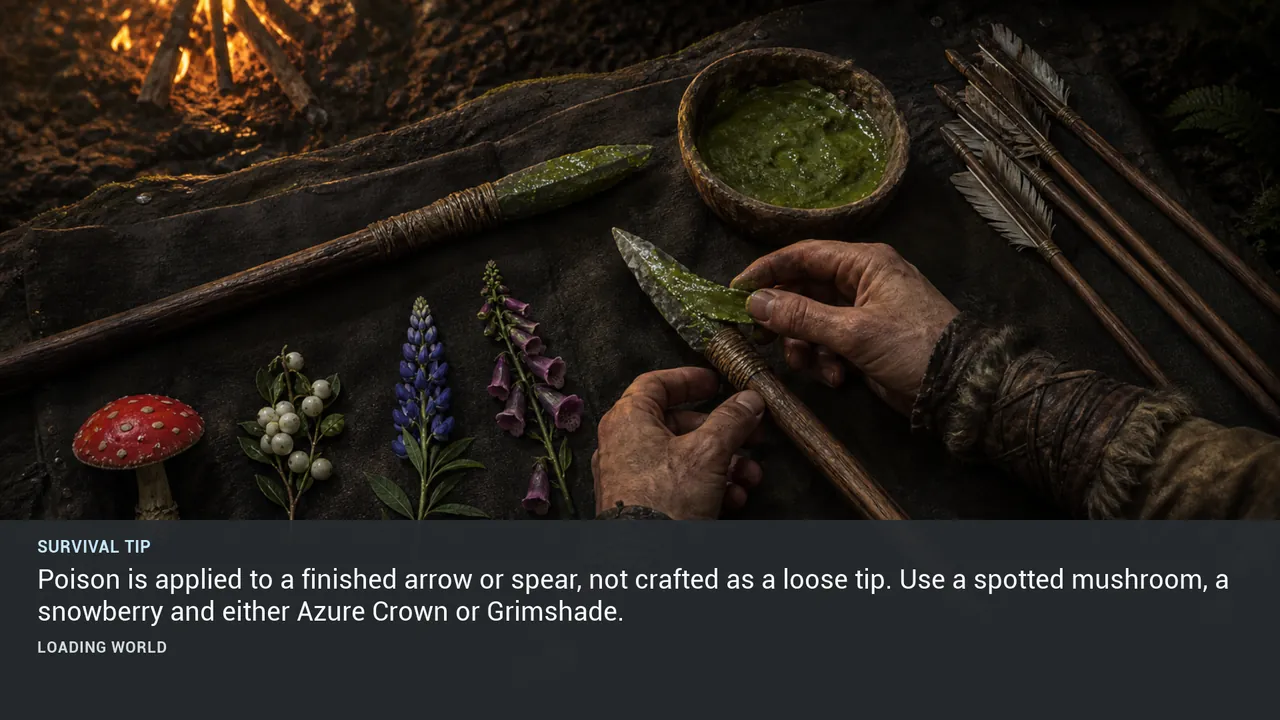
TIP 073 #
Poison is applied to a finished arrow or spear, not crafted as a loose tip. Use a spotted mushroom, a snowberry and either Azure Crown or Grimshade.
View illustration at full size →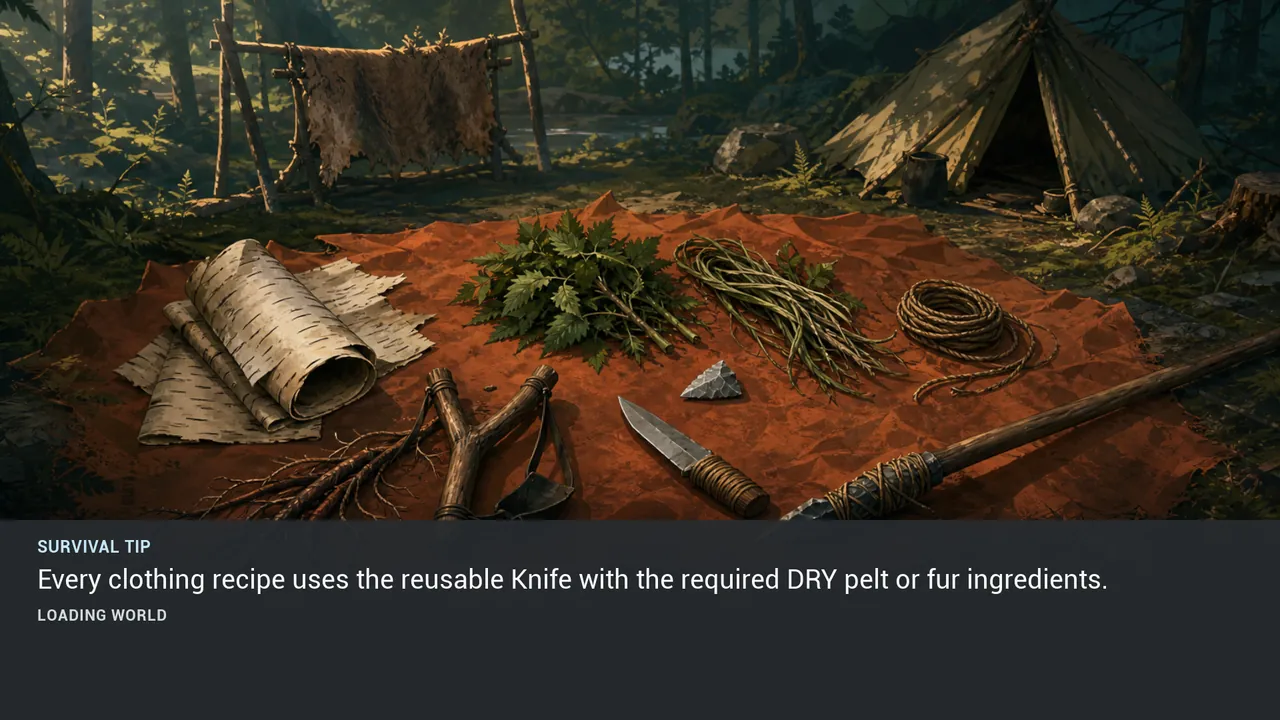
TIP 074 #
Every clothing recipe uses the reusable Knife with the required DRY pelt or fur ingredients.
View illustration at full size →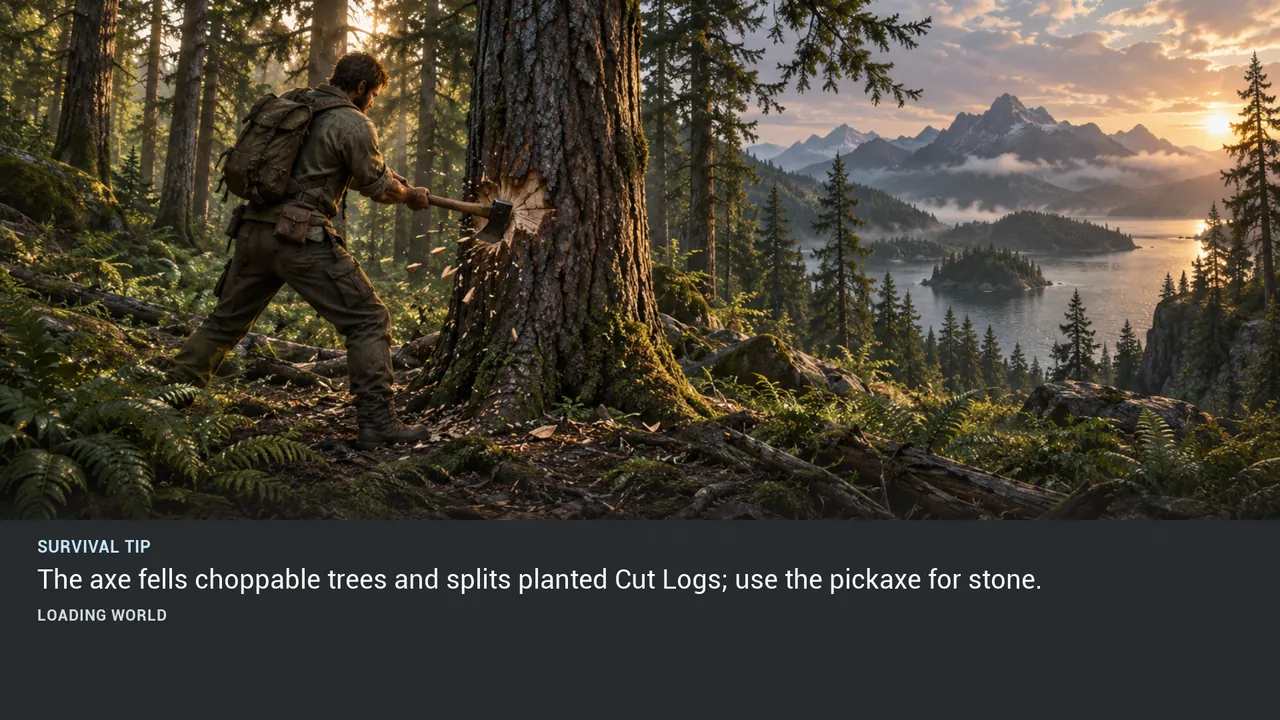
TIP 075 #
The axe fells choppable trees and splits planted Cut Logs; use the pickaxe for stone.
View illustration at full size →FIELD GUIDE / 06
12 verified loading-screen tips
TIP 076 #
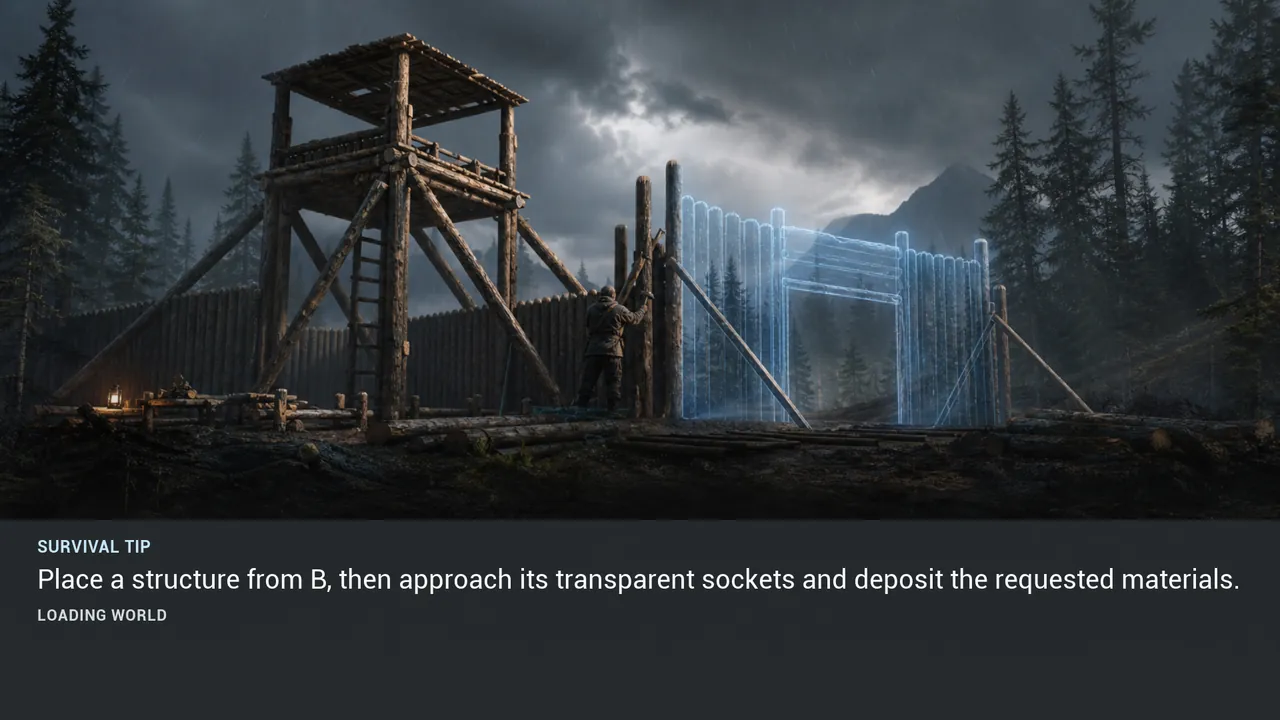
Place a structure from B, then approach its transparent sockets and deposit the requested materials.
View illustration at full size →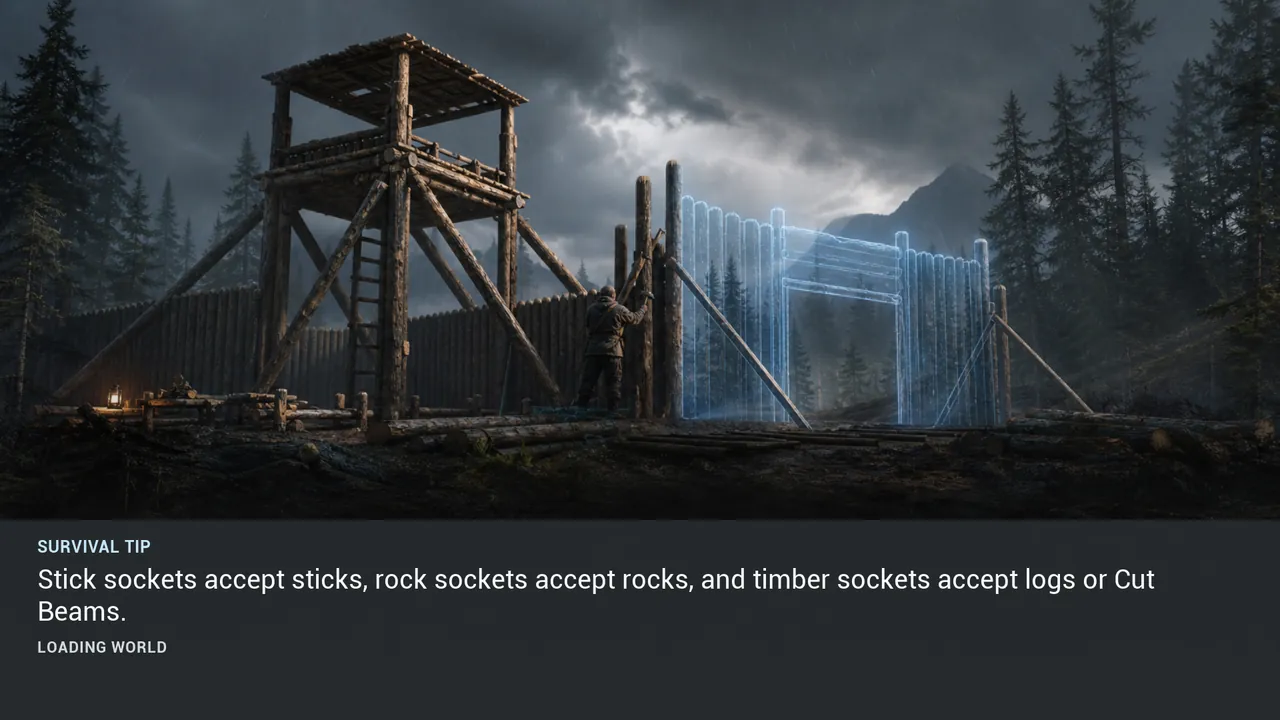
TIP 077 #
Stick sockets accept sticks, rock sockets accept rocks, and timber sockets accept logs or Cut Beams.
View illustration at full size →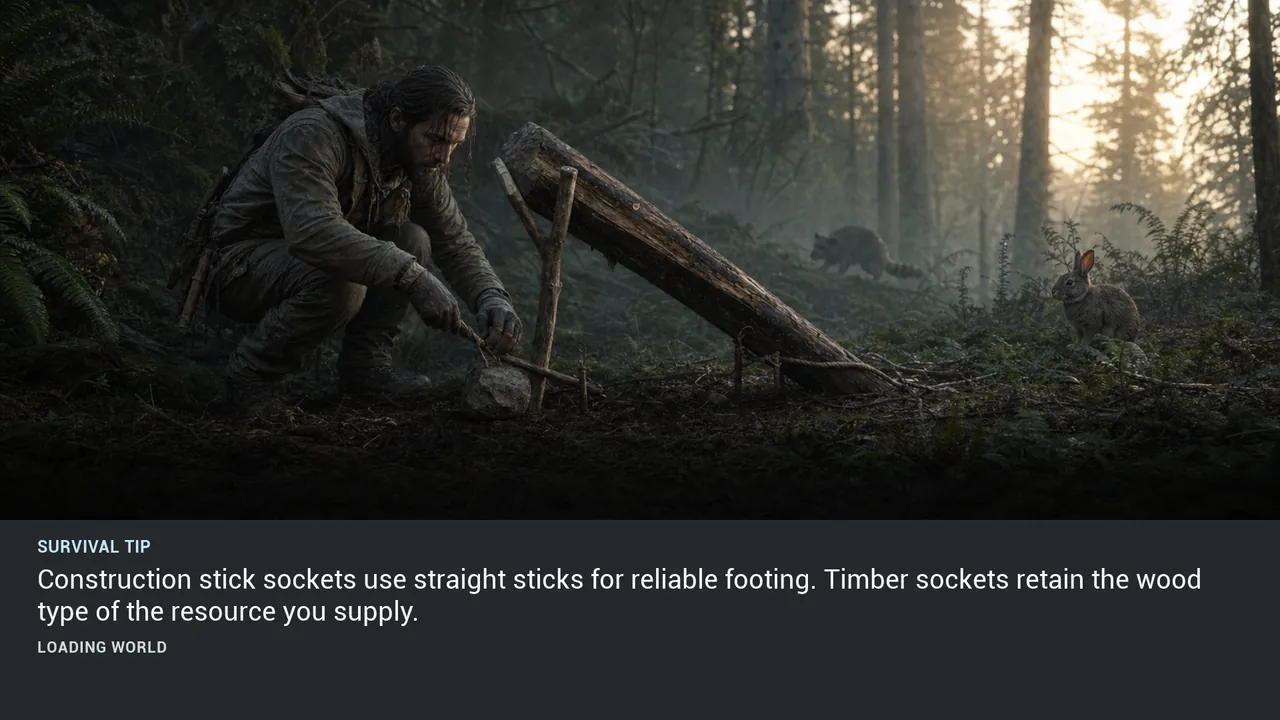
TIP 078 #
Construction stick sockets use straight sticks for reliable footing. Timber sockets retain the wood type of the resource you supply.
View illustration at full size →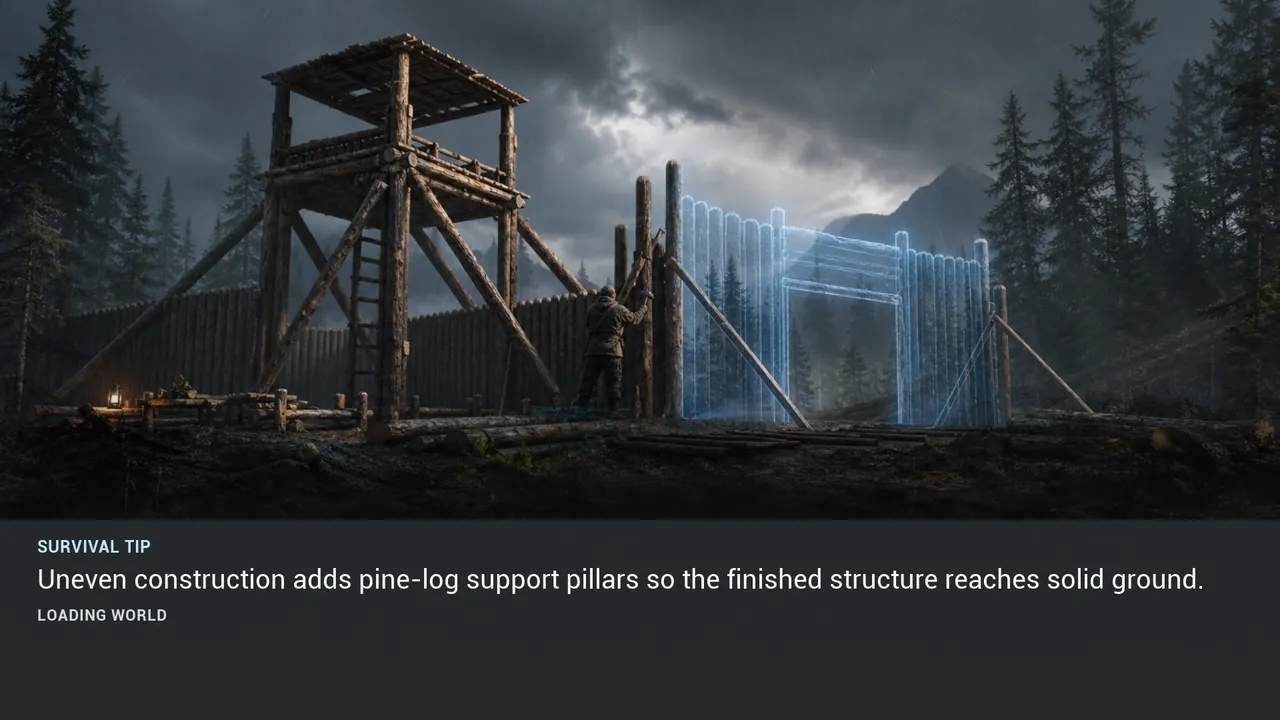
TIP 079 #
Uneven construction adds pine-log support pillars so the finished structure reaches solid ground.
View illustration at full size →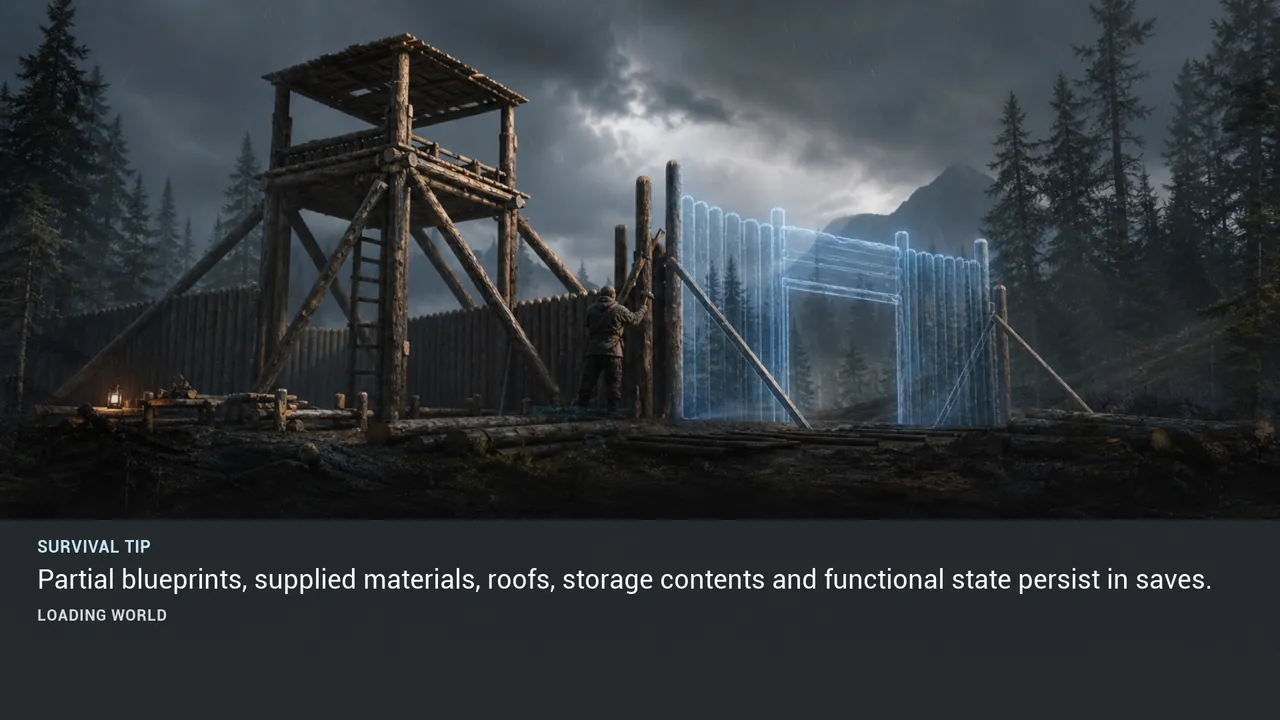
TIP 080 #
Partial blueprints, supplied materials, roofs, storage contents and functional state persist in saves.
View illustration at full size →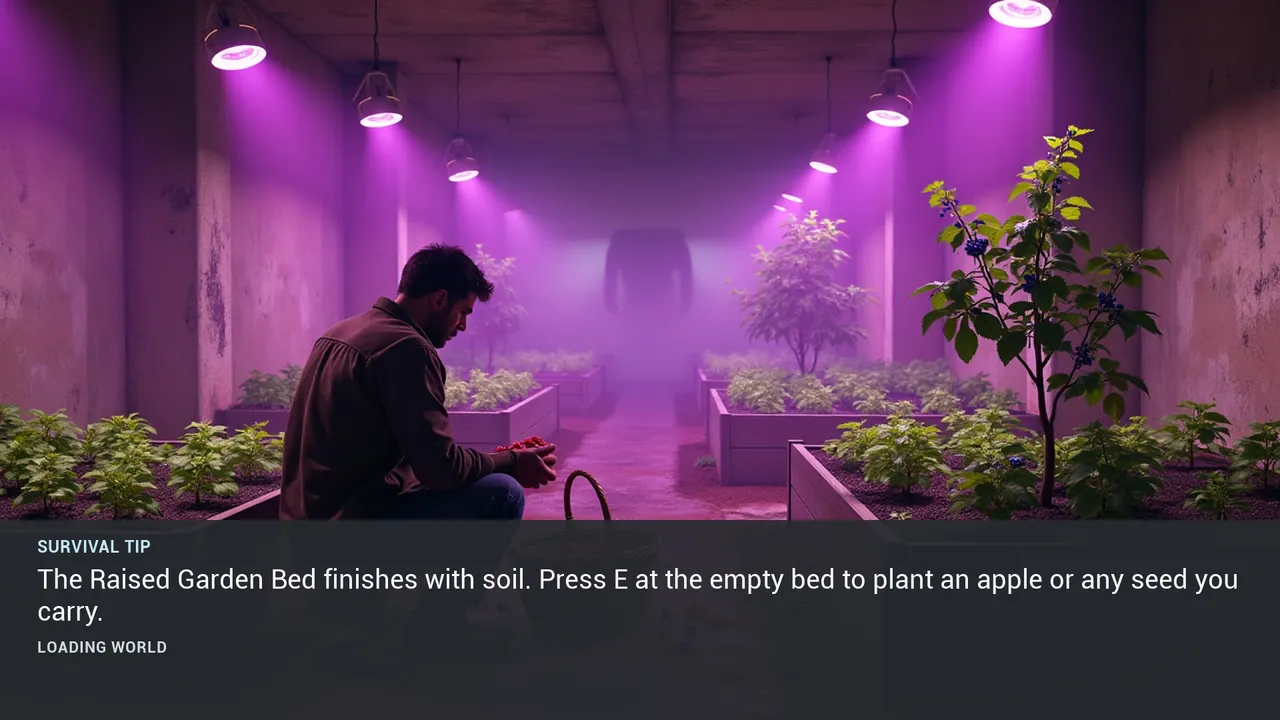
TIP 081 #
The Raised Garden Bed finishes with soil. Press E at the empty bed to plant an apple or any seed you carry.
View illustration at full size →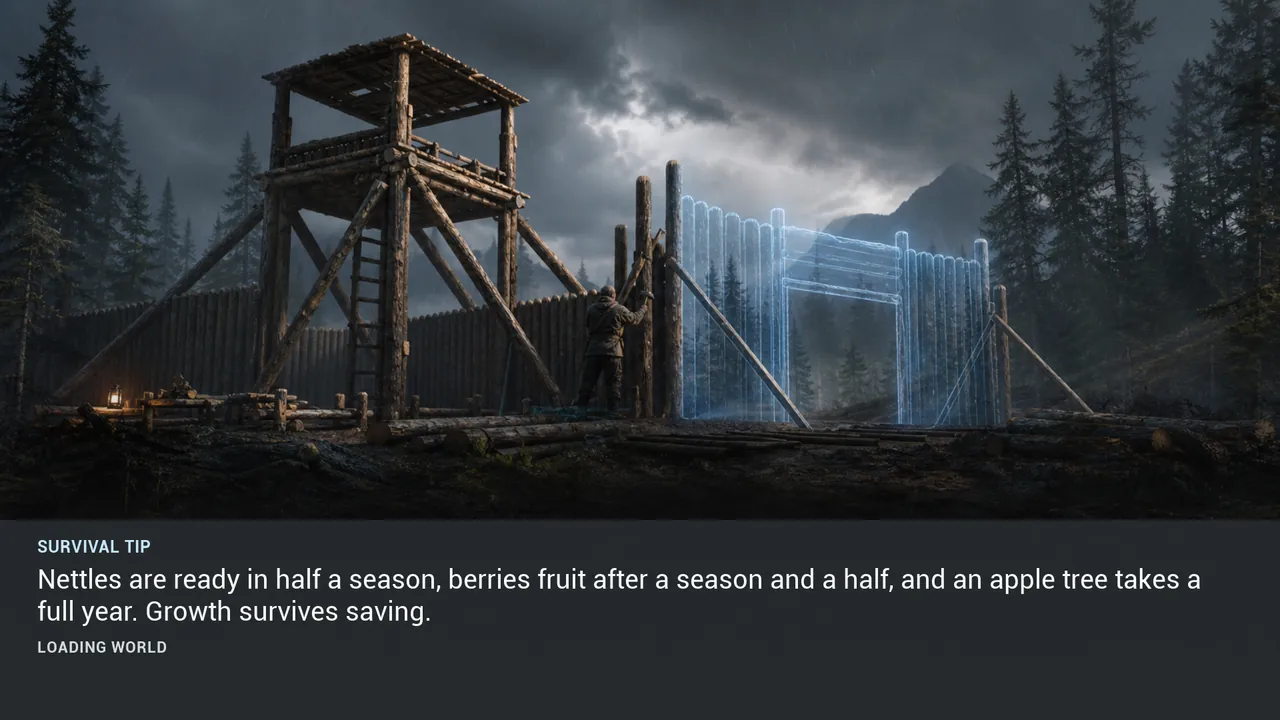
TIP 082 #
Nettles are ready in half a season, berries fruit after a season and a half, and an apple tree takes a full year. Growth survives saving.
View illustration at full size →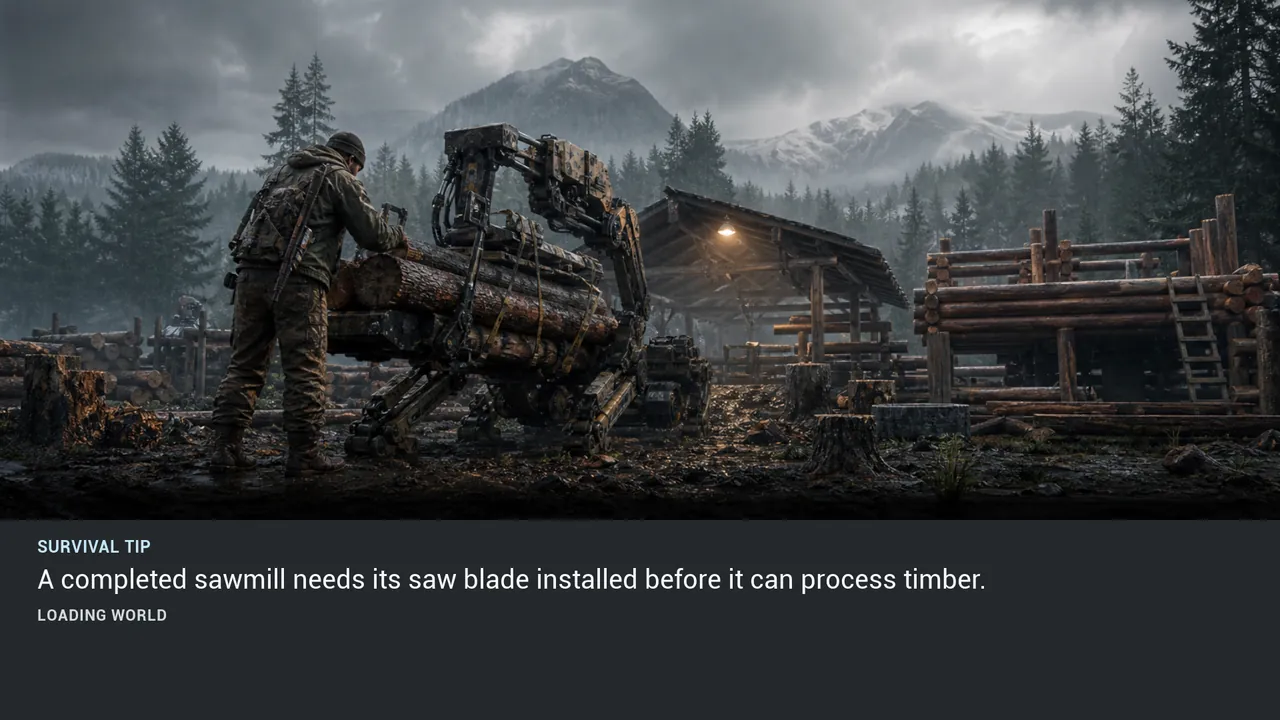
TIP 083 #
A completed sawmill needs its saw blade installed before it can process timber.
View illustration at full size →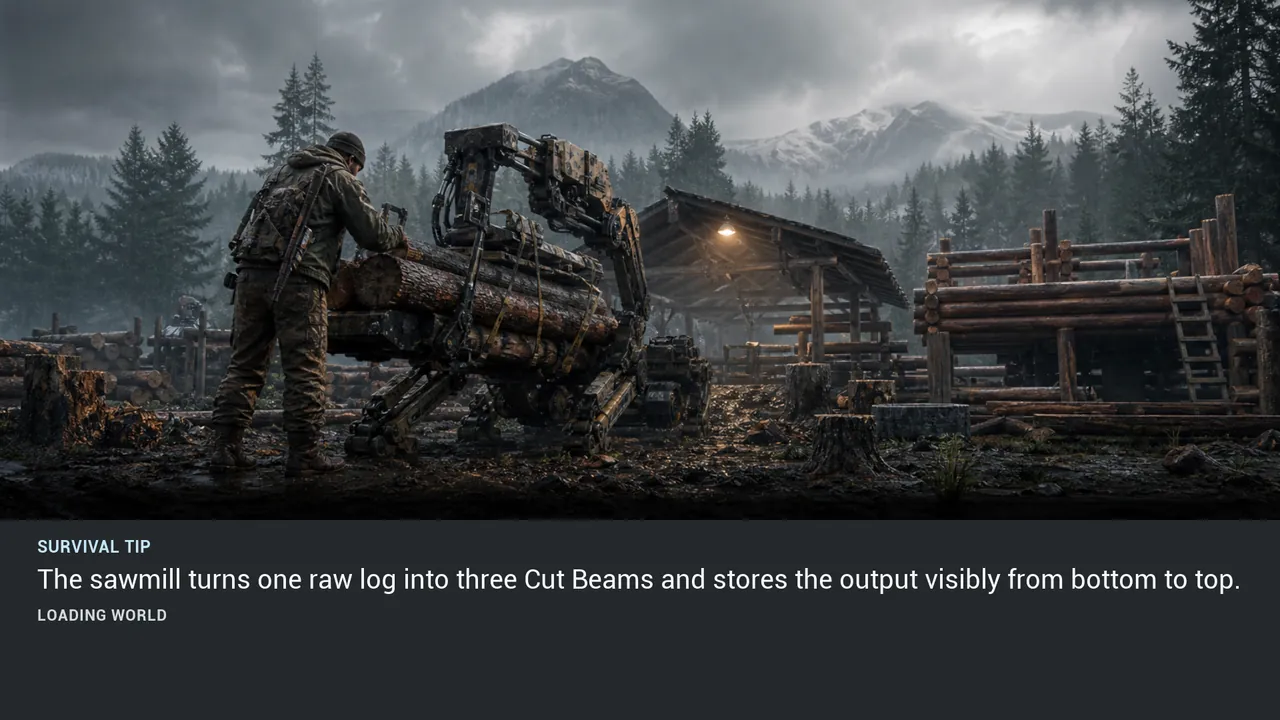
TIP 084 #
The sawmill turns one raw log into three Cut Beams and stores the output visibly from bottom to top.
View illustration at full size →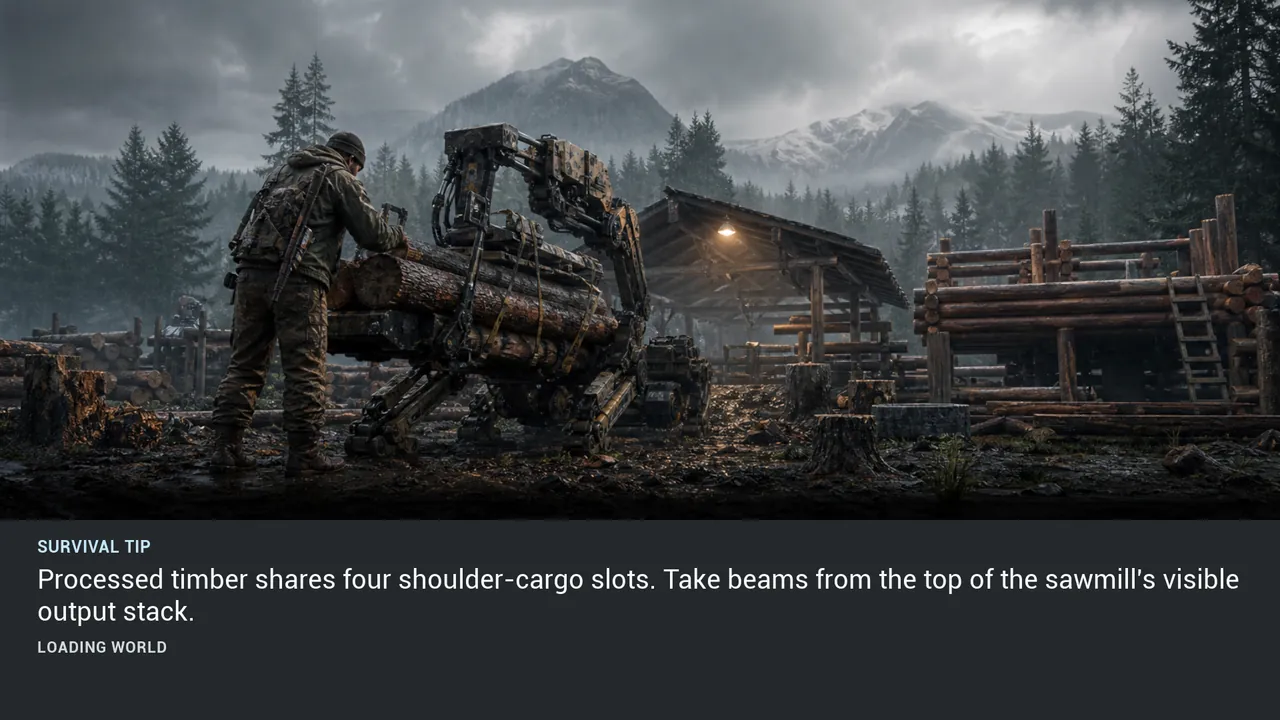
TIP 085 #
Processed timber shares four shoulder-cargo slots. Take beams from the top of the sawmill's visible output stack.
View illustration at full size →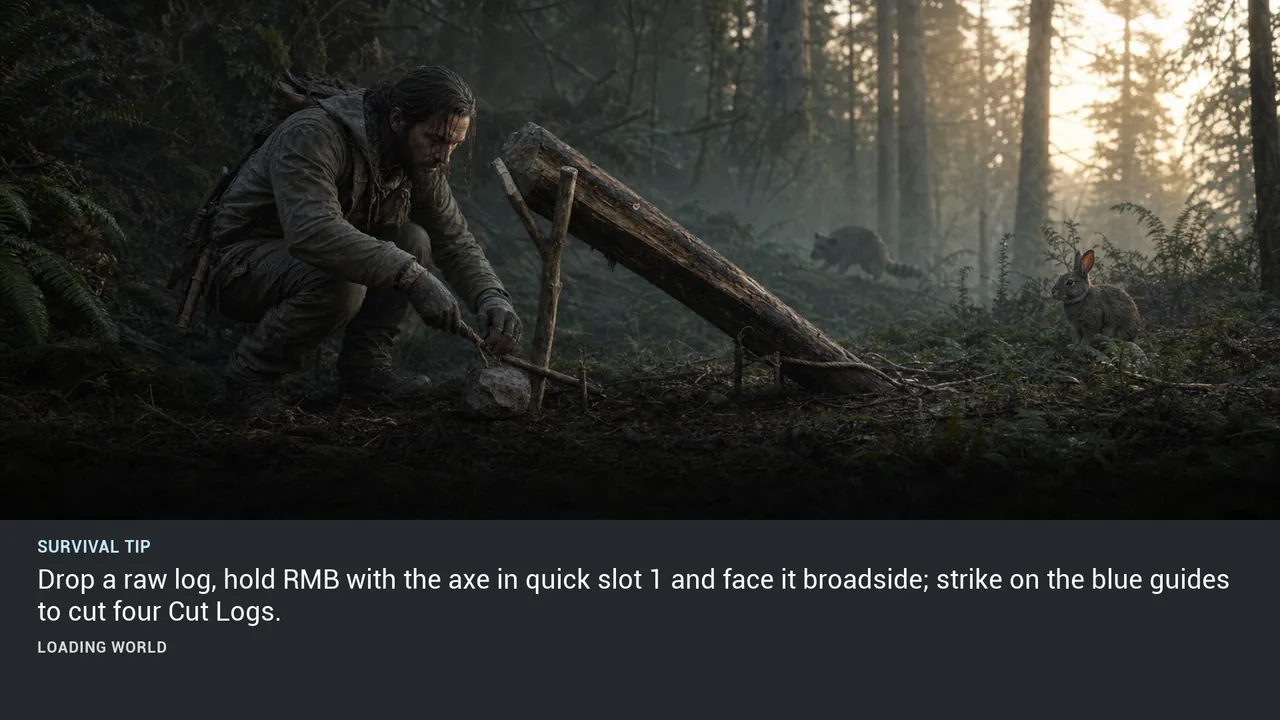
TIP 086 #
Drop a raw log, hold RMB with the axe in quick slot 1 and face it broadside; strike on the blue guides to cut four Cut Logs.
View illustration at full size →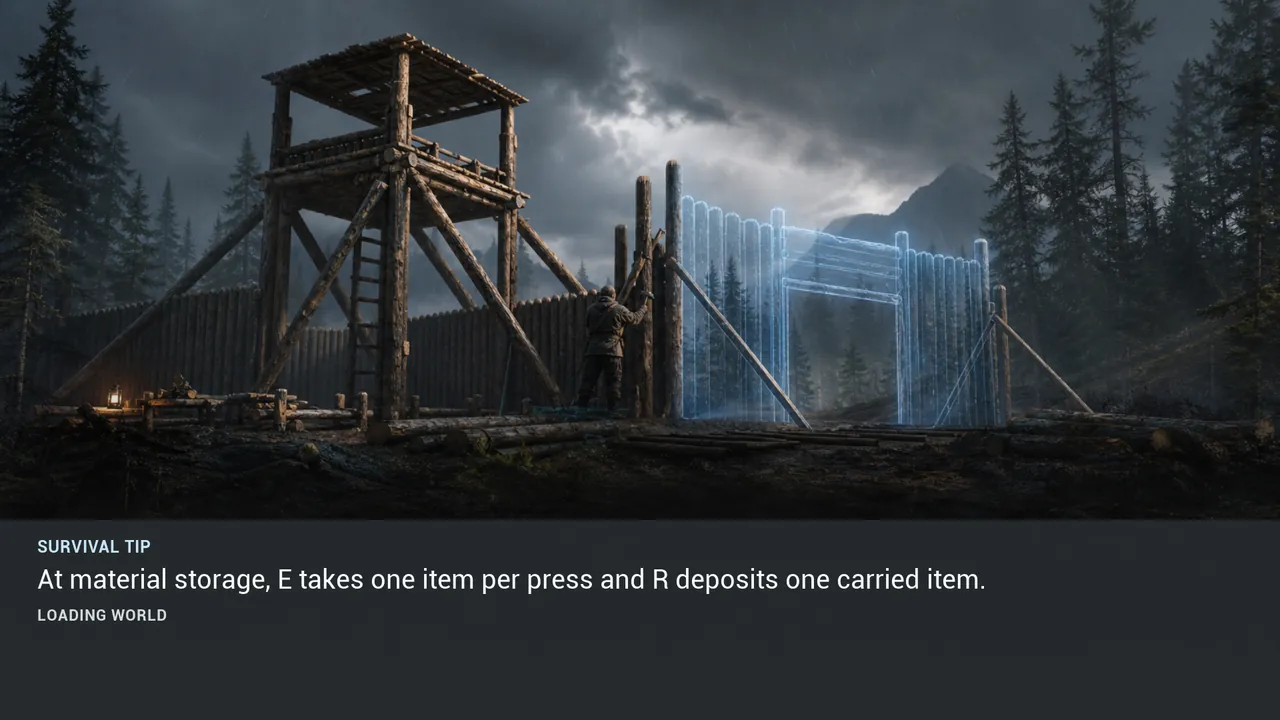
TIP 087 #
At material storage, E takes one item per press and R deposits one carried item.
View illustration at full size →FIELD GUIDE / 07
10 verified loading-screen tips
TIP 088 #
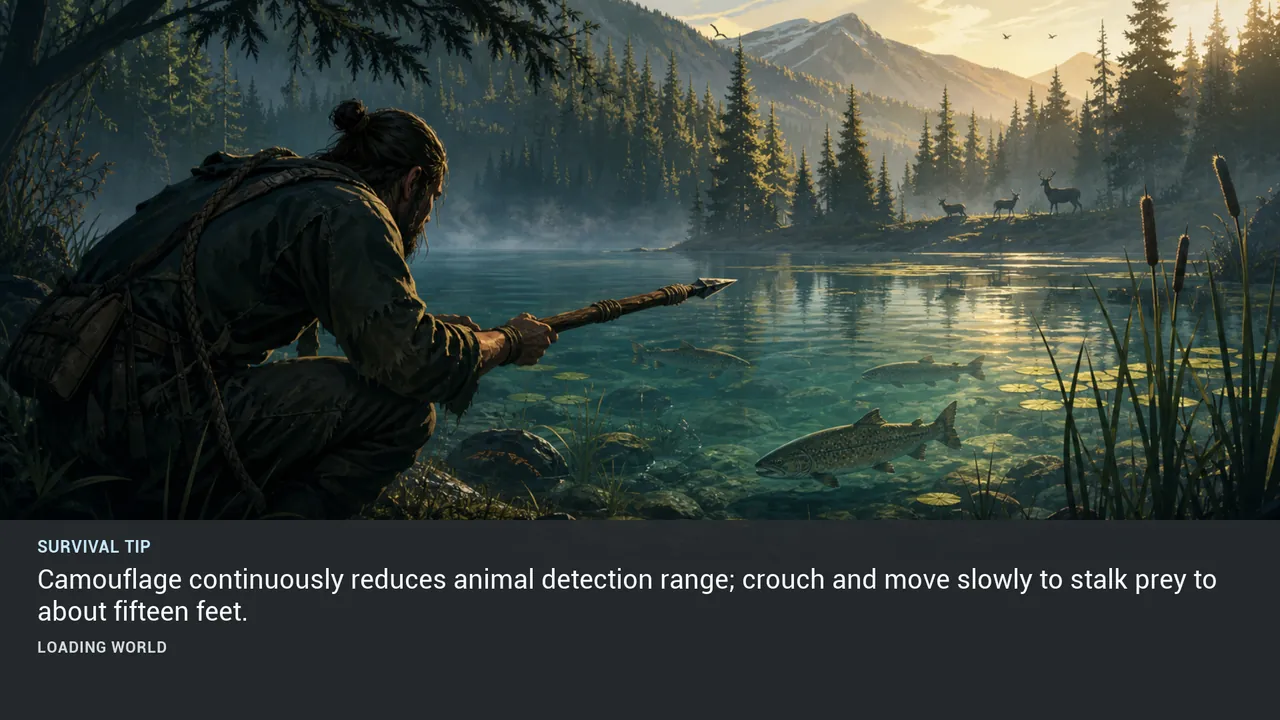
Camouflage continuously reduces animal detection range; crouch and move slowly to stalk prey to about fifteen feet.
View illustration at full size →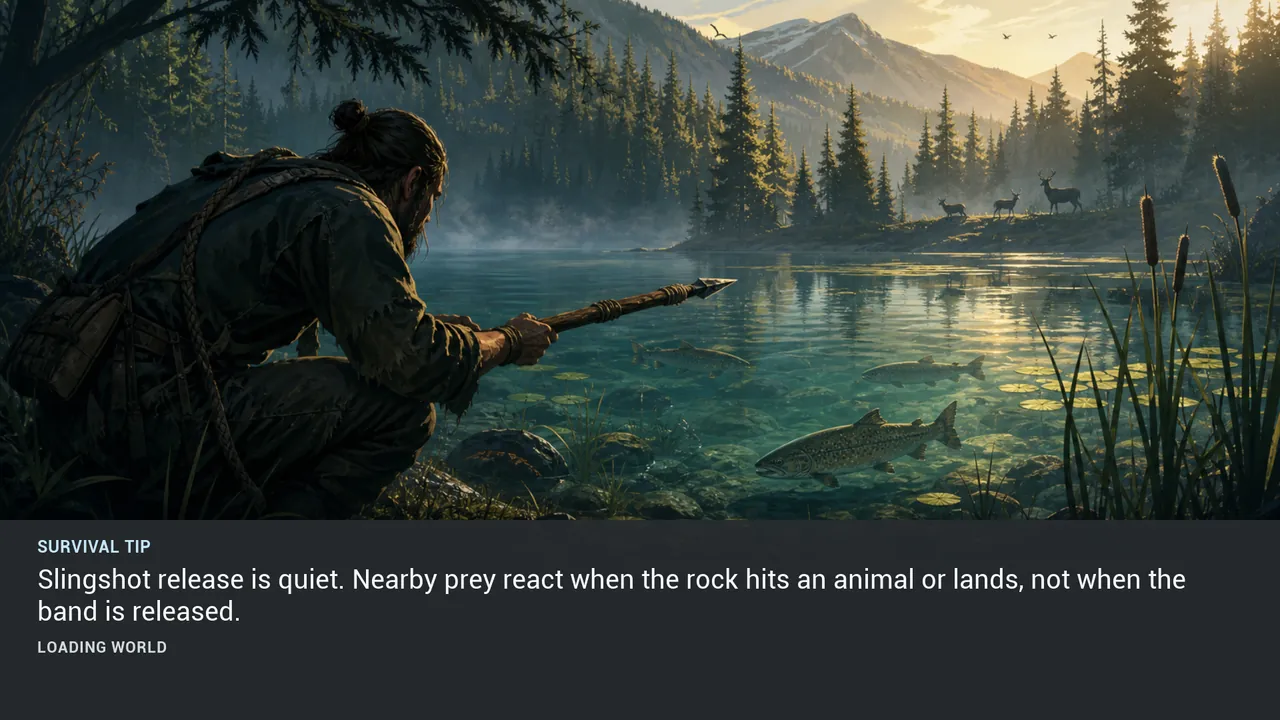
TIP 089 #
Slingshot release is quiet. Nearby prey react when the rock hits an animal or lands, not when the band is released.
View illustration at full size →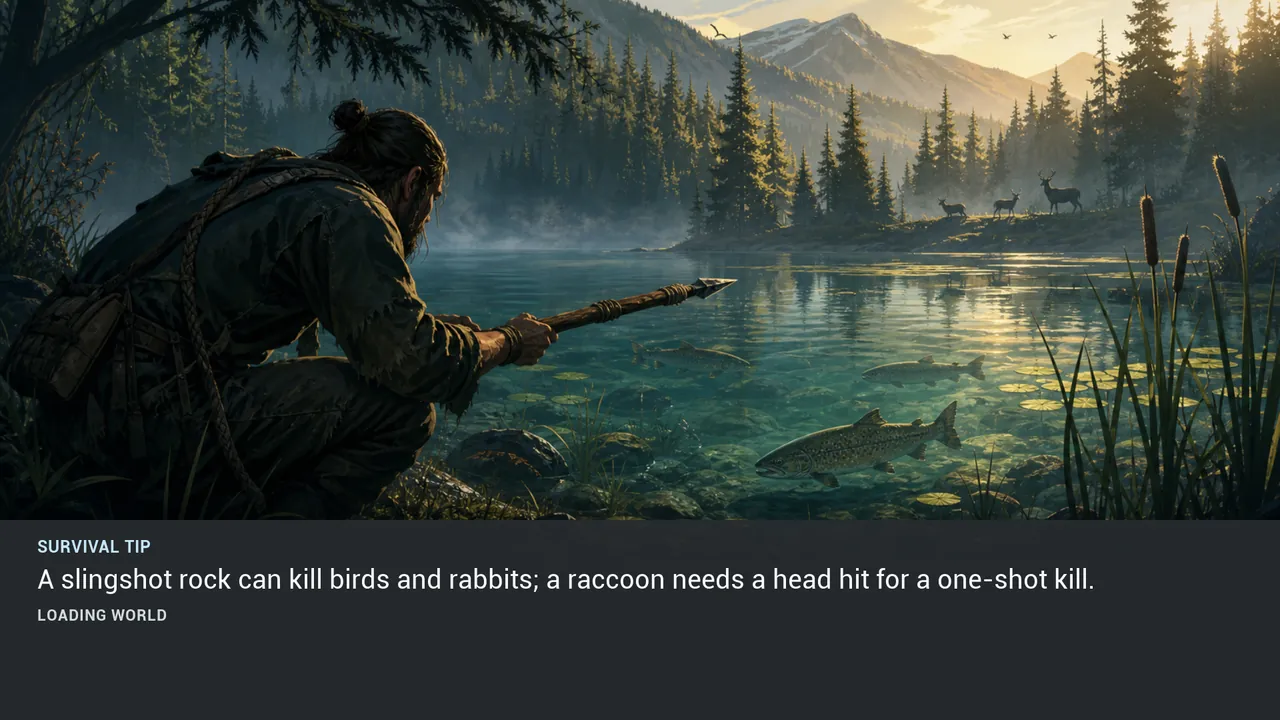
TIP 090 #
A slingshot rock can kill birds and rabbits; a raccoon needs a head hit for a one-shot kill.
View illustration at full size →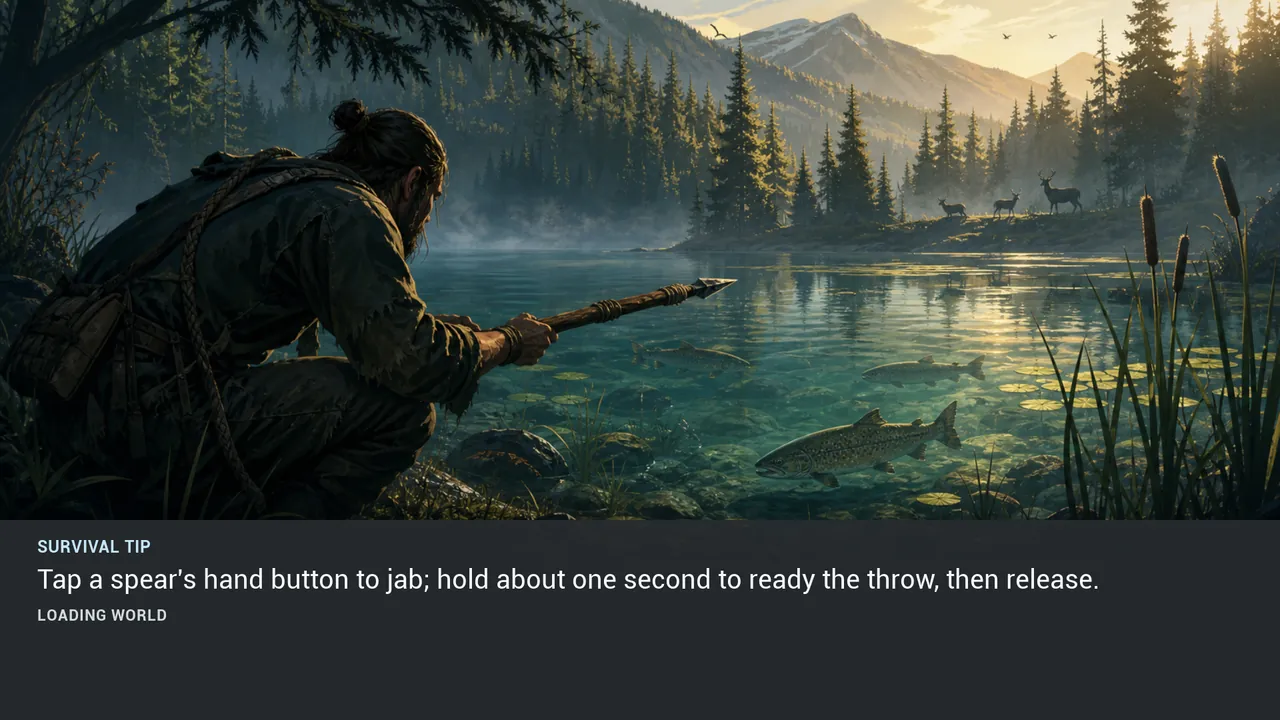
TIP 091 #
Tap a spear's hand button to jab; hold about one second to ready the throw, then release.
View illustration at full size →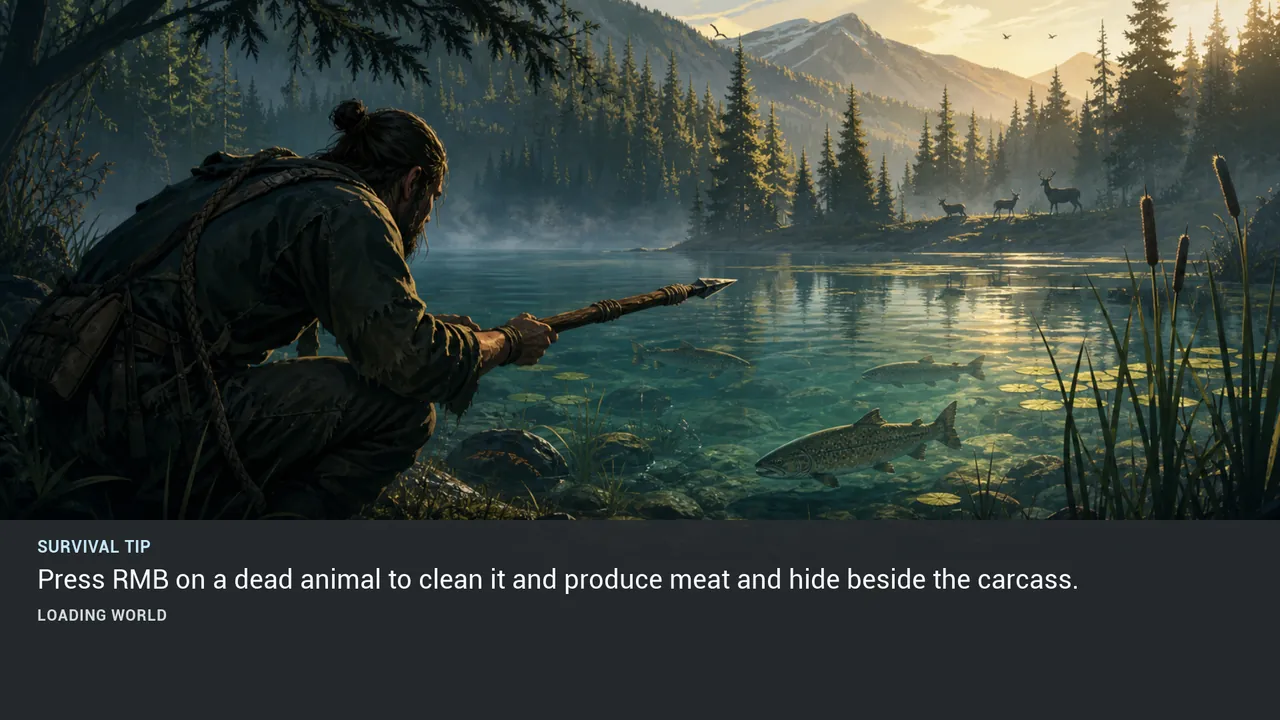
TIP 092 #
Press RMB on a dead animal to clean it and produce meat and hide beside the carcass.
View illustration at full size →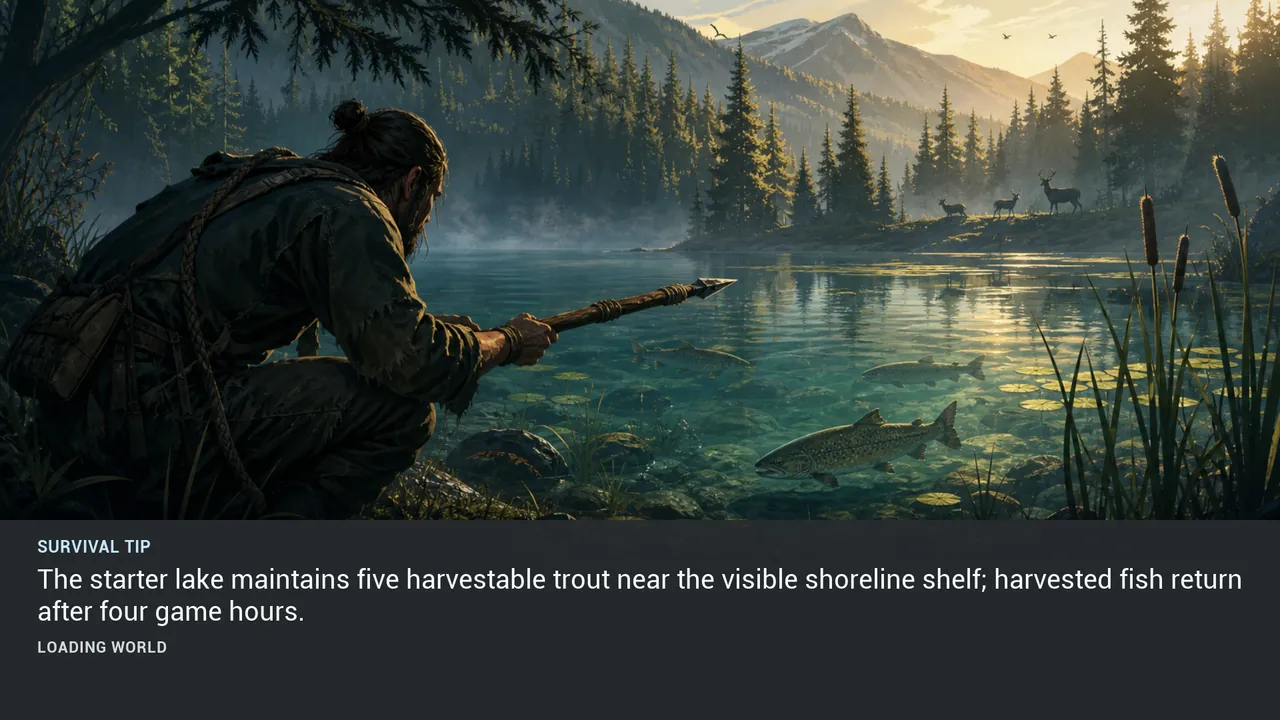
TIP 093 #
The starter lake maintains five harvestable trout near the visible shoreline shelf; harvested fish return after four game hours.
View illustration at full size →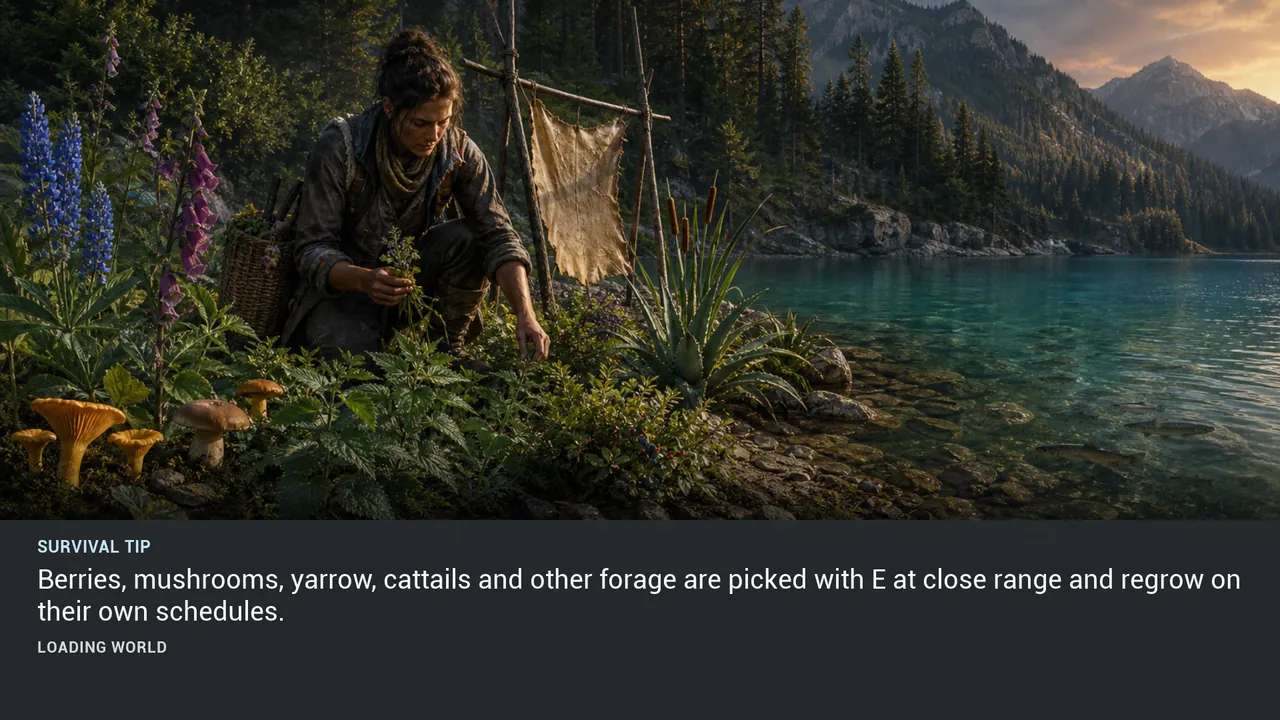
TIP 094 #
Berries, mushrooms, yarrow, cattails and other forage are picked with E at close range and regrow on their own schedules.
View illustration at full size →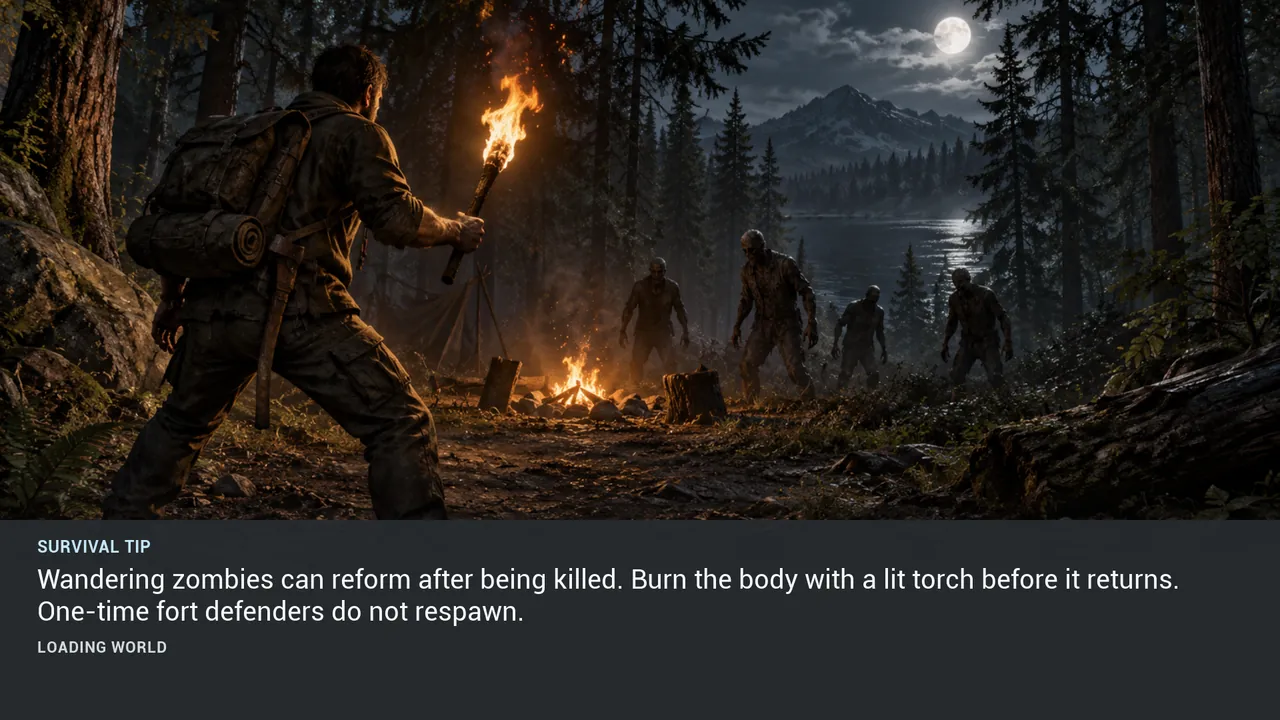
TIP 095 #
Wandering zombies can reform after being killed. Burn the body with a lit torch before it returns. One-time fort defenders do not respawn.
View illustration at full size →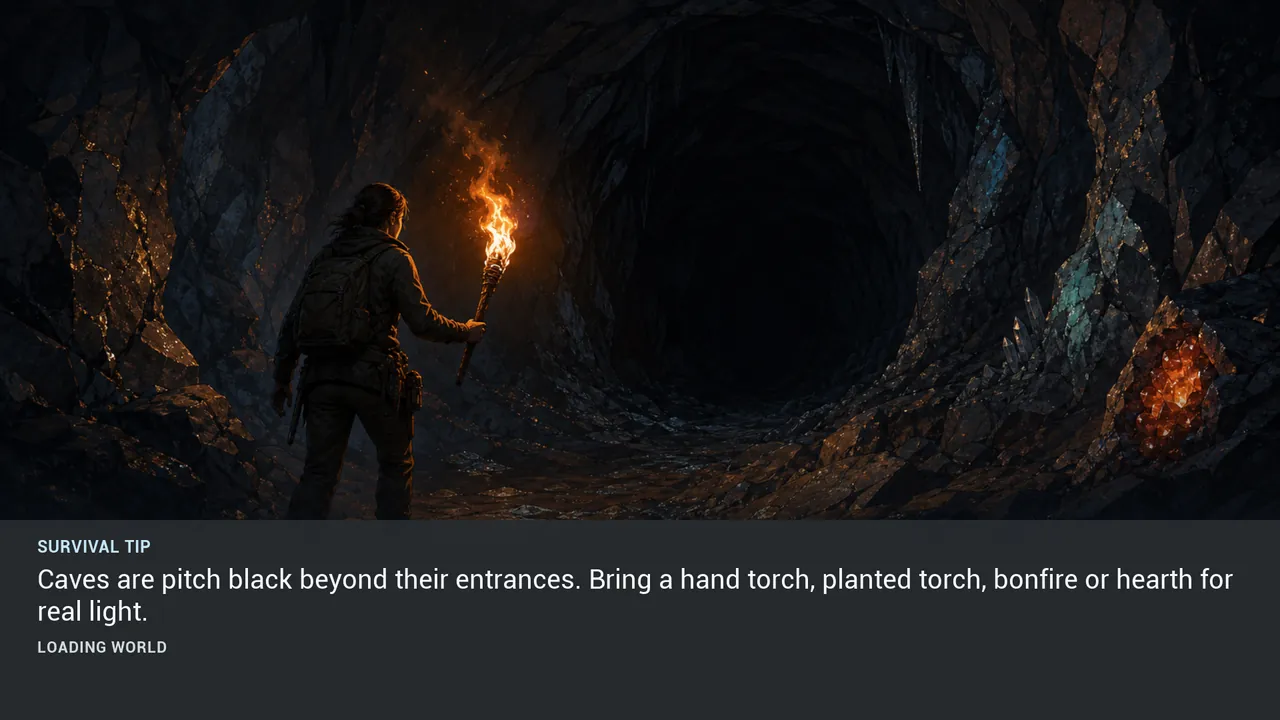
TIP 096 #
Caves are pitch black beyond their entrances. Bring a hand torch, planted torch, bonfire or hearth for real light.
View illustration at full size →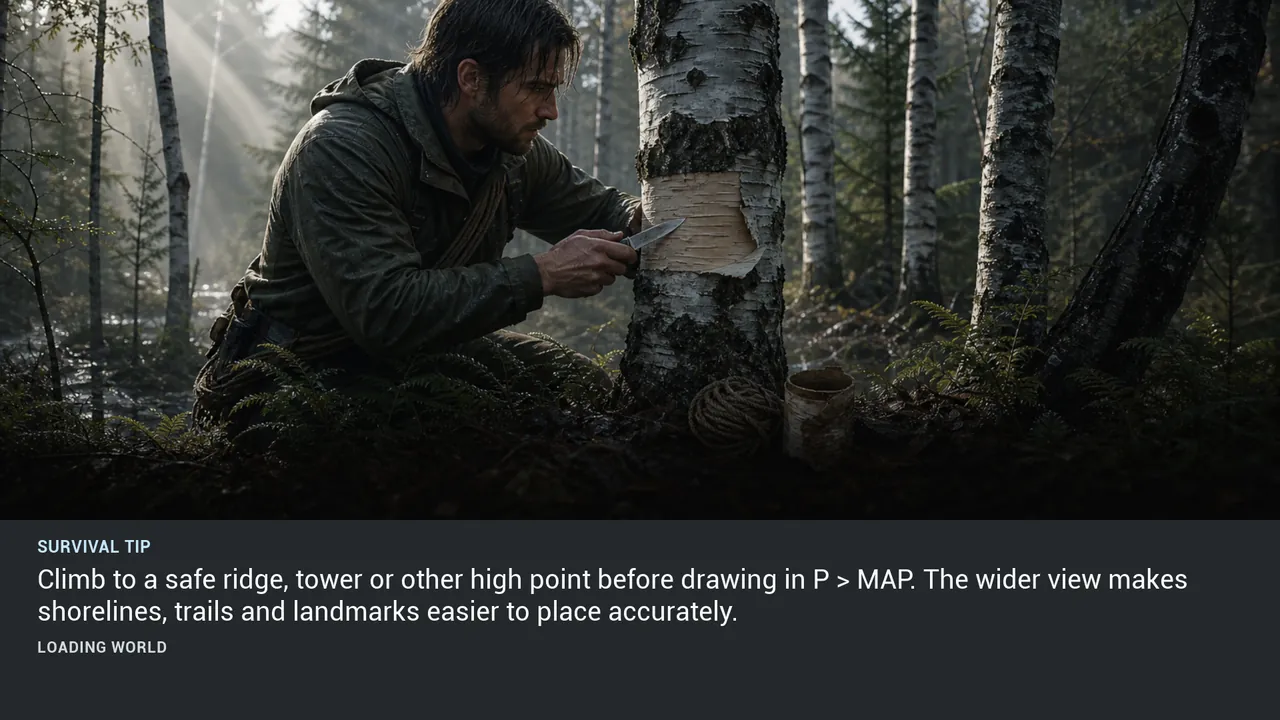
TIP 097 #
Climb to a safe ridge, tower or other high point before drawing in P > MAP. The wider view makes shorelines, trails and landmarks easier to place accurately.
View illustration at full size →FIELD GUIDE / 08
6 verified loading-screen tips
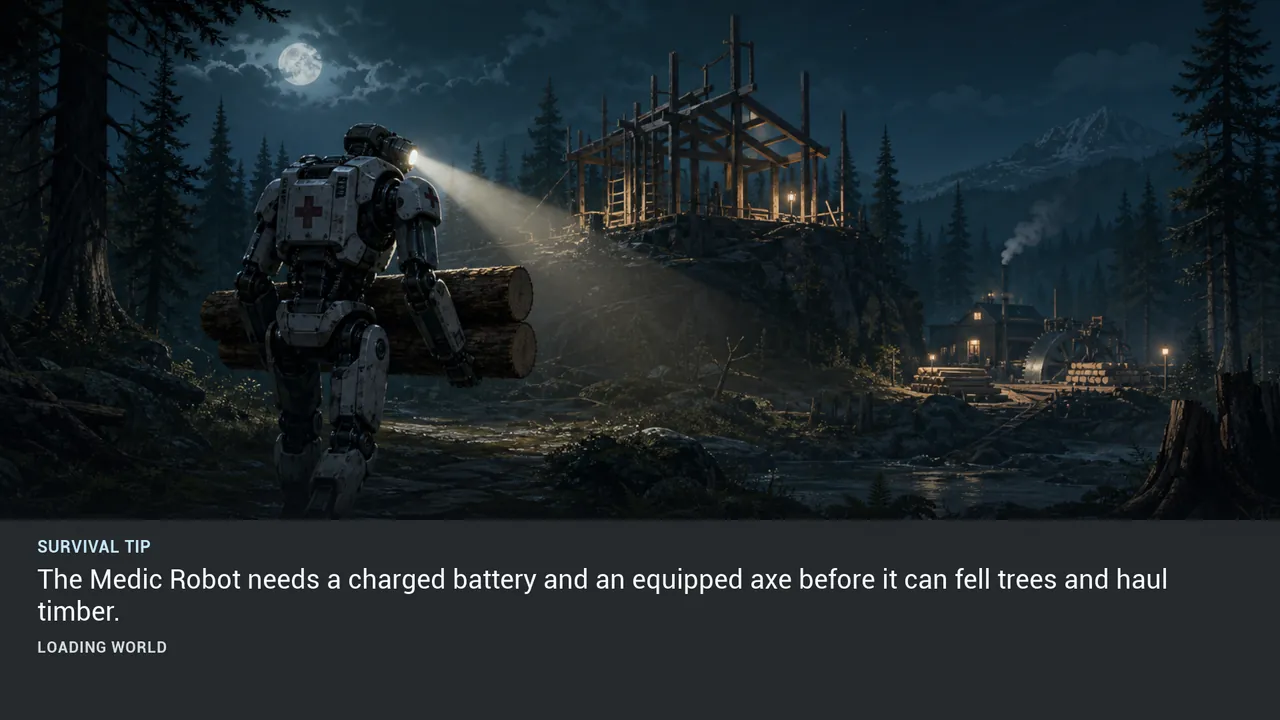
TIP 098 #
The Medic Robot needs a charged battery and an equipped axe before it can fell trees and haul timber.
View illustration at full size →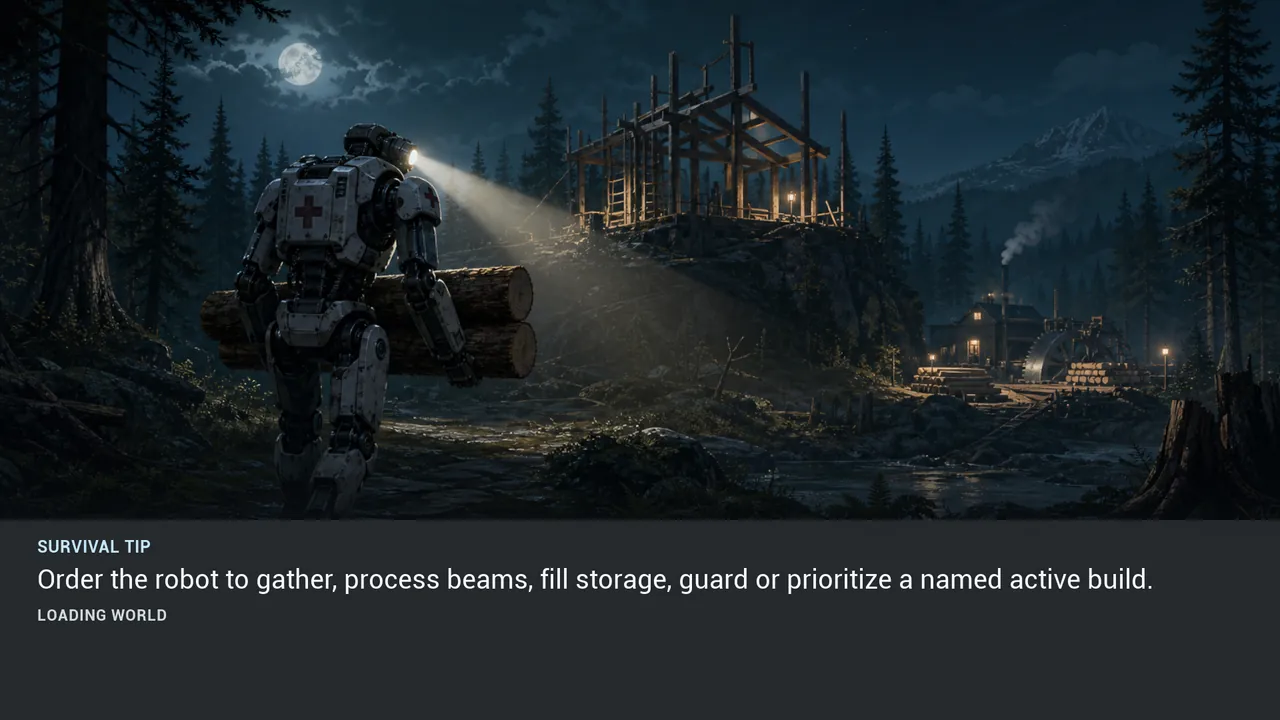
TIP 099 #
Order the robot to gather, process beams, fill storage, guard or prioritize a named active build.
View illustration at full size →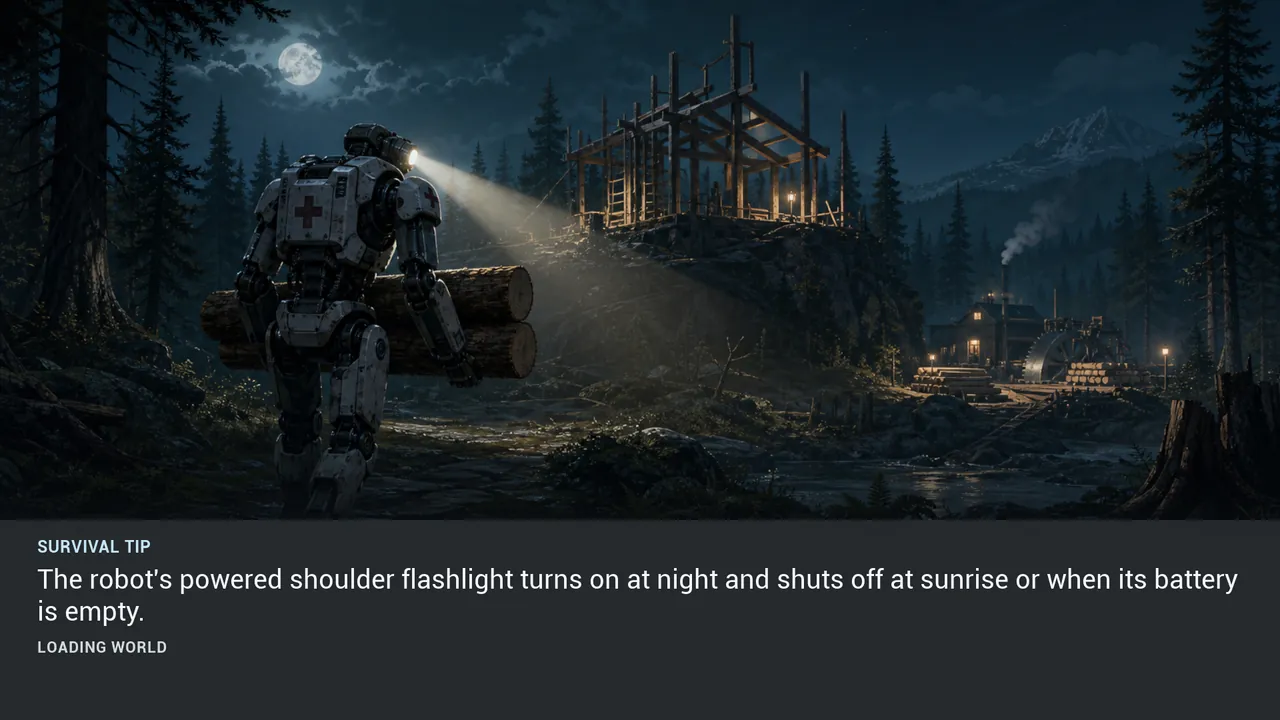
TIP 100 #
The robot's powered shoulder flashlight turns on at night and shuts off at sunrise or when its battery is empty.
View illustration at full size →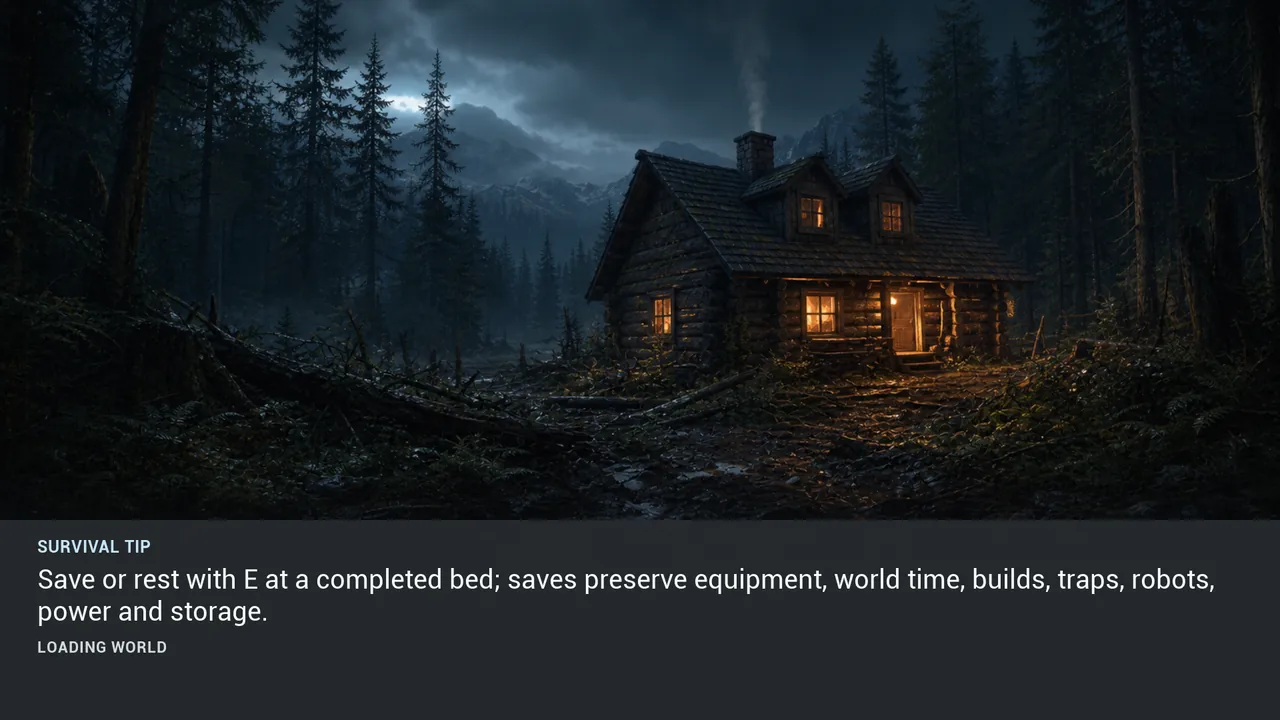
TIP 101 #
Save or rest with E at a completed bed; saves preserve equipment, world time, builds, traps, robots, power and storage.
View illustration at full size →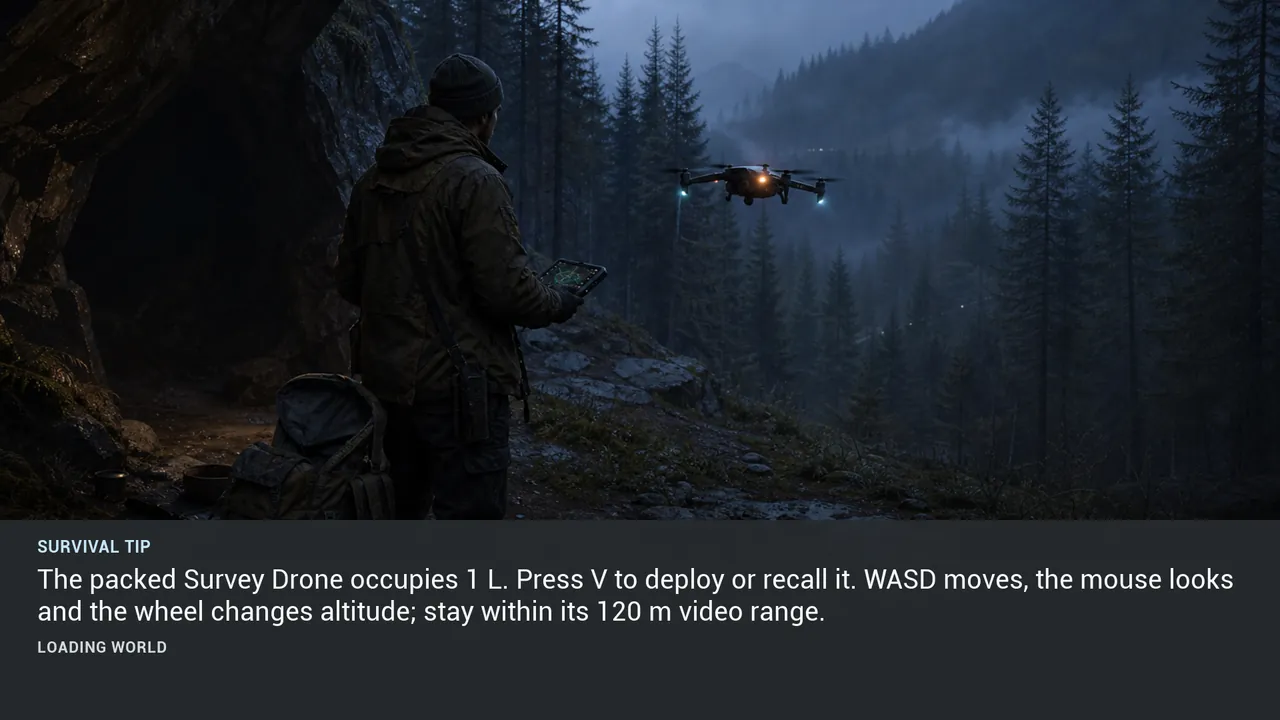
TIP 102 #
The packed Survey Drone occupies 1 L. Press V to deploy or recall it. WASD moves, the mouse looks and the wheel changes altitude; stay within its 120 m video range.
View illustration at full size →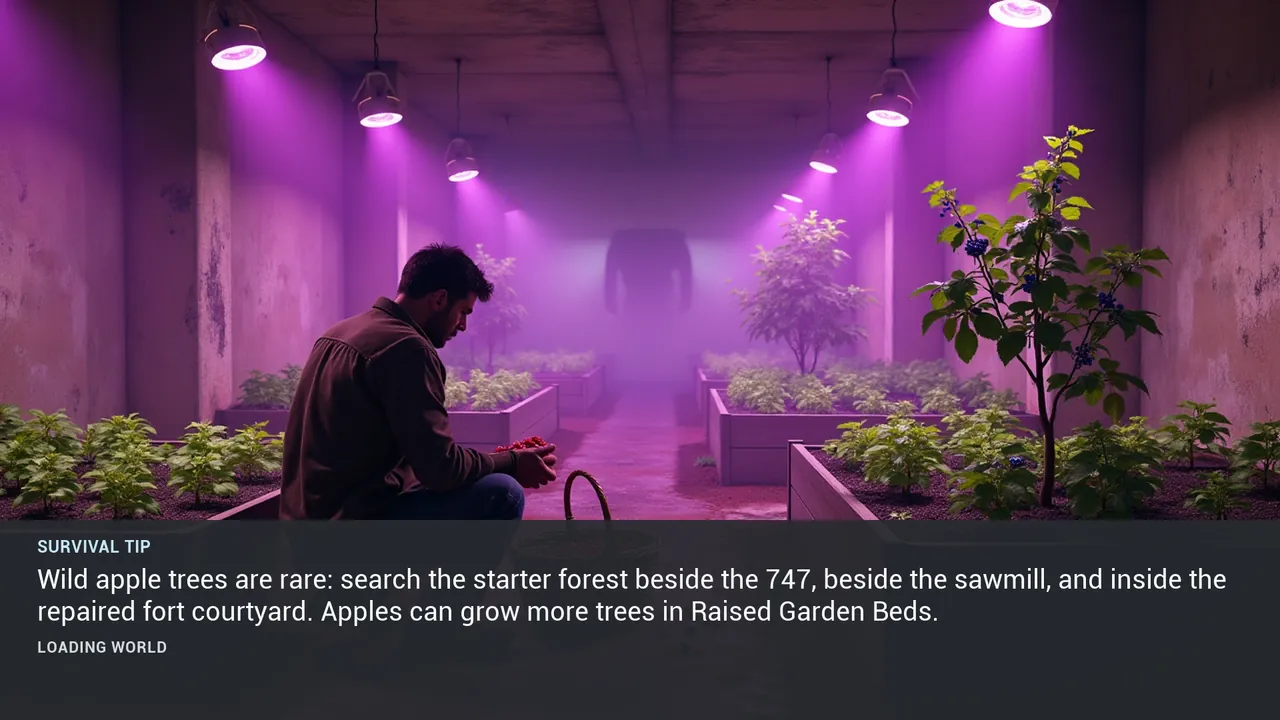
TIP 103 #
Wild apple trees are rare: search the starter forest beside the 747, beside the sawmill, and inside the repaired fort courtyard. Apples can grow more trees in Raised Garden Beds.
View illustration at full size →FIELD GUIDE / 09
15 verified loading-screen tips
TIP 104 #
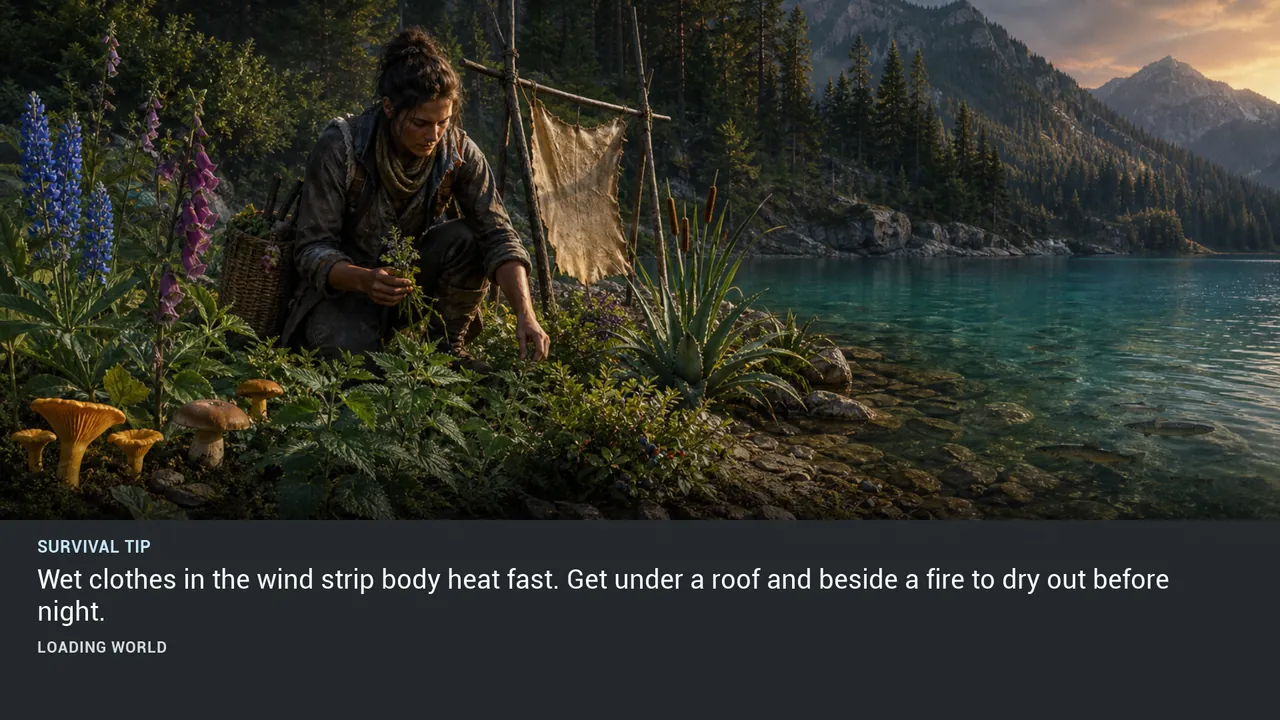
Wet clothes in the wind strip body heat fast. Get under a roof and beside a fire to dry out before night.
View illustration at full size →
TIP 106 #
Days shorten through fall and winter; a winter day has only about ten minutes of light. Plan long trips for summer.
View illustration at full size →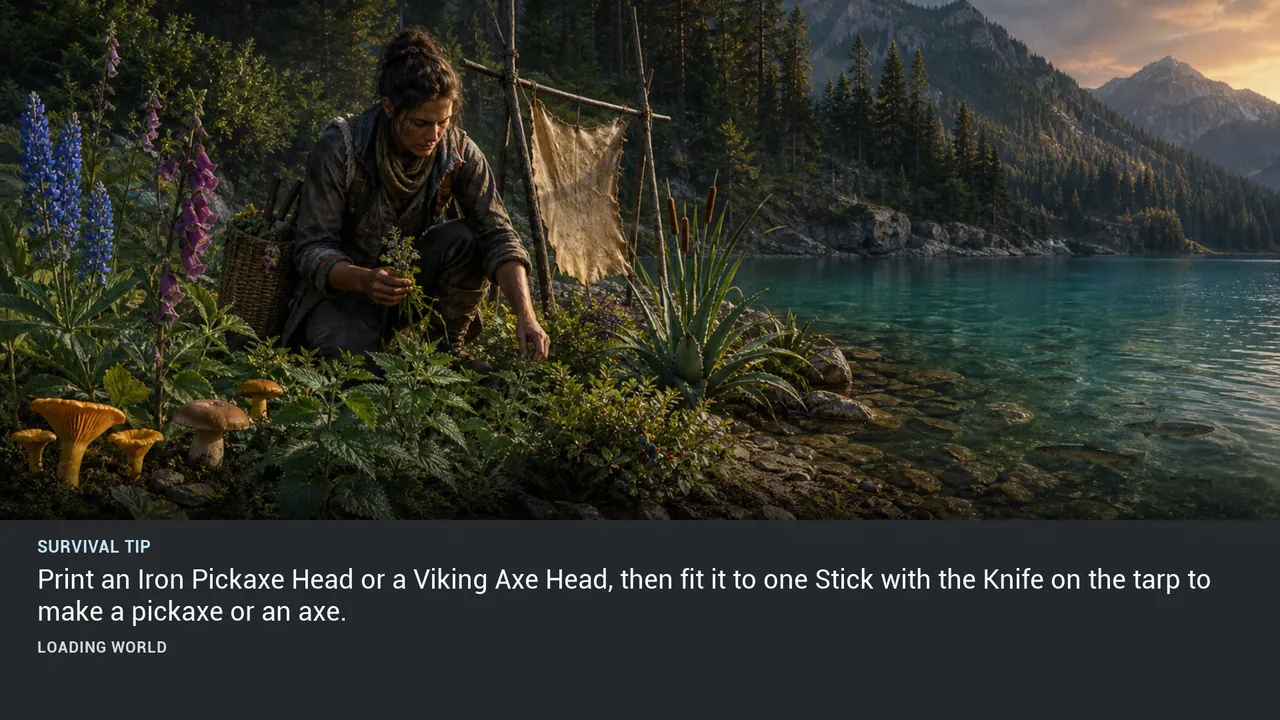
TIP 109 #
Print an Iron Pickaxe Head or a Viking Axe Head, then fit it to one Stick with the Knife on the tarp to make a pickaxe or an axe.
View illustration at full size →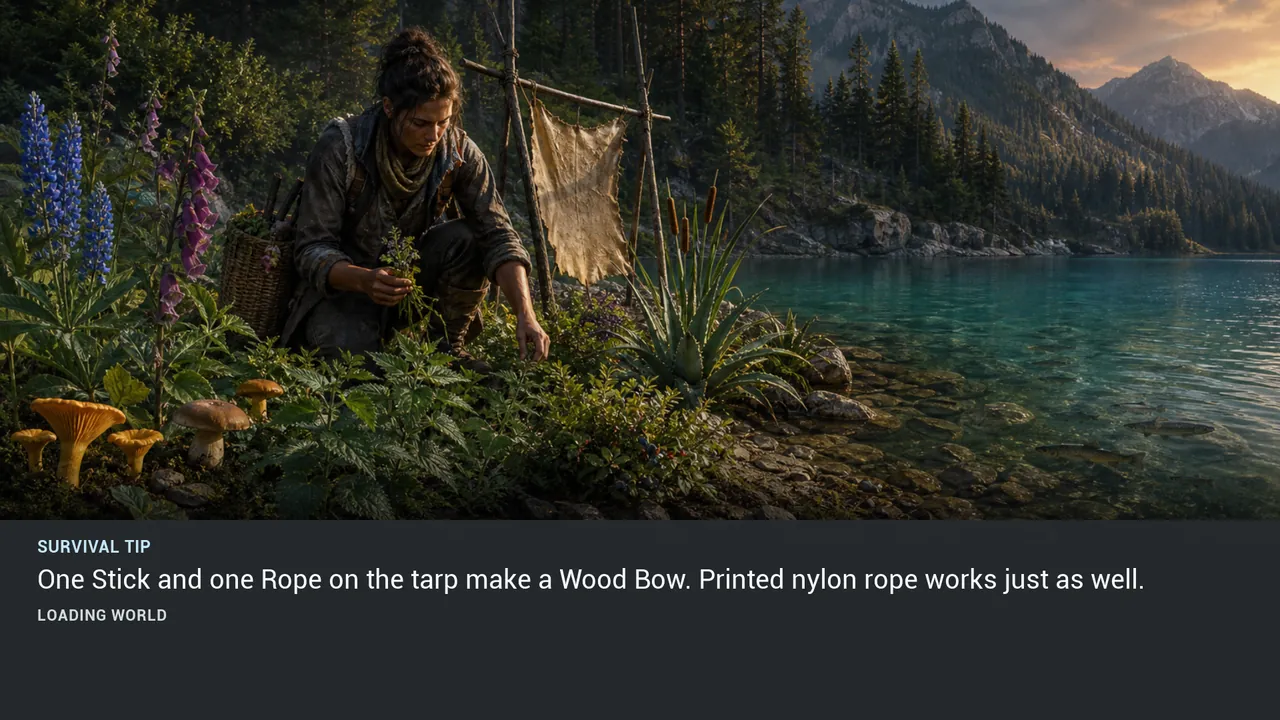
TIP 110 #
One Stick and one Rope on the tarp make a Wood Bow. Printed nylon rope works just as well.
View illustration at full size →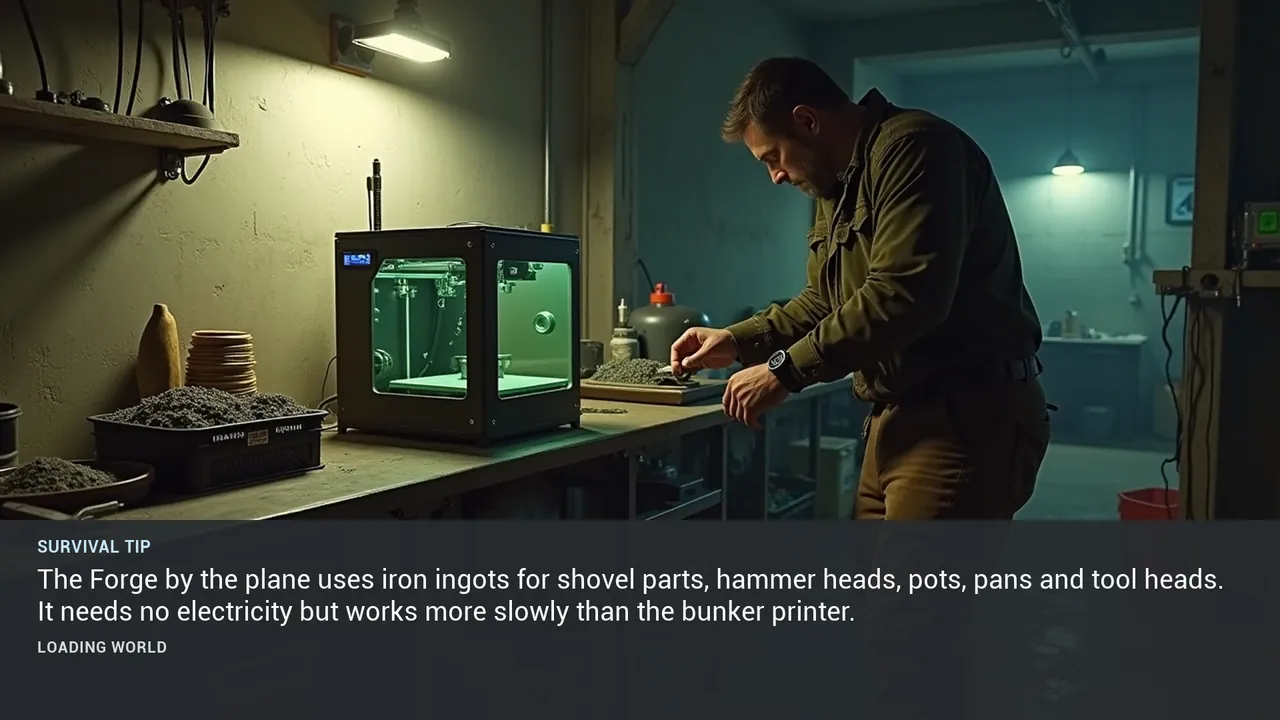
TIP 111 #
The Forge by the plane uses iron ingots for shovel parts, hammer heads, pots, pans and tool heads. It needs no electricity but works more slowly than the bunker printer.
View illustration at full size →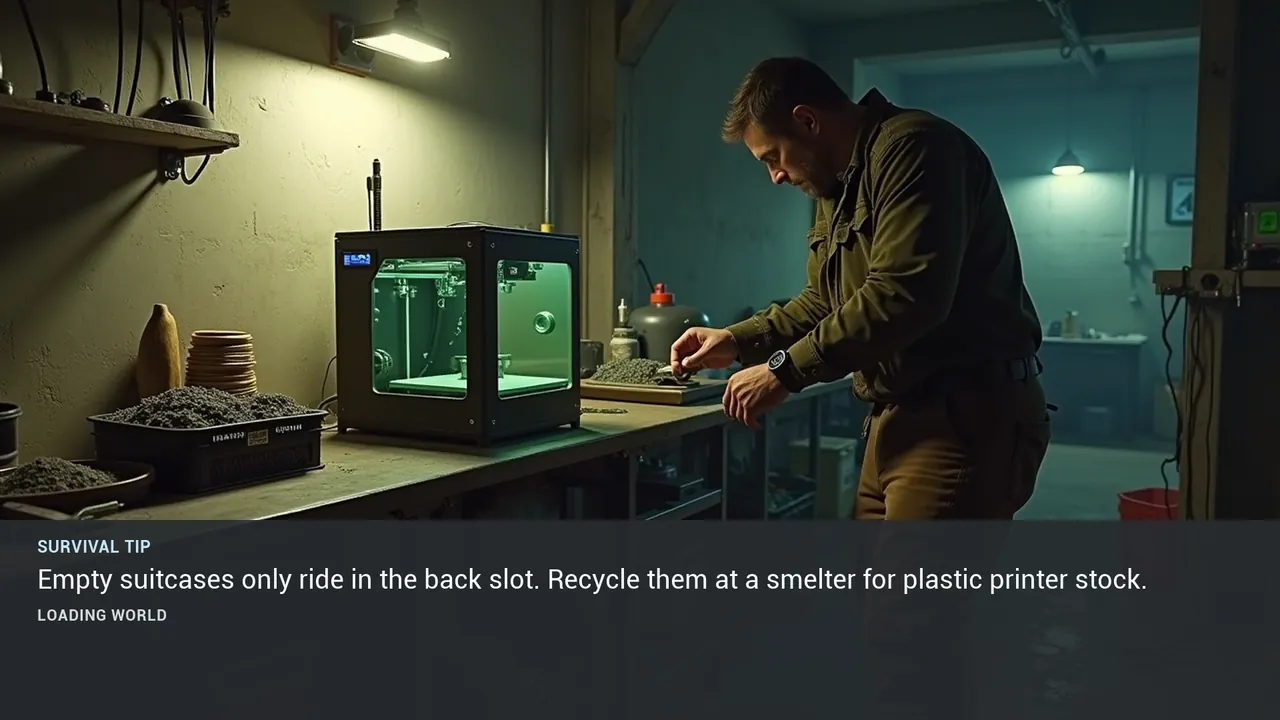
TIP 112 #
Empty suitcases only ride in the back slot. Recycle them at a smelter for plastic printer stock.
View illustration at full size →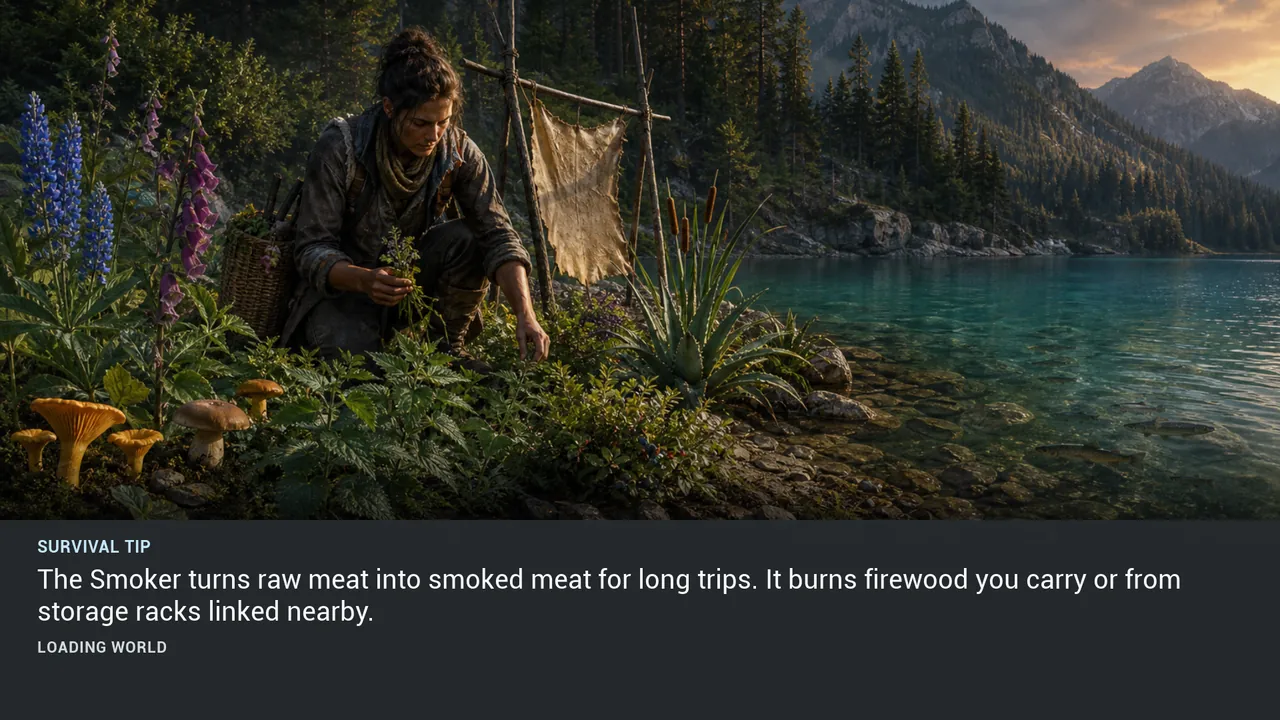
TIP 113 #
The Smoker turns raw meat into smoked meat for long trips. It burns firewood you carry or from storage racks linked nearby.
View illustration at full size →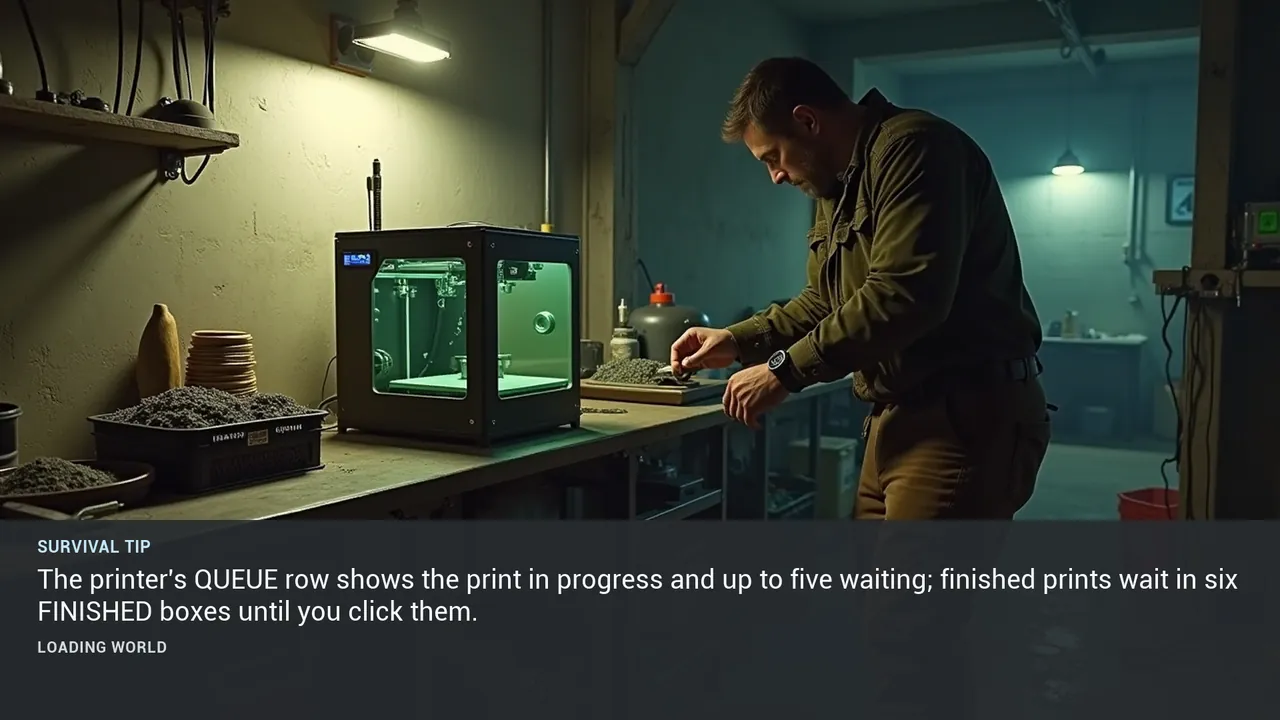
TIP 114 #
The printer's QUEUE row shows the print in progress and up to five waiting; finished prints wait in six FINISHED boxes until you click them.
View illustration at full size →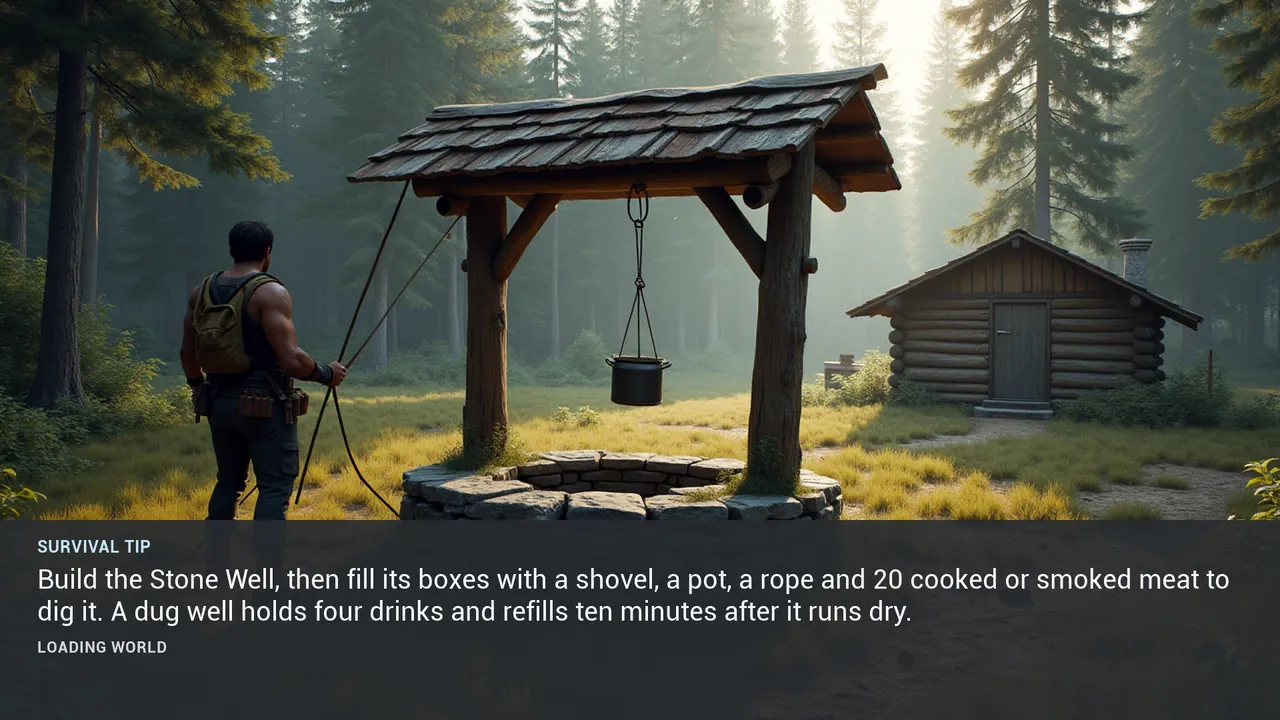
TIP 121 #
Build the Stone Well, then fill its boxes with a shovel, a pot, a rope and 20 cooked or smoked meat to dig it. A dug well holds four drinks and refills ten minutes after it runs dry.
View illustration at full size →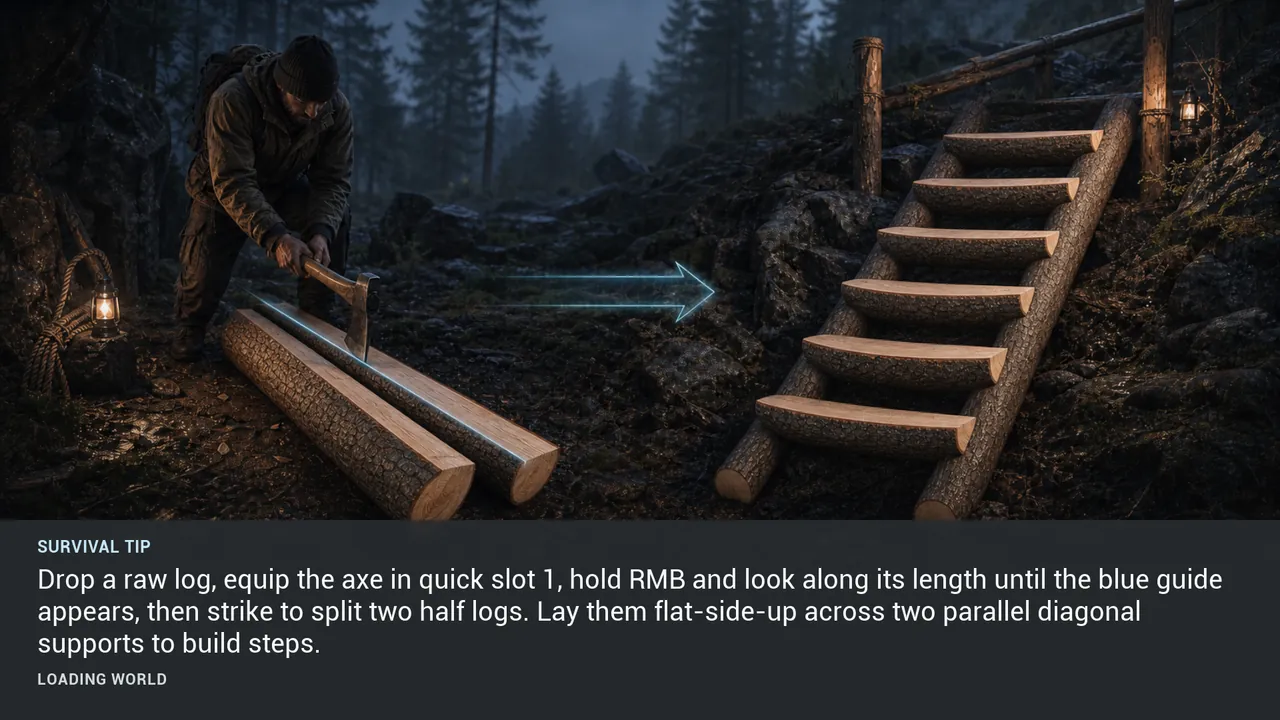
TIP 122 #
Drop a raw log, equip the axe in quick slot 1, hold RMB and look along its length until the blue guide appears, then strike to split two half logs. Lay them flat-side-up across two parallel diagonal supports to build steps.
View illustration at full size →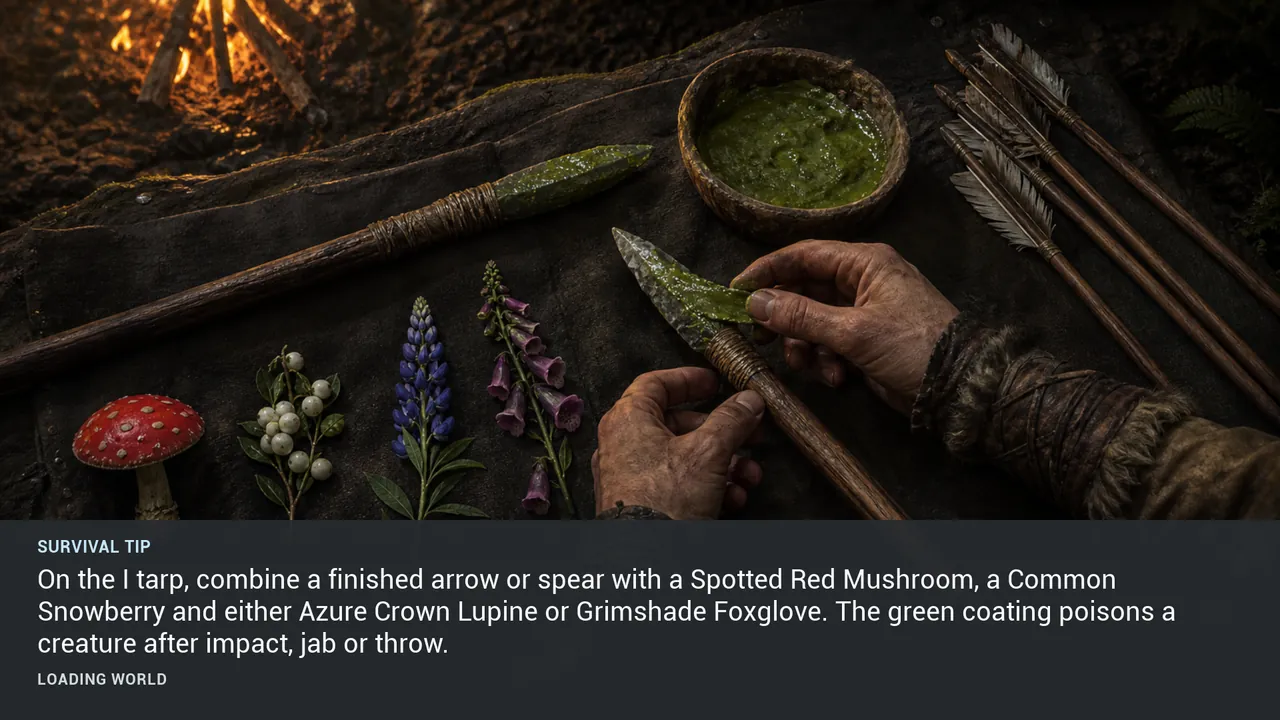
TIP 124 #
On the I tarp, combine a finished arrow or spear with a Spotted Red Mushroom, a Common Snowberry and either Azure Crown Lupine or Grimshade Foxglove. The green coating poisons a creature after impact, jab or throw.
View illustration at full size →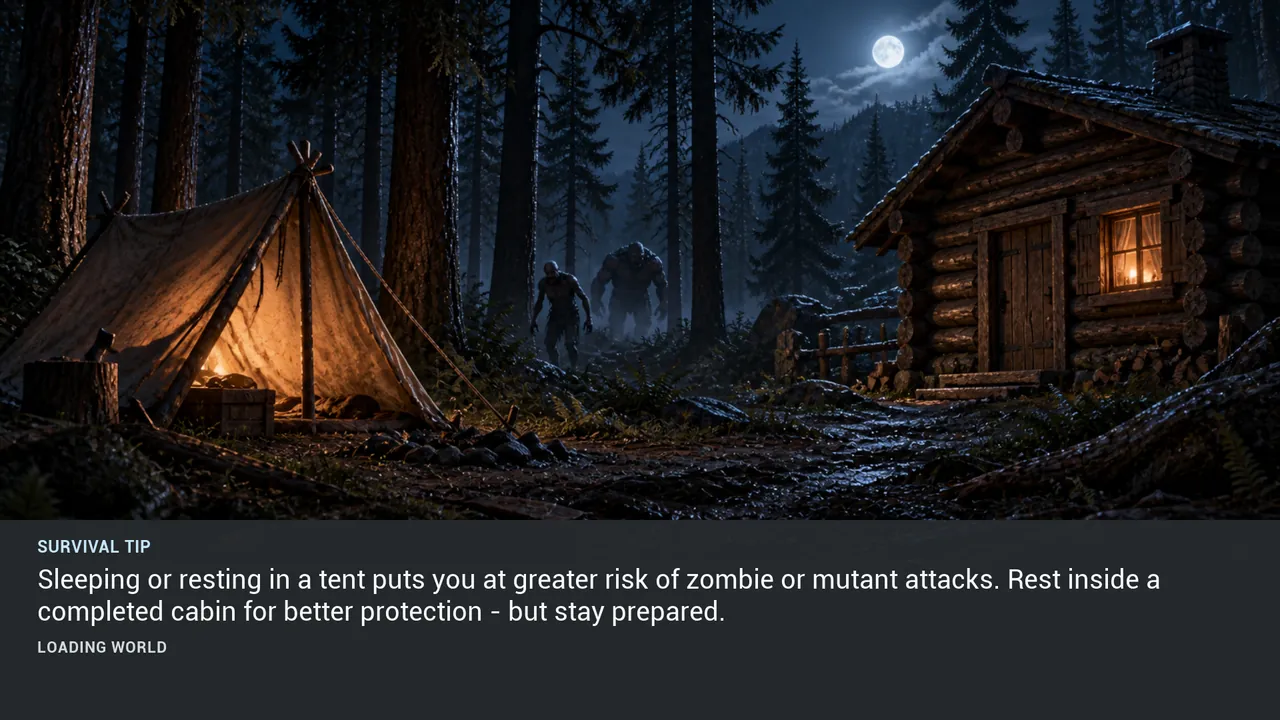
TIP 125 #
Sleeping or resting in a tent puts you at greater risk of zombie or mutant attacks. Rest inside a completed cabin for better protection - but stay prepared.
View illustration at full size →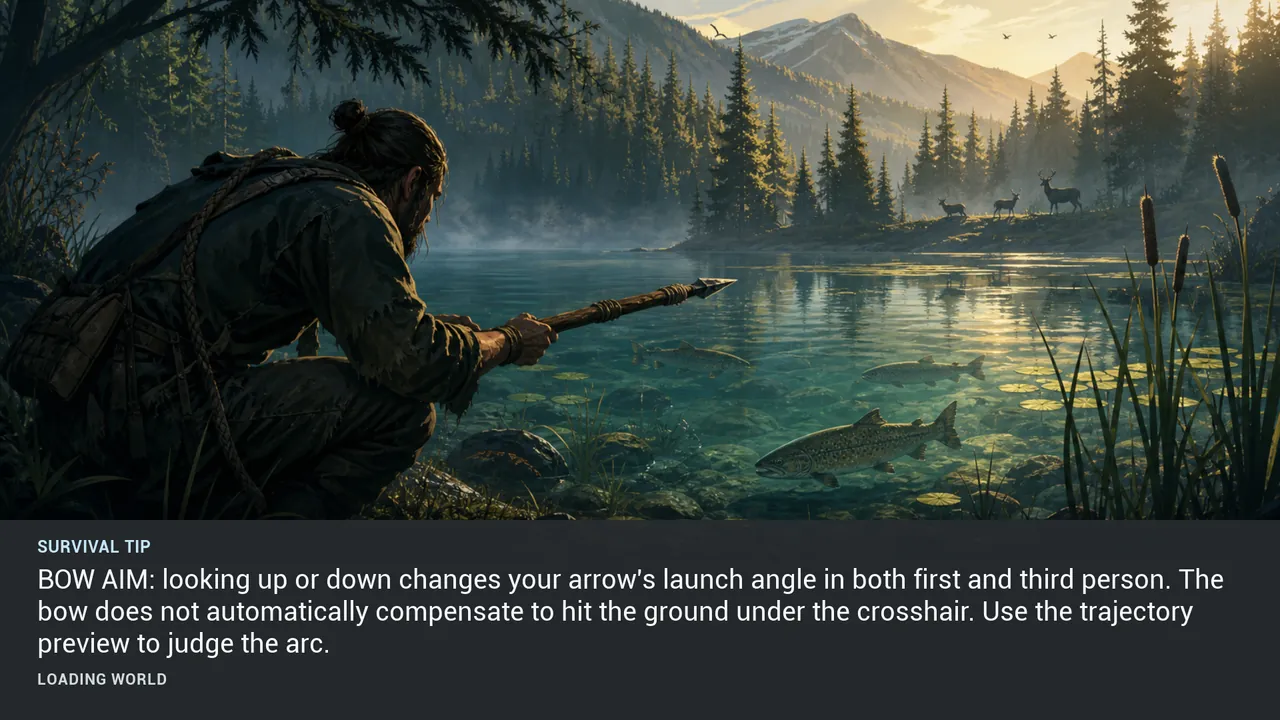
TIP 139 #
BOW AIM: looking up or down changes your arrow's launch angle in both first and third person. The bow does not automatically compensate to hit the ground under the crosshair. Use the trajectory preview to judge the arc.
View illustration at full size →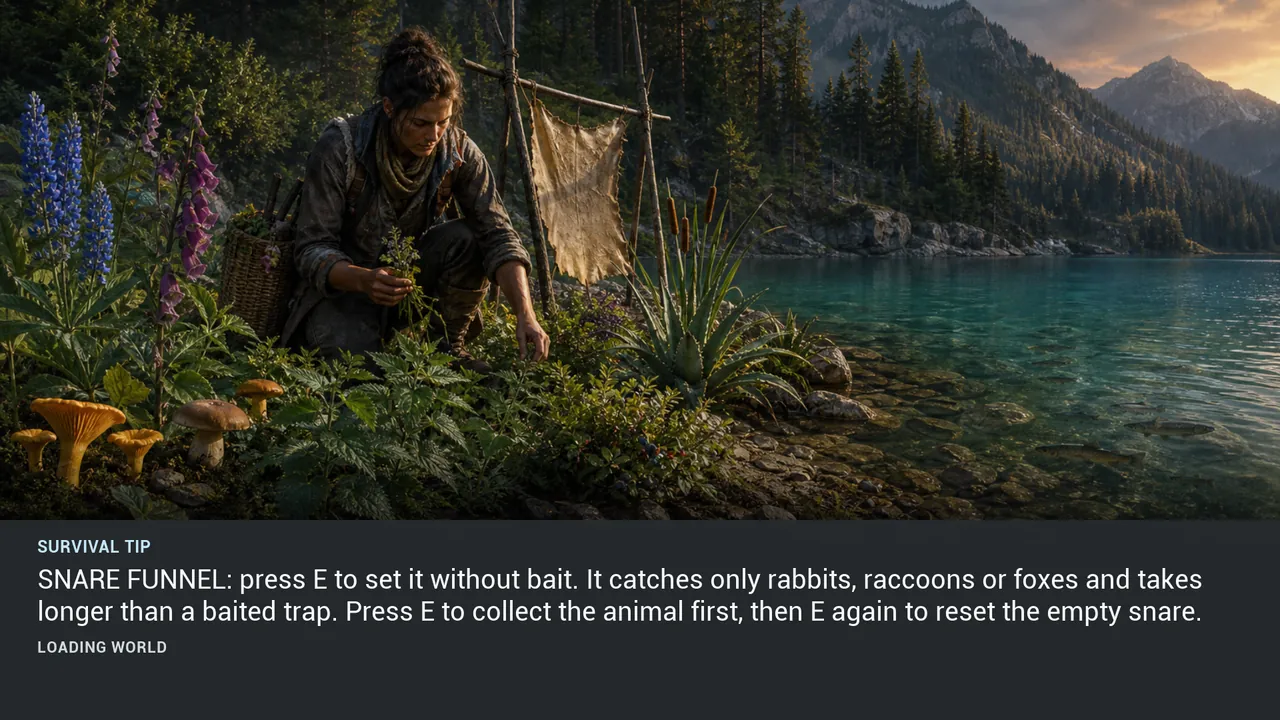
TIP 140 #
SNARE FUNNEL: press E to set it without bait. It catches only rabbits, raccoons or foxes and takes longer than a baited trap. Press E to collect the animal first, then E again to reset the empty snare.
View illustration at full size →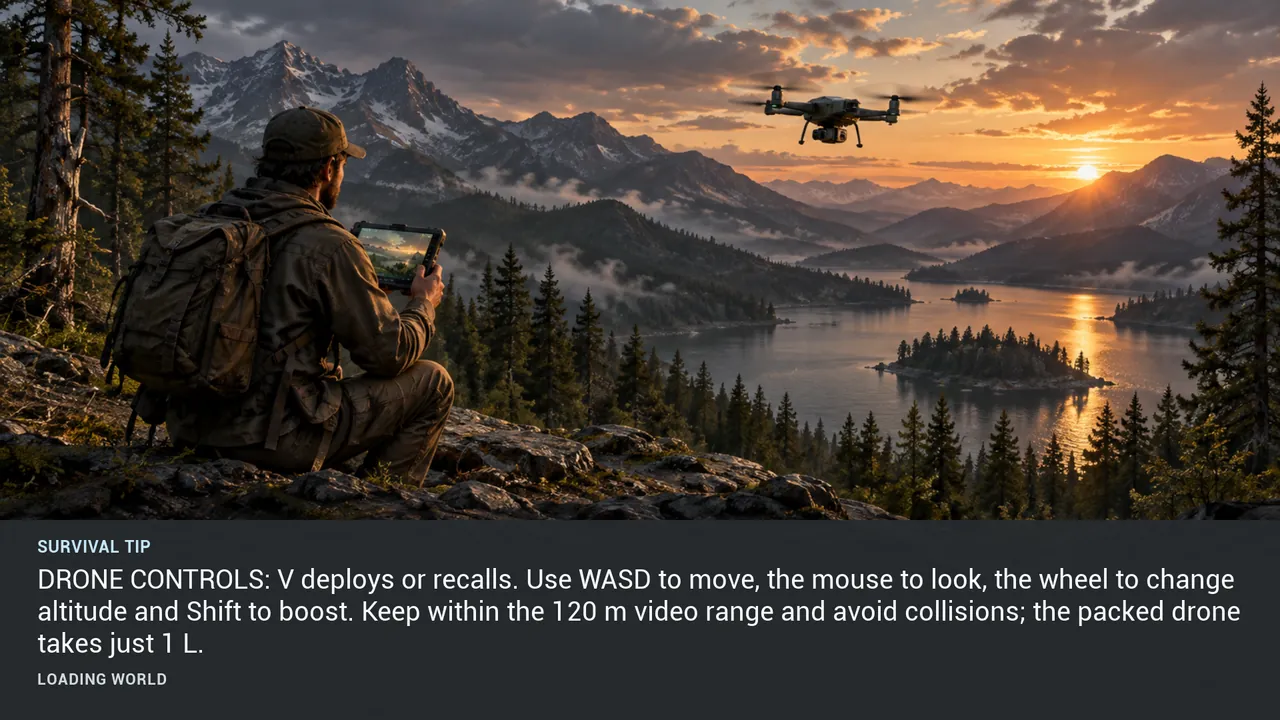
TIP 141 #
DRONE CONTROLS: V deploys or recalls. Use WASD to move, the mouse to look, the wheel to change altitude and Shift to boost. Keep within the 120 m video range and avoid collisions; the packed drone takes just 1 L.
View illustration at full size →FIELD GUIDE / 10
4 verified loading-screen tips
TIP 105 #
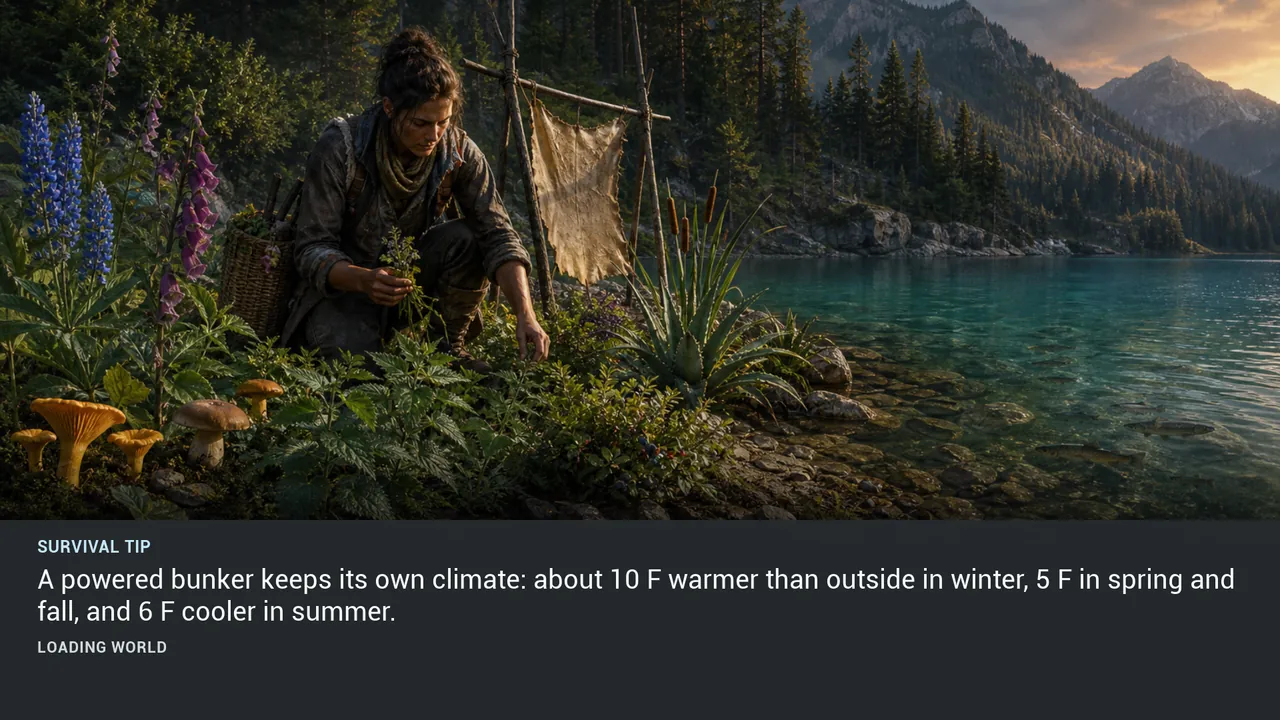
A powered bunker keeps its own climate: about 10 F warmer than outside in winter, 5 F in spring and fall, and 6 F cooler in summer.
View illustration at full size →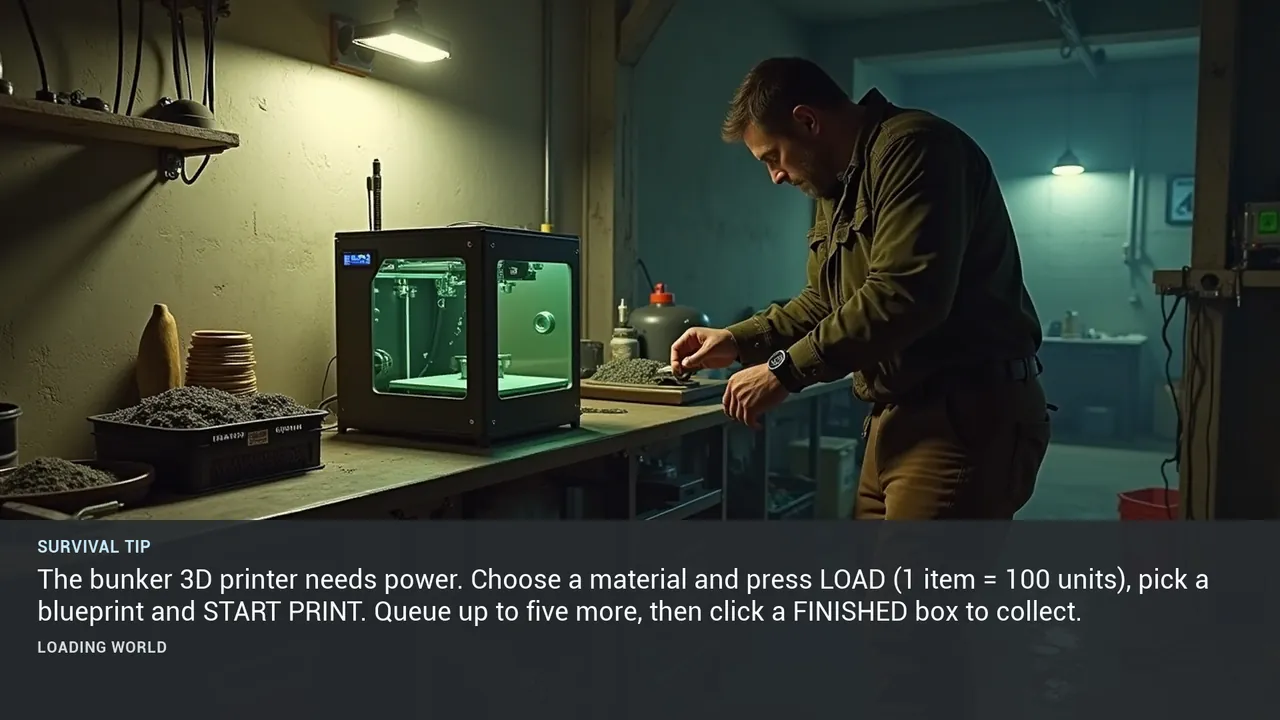
TIP 117 #
The bunker 3D printer needs power. Choose a material and press LOAD (1 item = 100 units), pick a blueprint and START PRINT. Queue up to five more, then click a FINISHED box to collect.
View illustration at full size →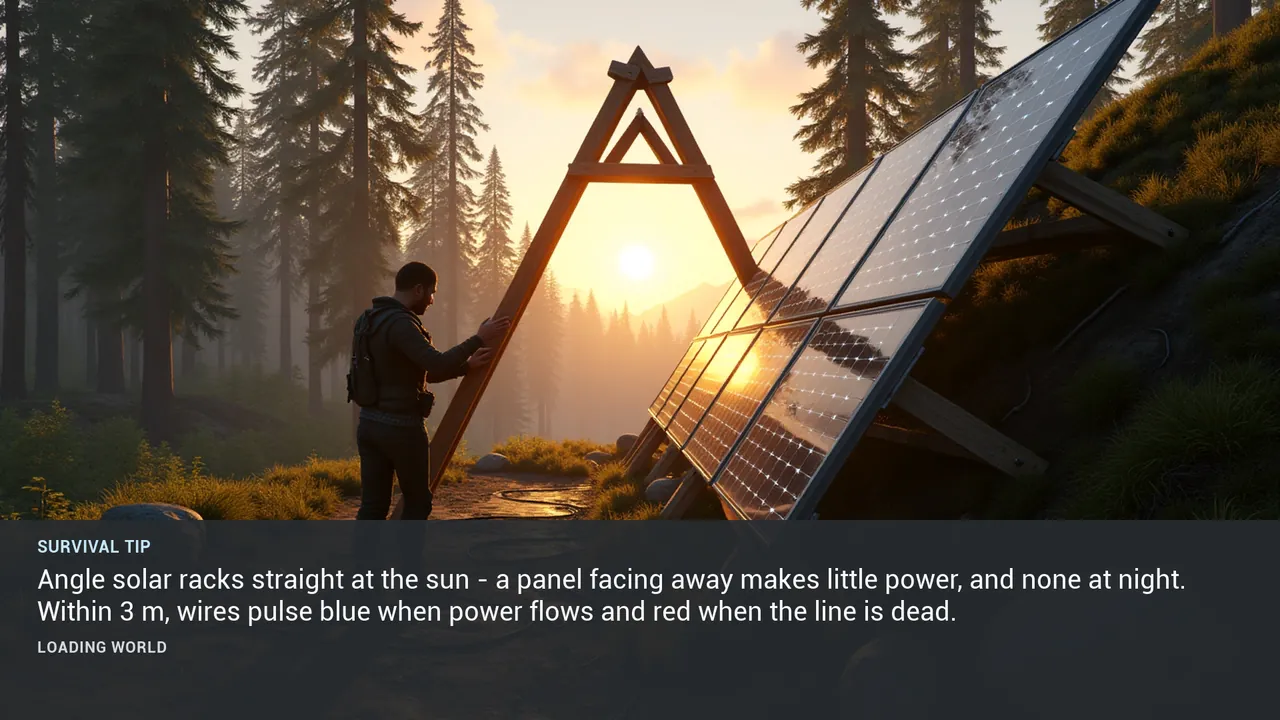
TIP 119 #
Angle solar racks straight at the sun - a panel facing away makes little power, and none at night. Within 3 m, wires pulse blue when power flows and red when the line is dead.
View illustration at full size →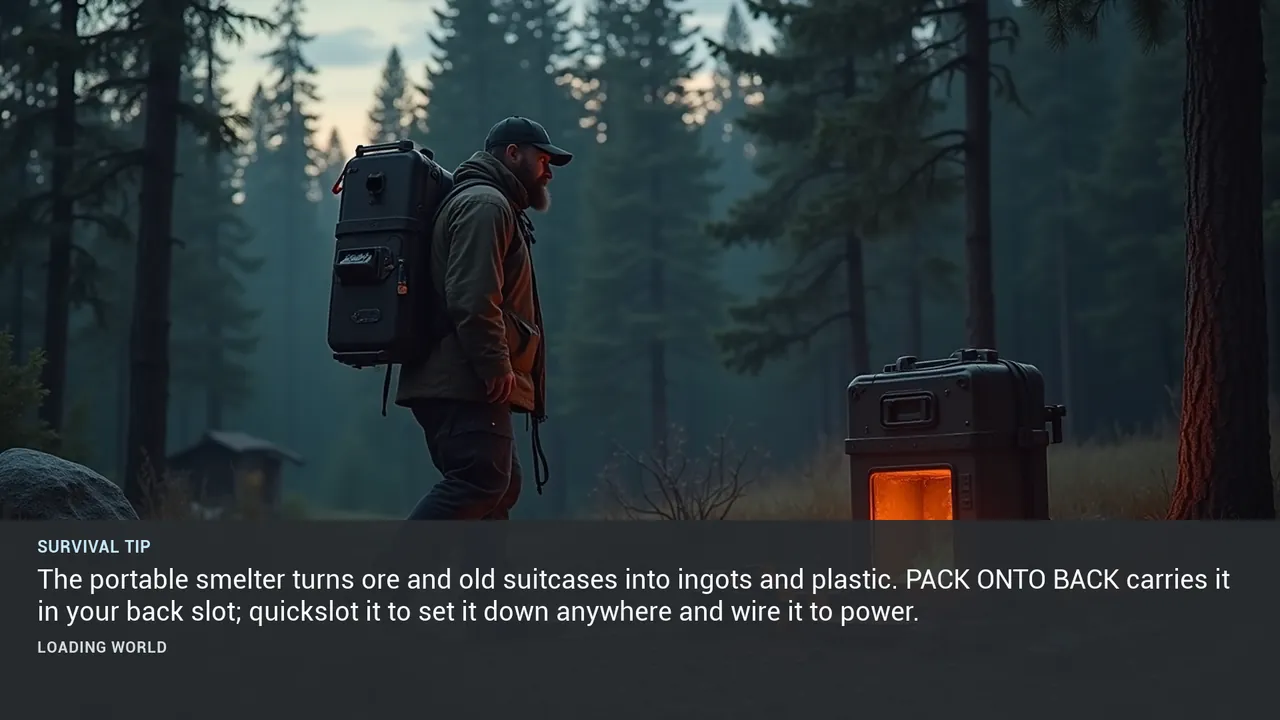
TIP 120 #
The portable smelter turns ore and old suitcases into ingots and plastic. PACK ONTO BACK carries it in your back slot; quickslot it to set it down anywhere and wire it to power.
View illustration at full size →FIELD GUIDE / 11
7 verified loading-screen tips
TIP 107 #
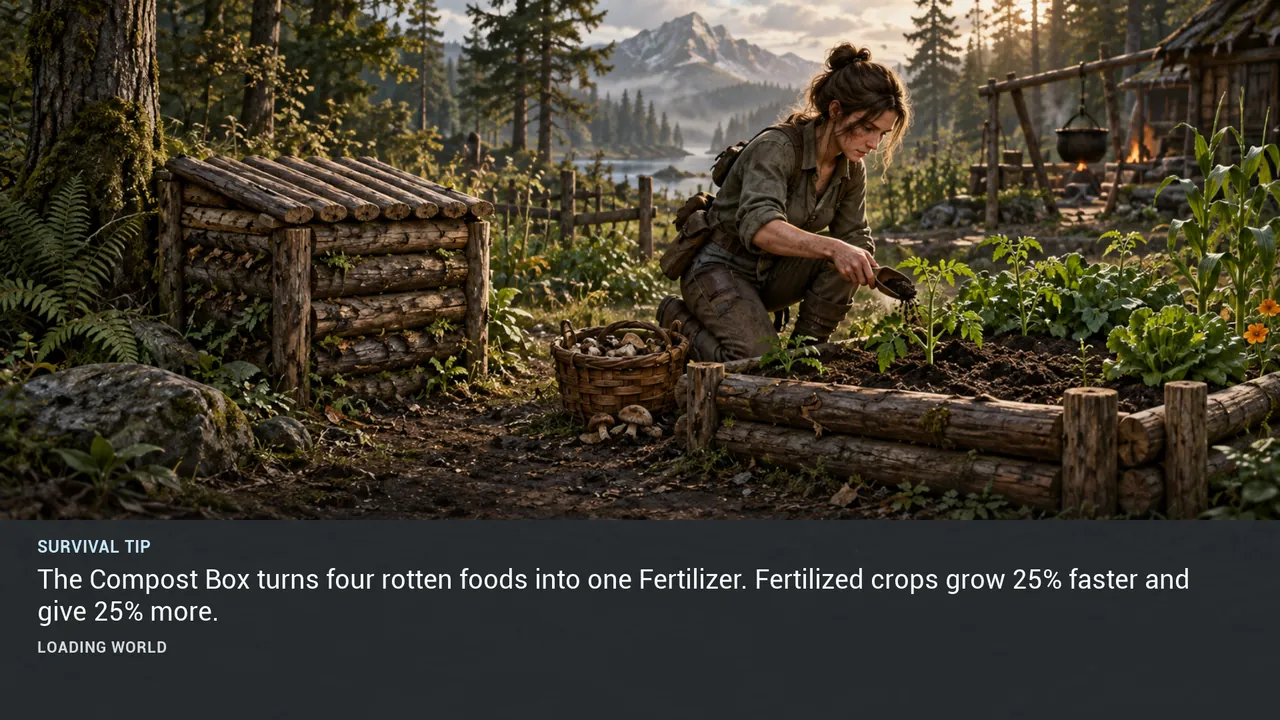
The Compost Box turns four rotten foods into one Fertilizer. Fertilized crops grow 25% faster and give 25% more.
View illustration at full size →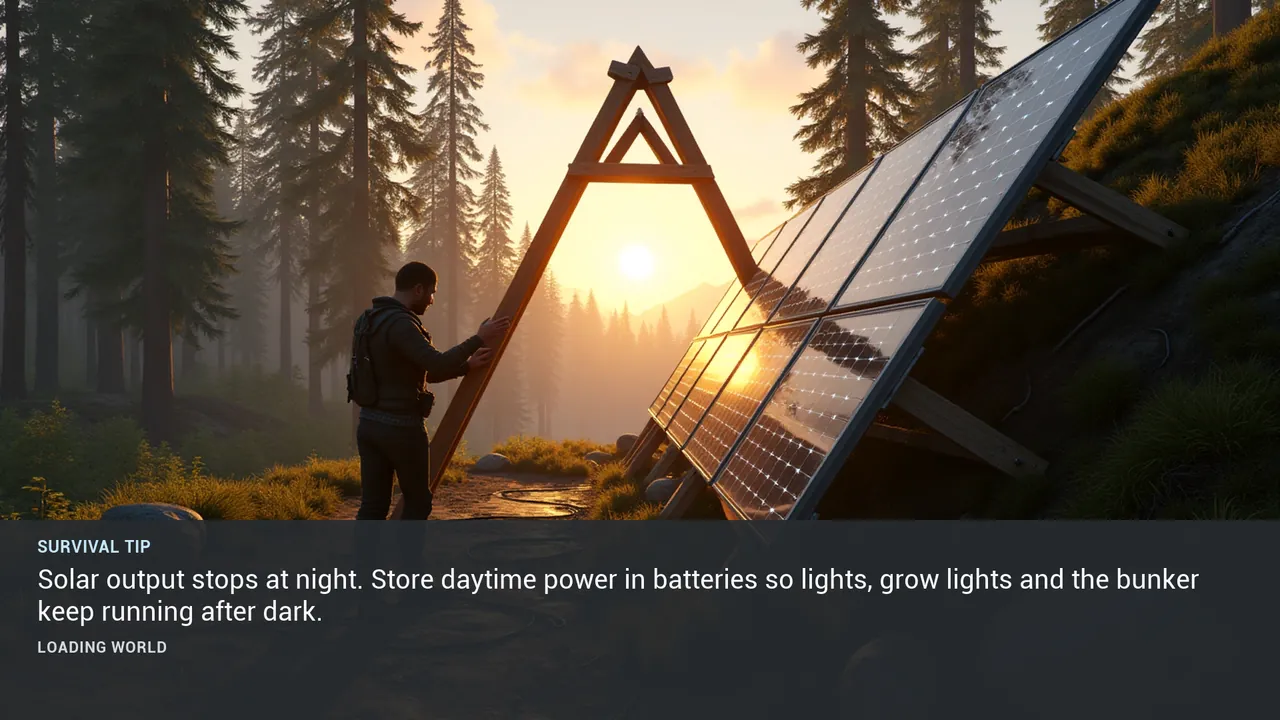
TIP 115 #
Solar output stops at night. Store daytime power in batteries so lights, grow lights and the bunker keep running after dark.
View illustration at full size →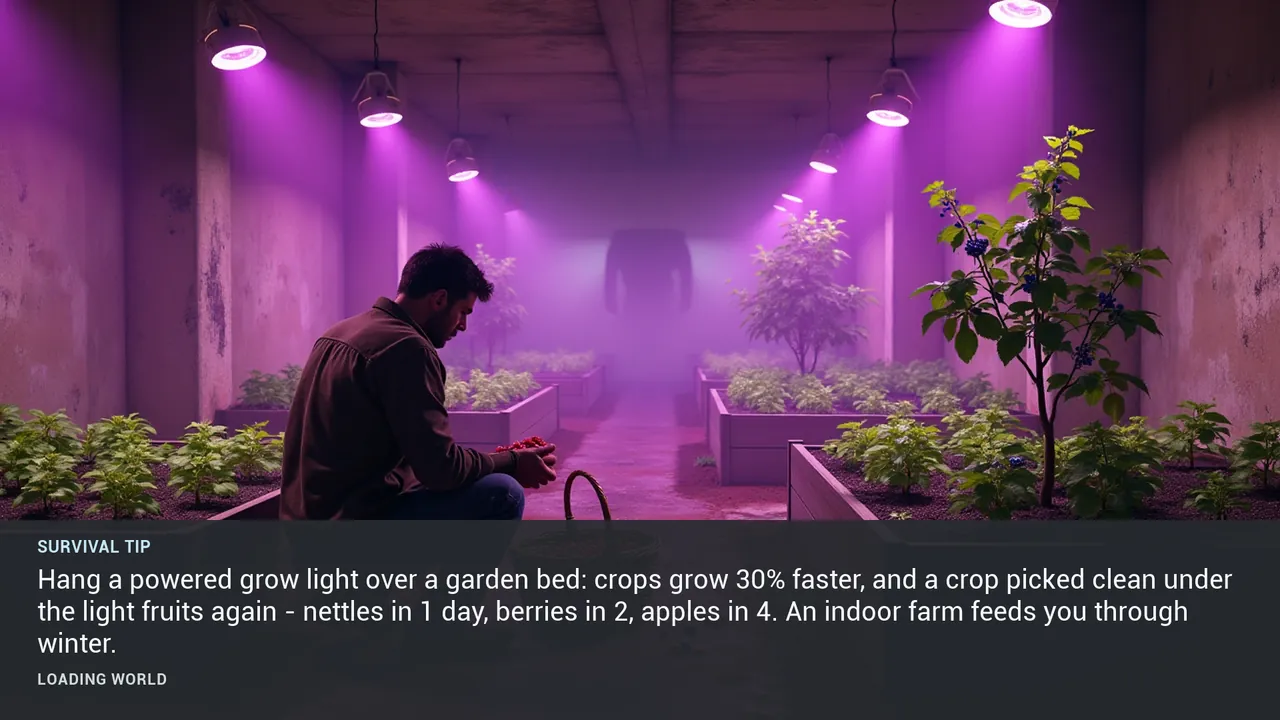
TIP 118 #
Hang a powered grow light over a garden bed: crops grow 30% faster, and a crop picked clean under the light fruits again - nettles in 1 day, berries in 2, apples in 4. An indoor farm feeds you through winter.
View illustration at full size →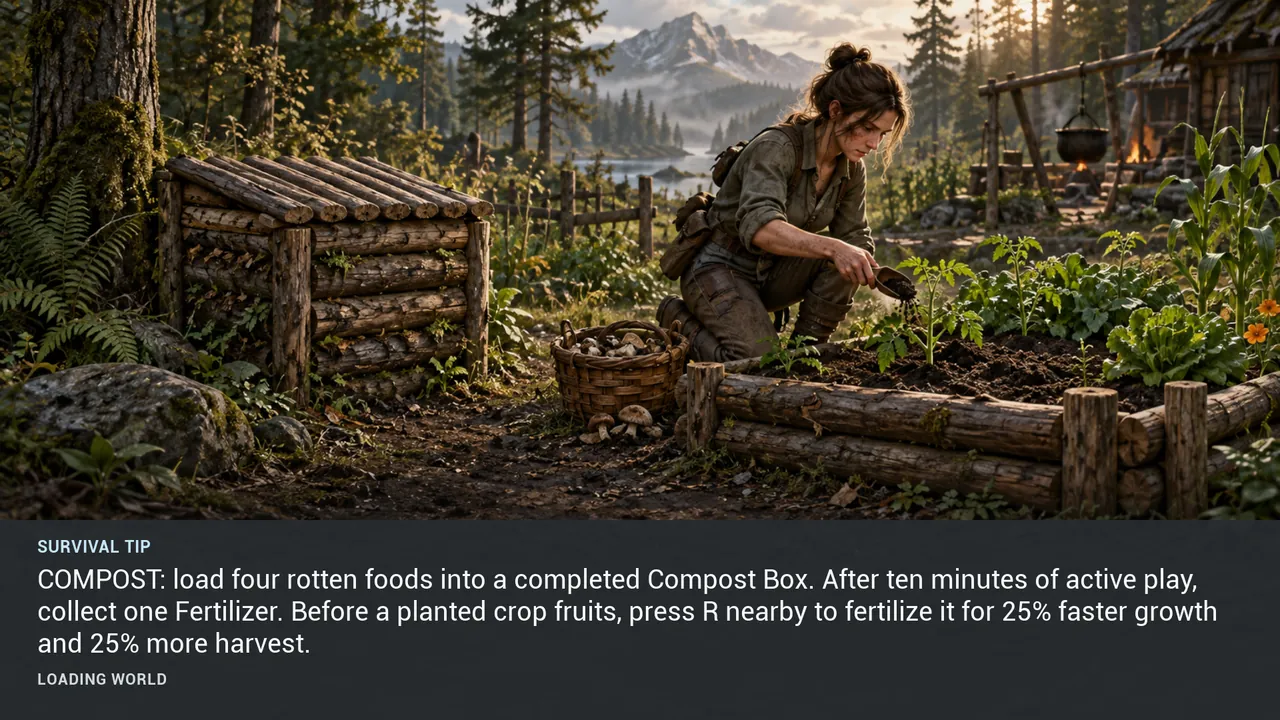
TIP 129 #
COMPOST: load four rotten foods into a completed Compost Box. After ten minutes of active play, collect one Fertilizer. Before a planted crop fruits, press R nearby to fertilize it for 25% faster growth and 25% more harvest.
View illustration at full size →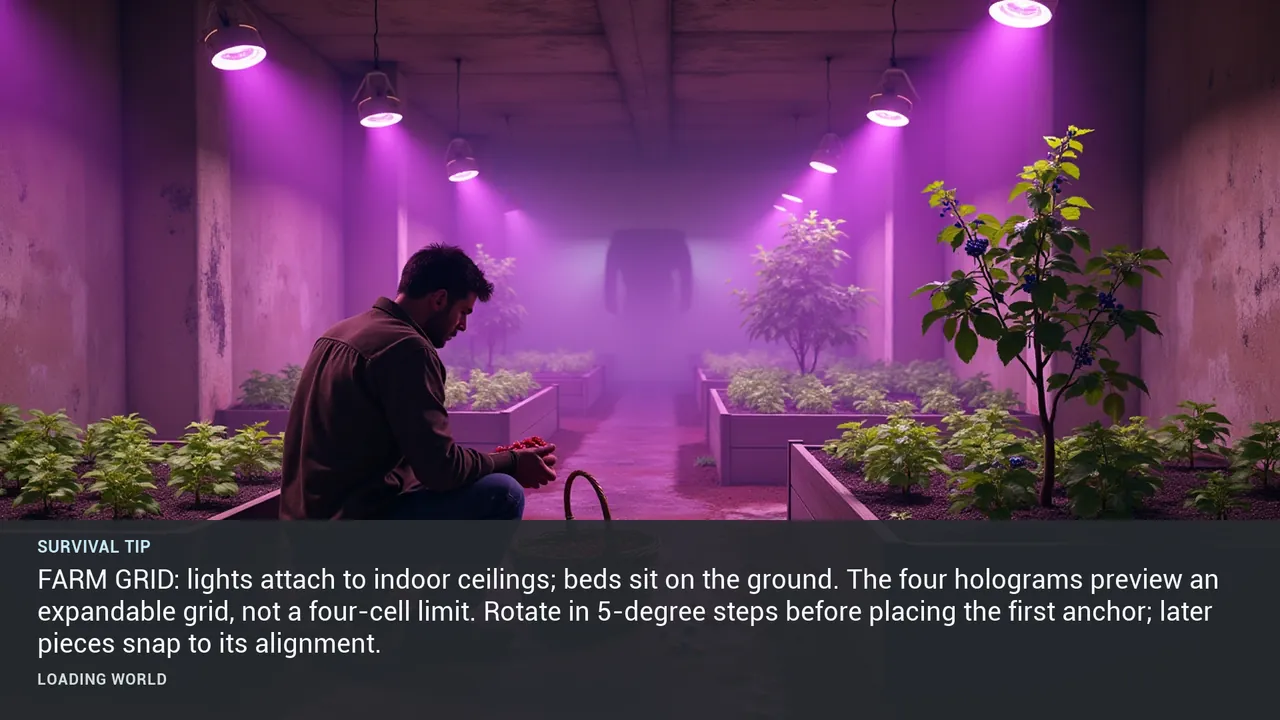
TIP 134 #
FARM GRID: lights attach to indoor ceilings; beds sit on the ground. The four holograms preview an expandable grid, not a four-cell limit. Rotate in 5-degree steps before placing the first anchor; later pieces snap to its alignment.
View illustration at full size →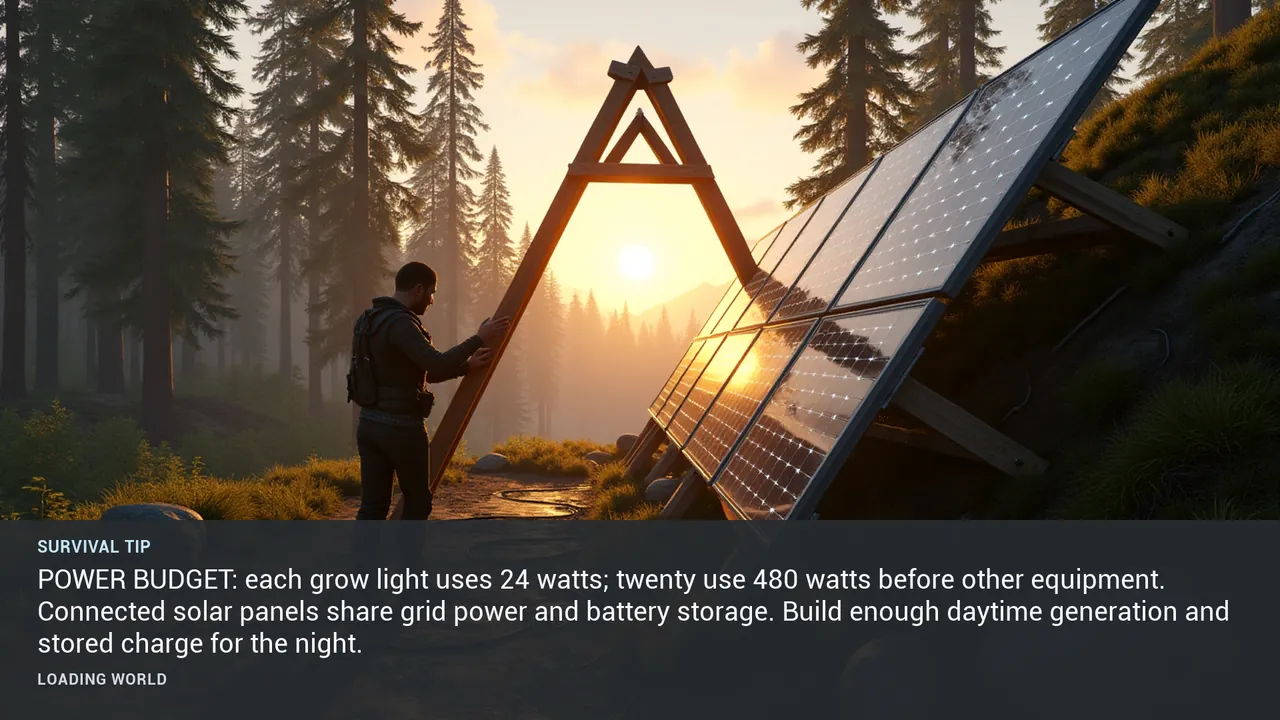
TIP 135 #
POWER BUDGET: each grow light uses 24 watts; twenty use 480 watts before other equipment. Connected solar panels share grid power and battery storage. Build enough daytime generation and stored charge for the night.
View illustration at full size →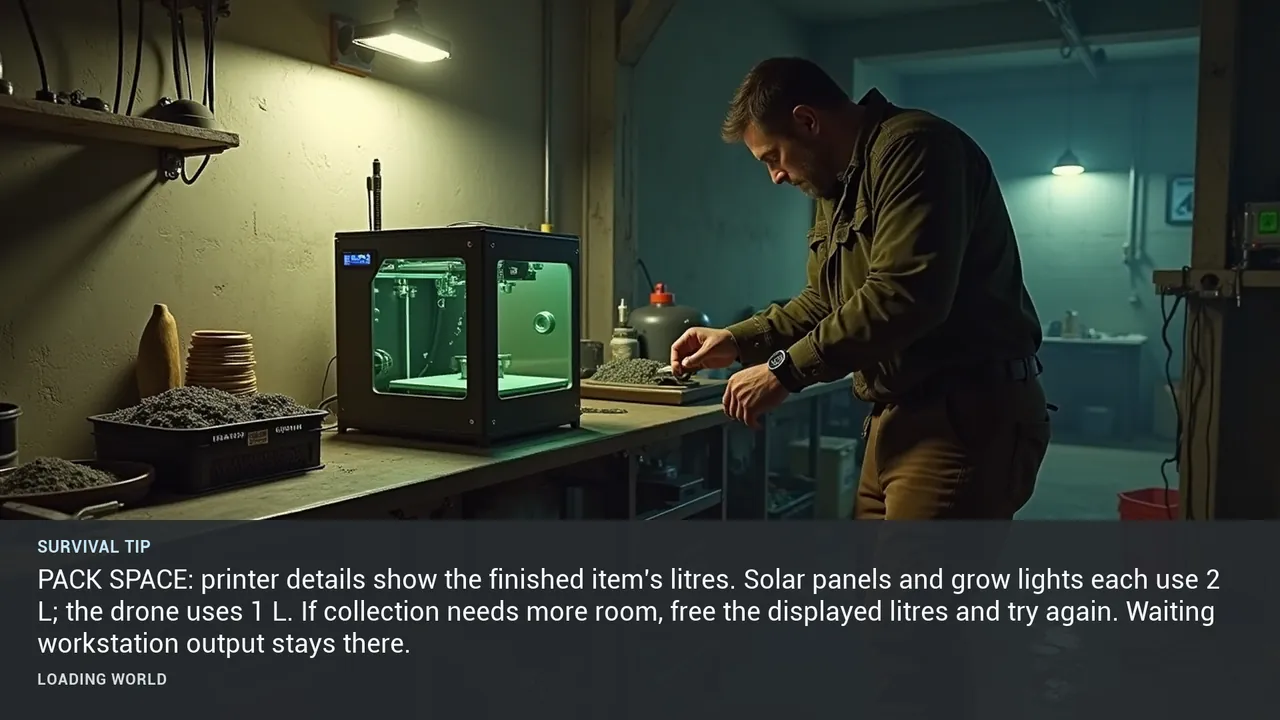
TIP 136 #
PACK SPACE: printer details show the finished item's litres. Solar panels and grow lights each use 2 L; the drone uses 1 L. If collection needs more room, free the displayed litres and try again. Waiting workstation output stays there.
View illustration at full size →FIELD GUIDE / 12
4 verified loading-screen tips
TIP 108 #
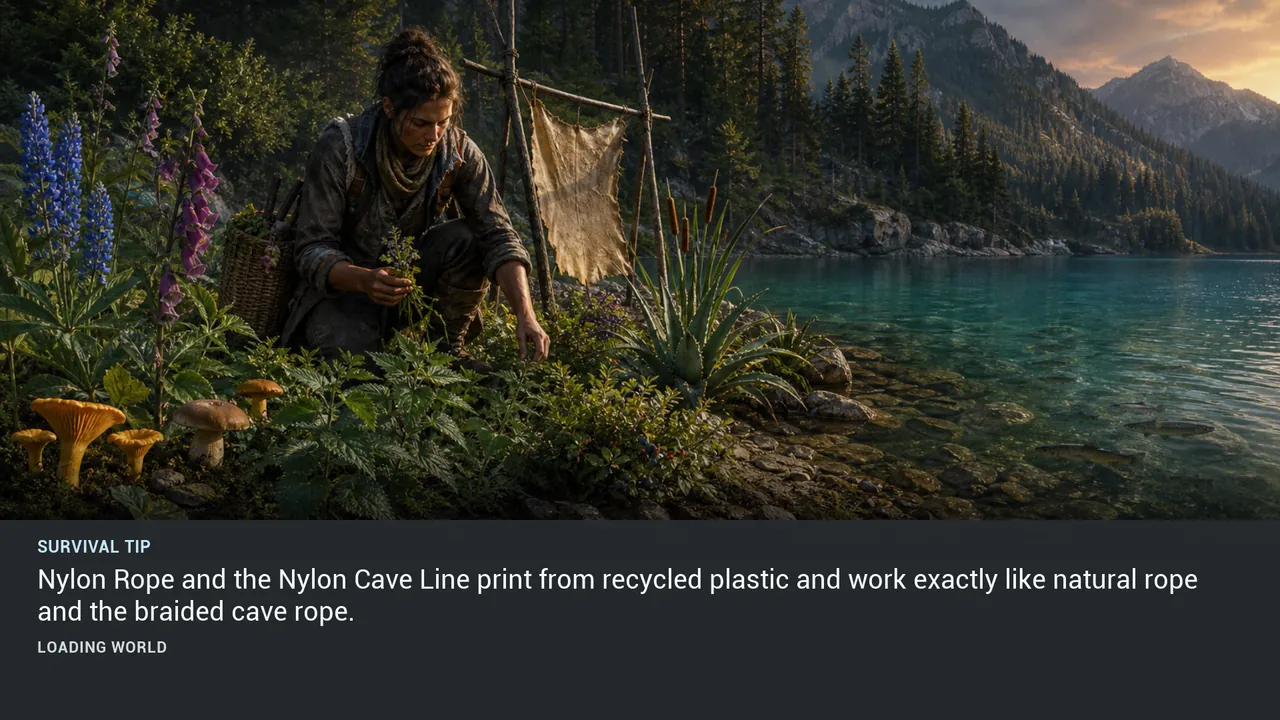
Nylon Rope and the Nylon Cave Line print from recycled plastic and work exactly like natural rope and the braided cave rope.
View illustration at full size →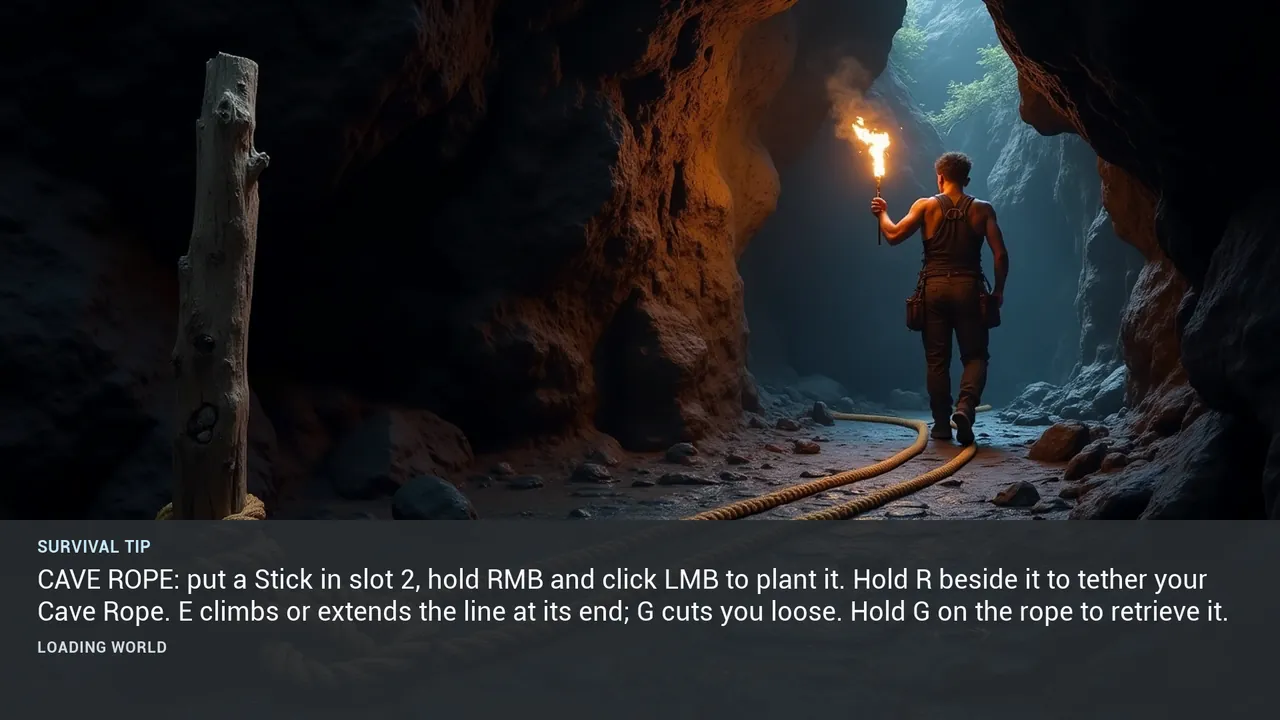
TIP 116 #
CAVE ROPE: put a Stick in slot 2, hold RMB and click LMB to plant it. Hold R beside it to tether your Cave Rope. E climbs or extends the line at its end; G cuts you loose. Hold G on the rope to retrieve it.
View illustration at full size →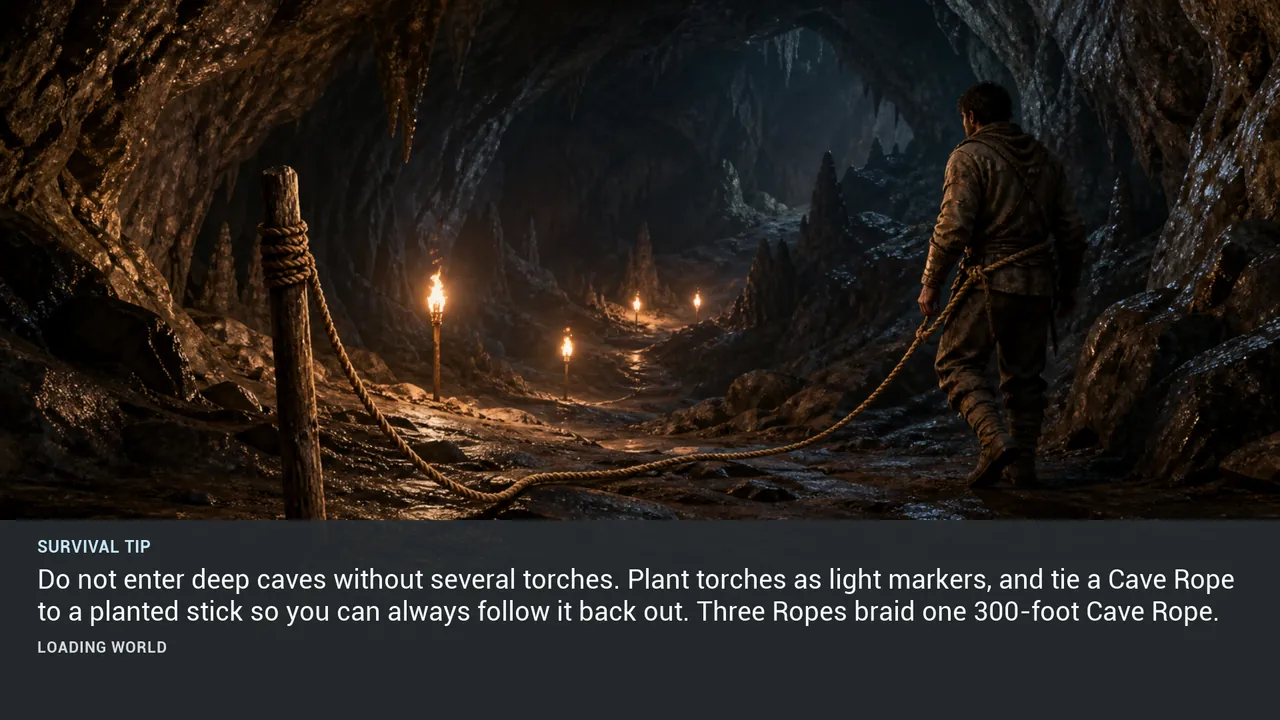
TIP 123 #
Do not enter deep caves without several torches. Plant torches as light markers, and tie a Cave Rope to a planted stick so you can always follow it back out. Three Ropes braid one 300-foot Cave Rope.
View illustration at full size →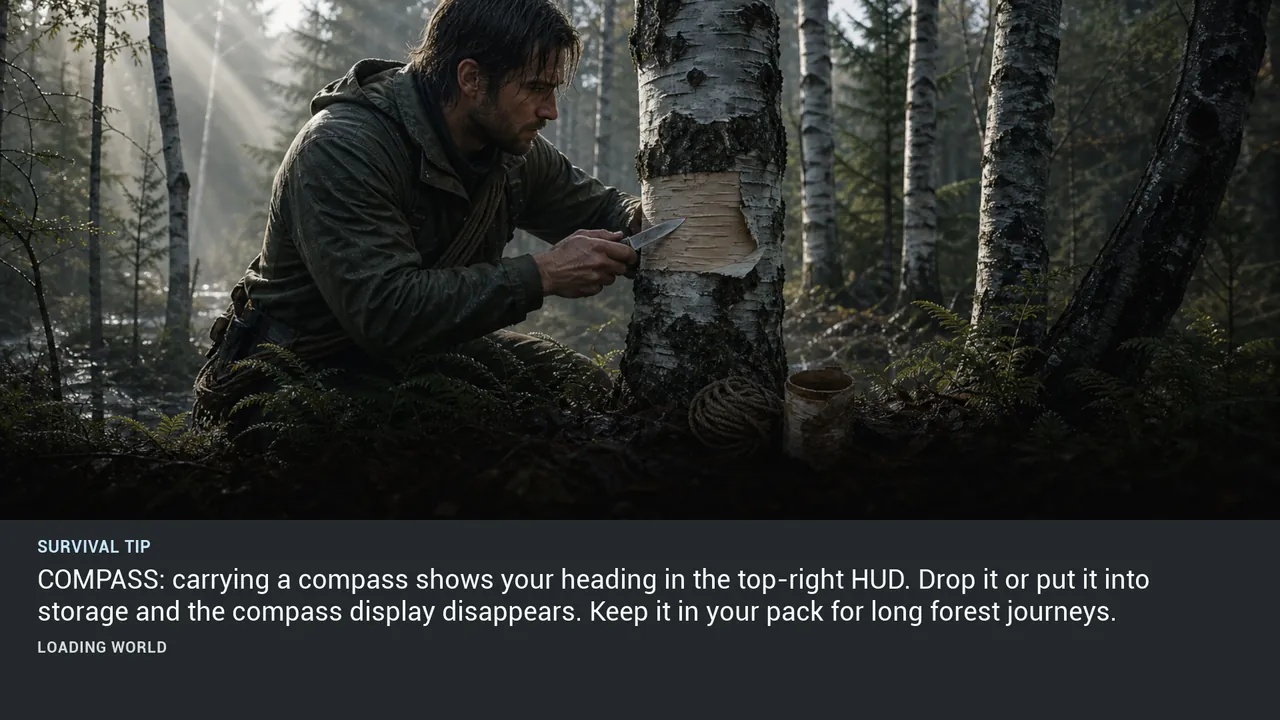
TIP 138 #
COMPASS: carrying a compass shows your heading in the top-right HUD. Drop it or put it into storage and the compass display disappears. Keep it in your pack for long forest journeys.
View illustration at full size →FIELD GUIDE / 13
3 verified loading-screen tips
TIP 127 #
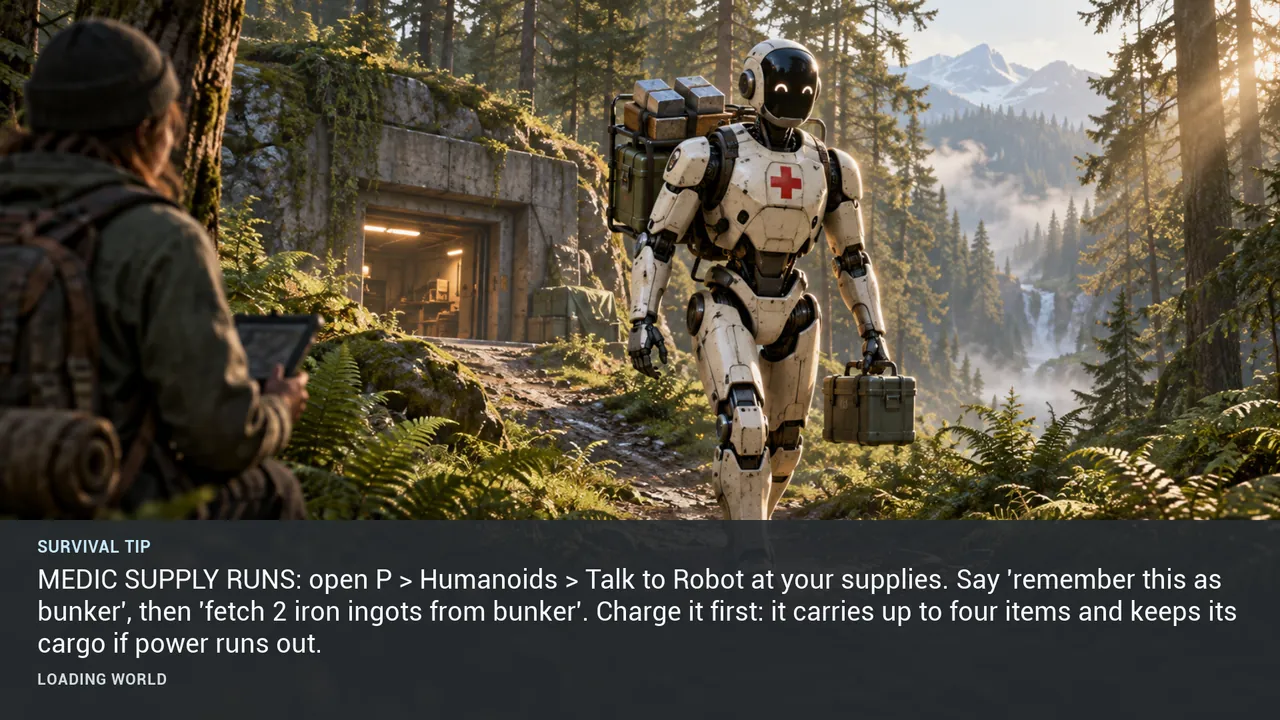
MEDIC SUPPLY RUNS: open P > Humanoids > Talk to Robot at your supplies. Say 'remember this as bunker', then 'fetch 2 iron ingots from bunker'. Charge it first: it carries up to four items and keeps its cargo if power runs out.
View illustration at full size →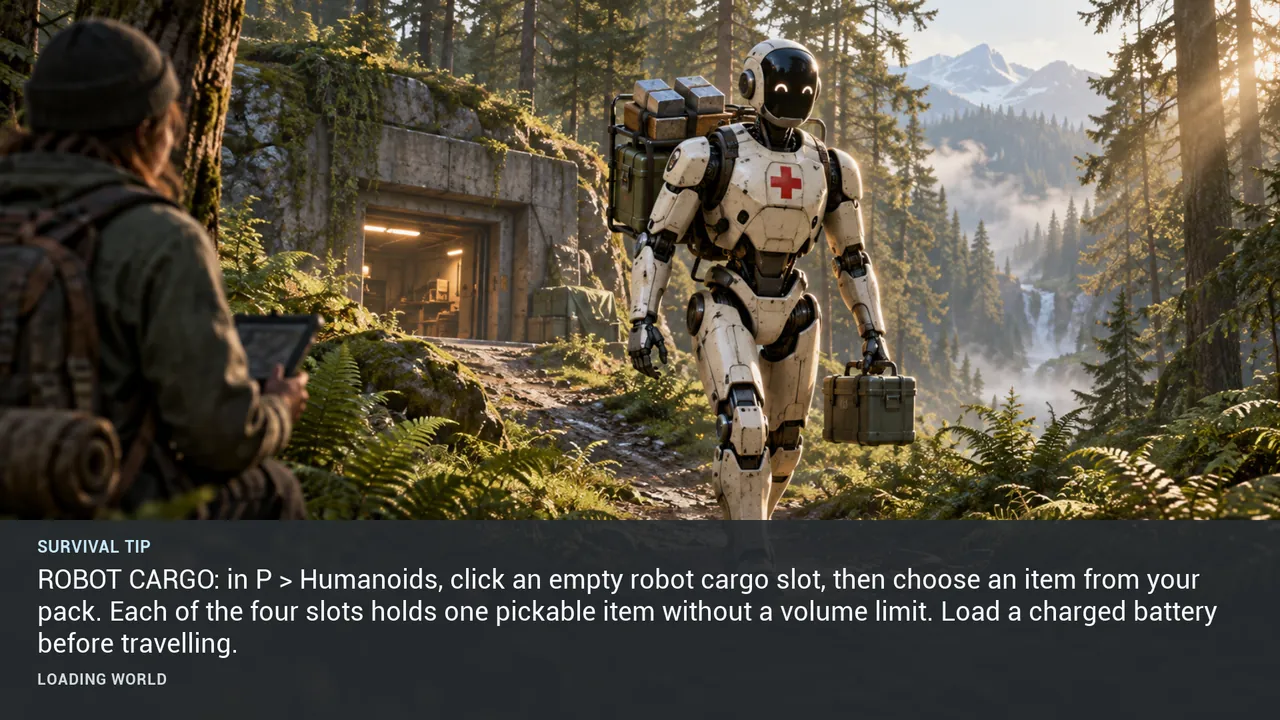
TIP 133 #
ROBOT CARGO: in P > Humanoids, click an empty robot cargo slot, then choose an item from your pack. Each of the four slots holds one pickable item without a volume limit. Load a charged battery before travelling.
View illustration at full size →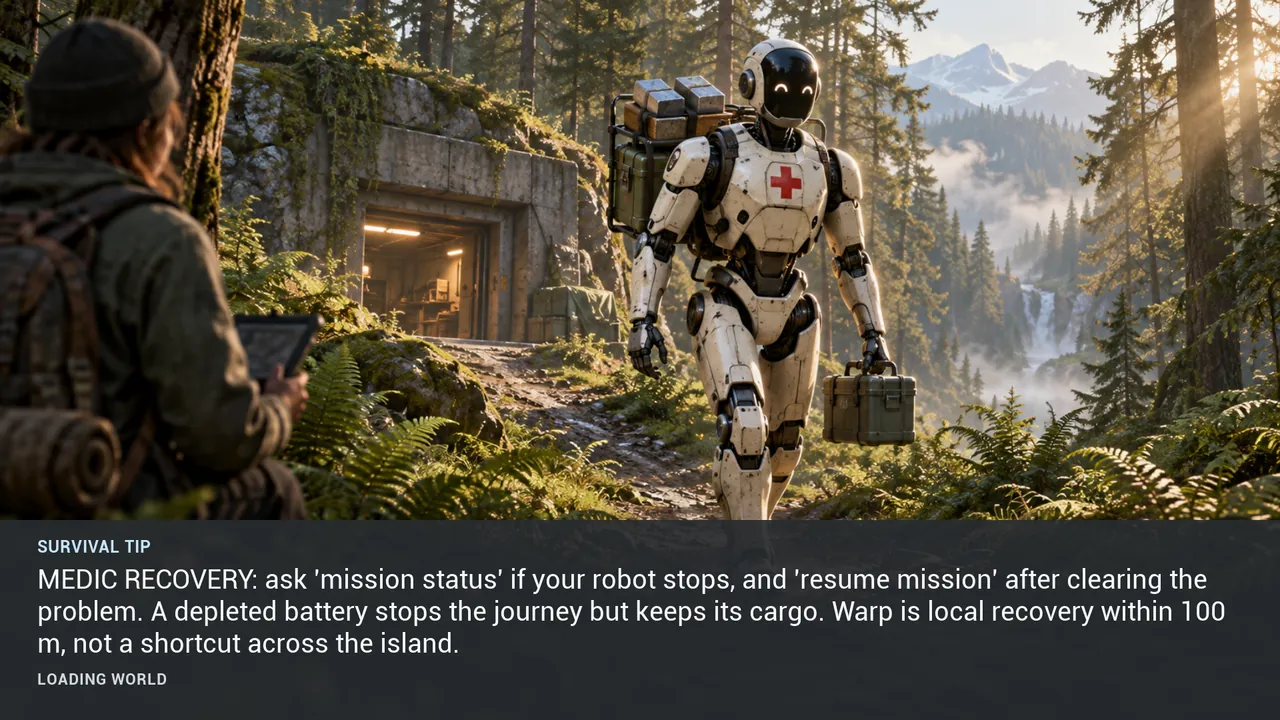
TIP 137 #
MEDIC RECOVERY: ask 'mission status' if your robot stops, and 'resume mission' after clearing the problem. A depleted battery stops the journey but keeps its cargo. Warp is local recovery within 100 m, not a shortcut across the island.
View illustration at full size →FIELD GUIDE / 14
1 verified loading-screen tip
TIP 130 #
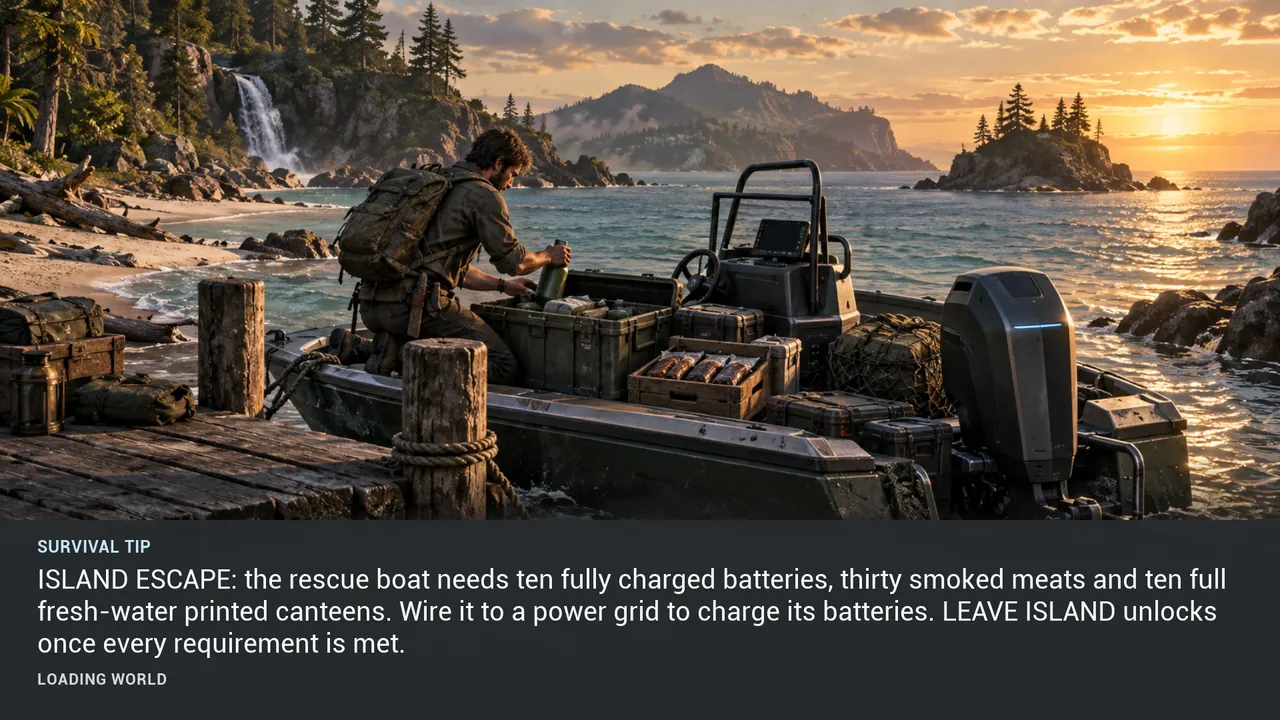
ISLAND ESCAPE: the rescue boat needs ten fully charged batteries, thirty smoked meats and ten full fresh-water printed canteens. Wire it to a power grid to charge its batteries. LEAVE ISLAND unlocks once every requirement is met.
View illustration at full size →